> ## Documentation Index
> Fetch the complete documentation index at: https://docs.goguardian.com/llms.txt
> Use this file to discover all available pages before exploring further.
# Be Internet Awesome Installer
> Install the Be Internet Awesome digital citizenship curriculum into Google Drive for individual, shared folder, or school-wide use
Pear Deck and Google's Be Internet Awesome curriculum is a free digital citizenship program that includes 19 Interactive Slides presentations to help students safely and confidently explore the online world. Pear Deck educators worked with Google to create custom, interactive presentations that accompany each Be Internet Awesome lesson, giving teachers a structured way to introduce digital literacy concepts and guide students through related activities. The curriculum is available only to users who sign in with Google.
To get the entire curriculum at once (all 19 Pear Deck-powered Slides files, the lesson guide, and the badges), use the Be Internet Awesome Installer.
## Before You Begin
You need a Pear Deck account before installing the curriculum. Account setup is free. If you have not created one yet, the installer launches the account setup flow automatically when you begin. See [Create a Pear Deck Account](/products/pear-deck/create-pear-deck-account) for details.
## Install to Your Personal Google Drive
Use this option if you are an individual teacher setting up the curriculum for your own classroom.
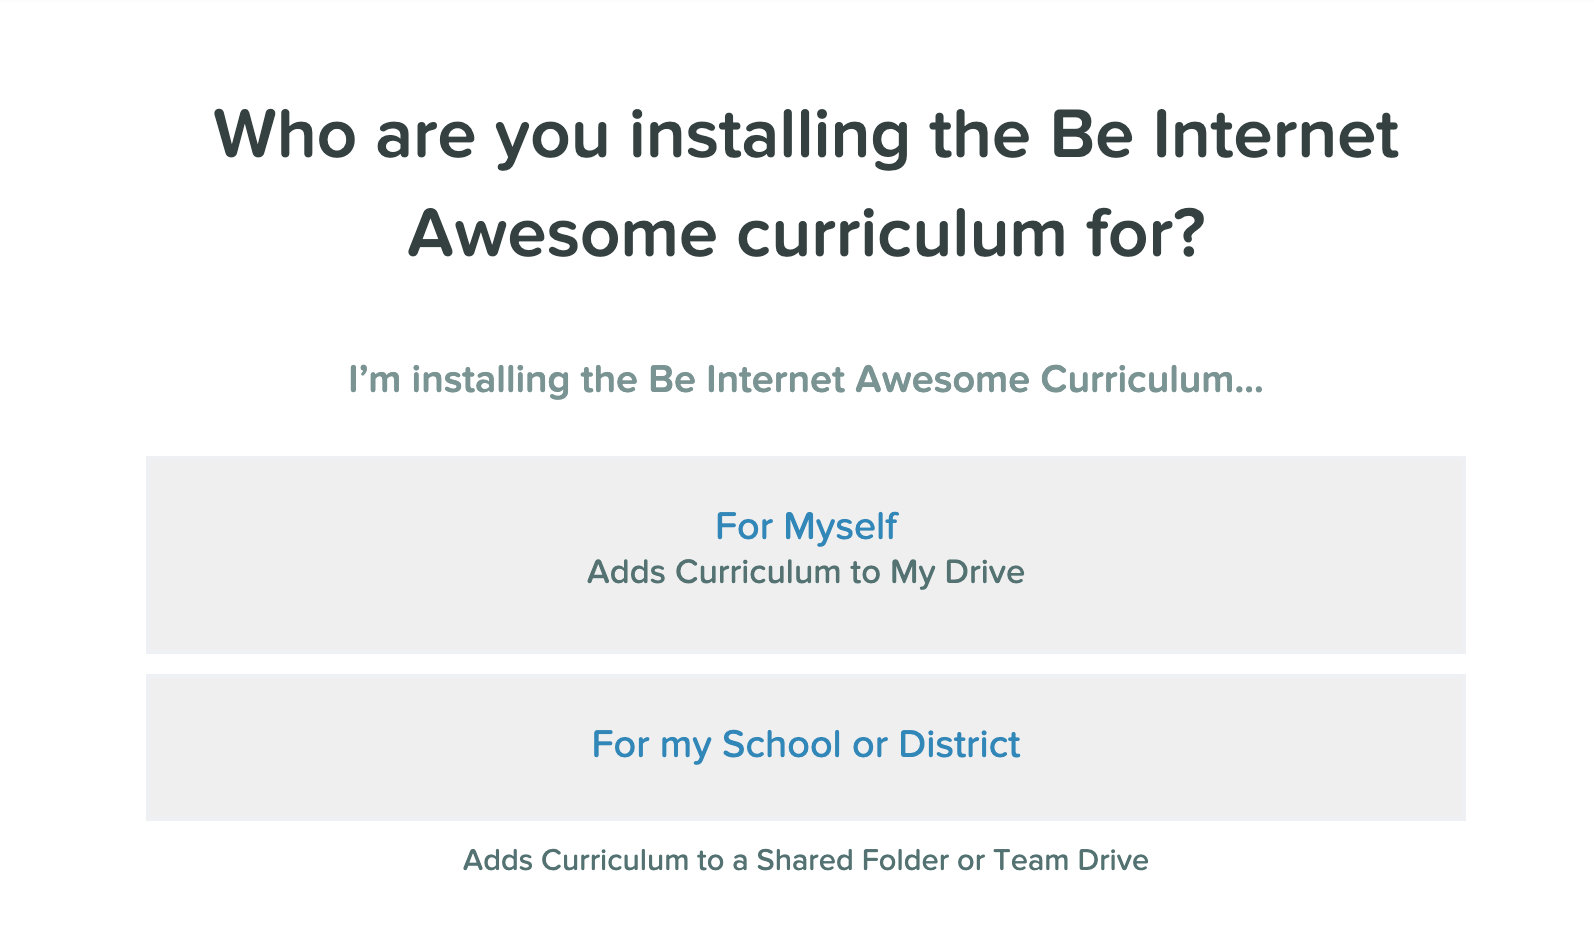
1. Go to [https://app.peardeck.com/biaInstaller/](https://app.peardeck.com/biaInstaller/).
2. Select **For Myself**.
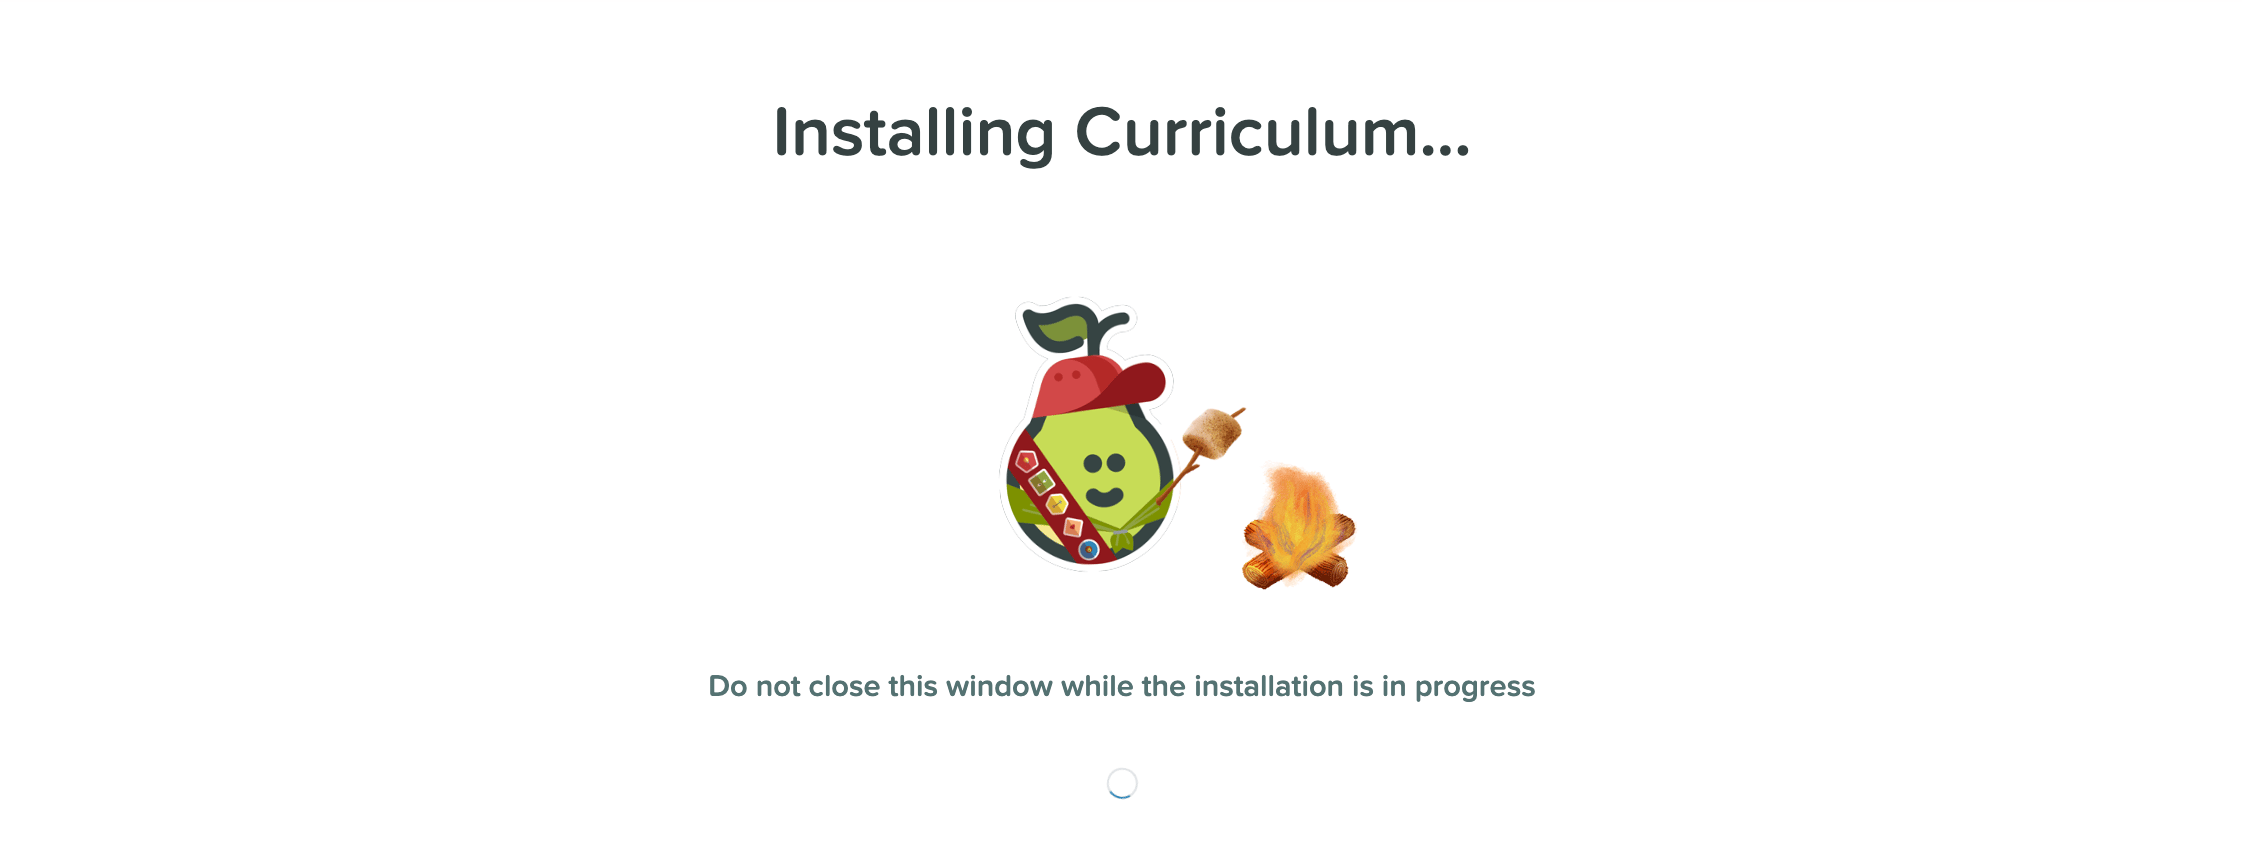
 3. Wait while the curriculum installs. Do not close the window while installation is in progress. Closing it may interrupt the process. Installation typically takes about one minute.
4. Once installation is complete, click **Open in Drive** to go to the folder in your Google Drive.
3. Wait while the curriculum installs. Do not close the window while installation is in progress. Closing it may interrupt the process. Installation typically takes about one minute.
4. Once installation is complete, click **Open in Drive** to go to the folder in your Google Drive.
 ## Install to a Shared Folder in Google Drive
Use this option if colleagues at your school will also use the curriculum.
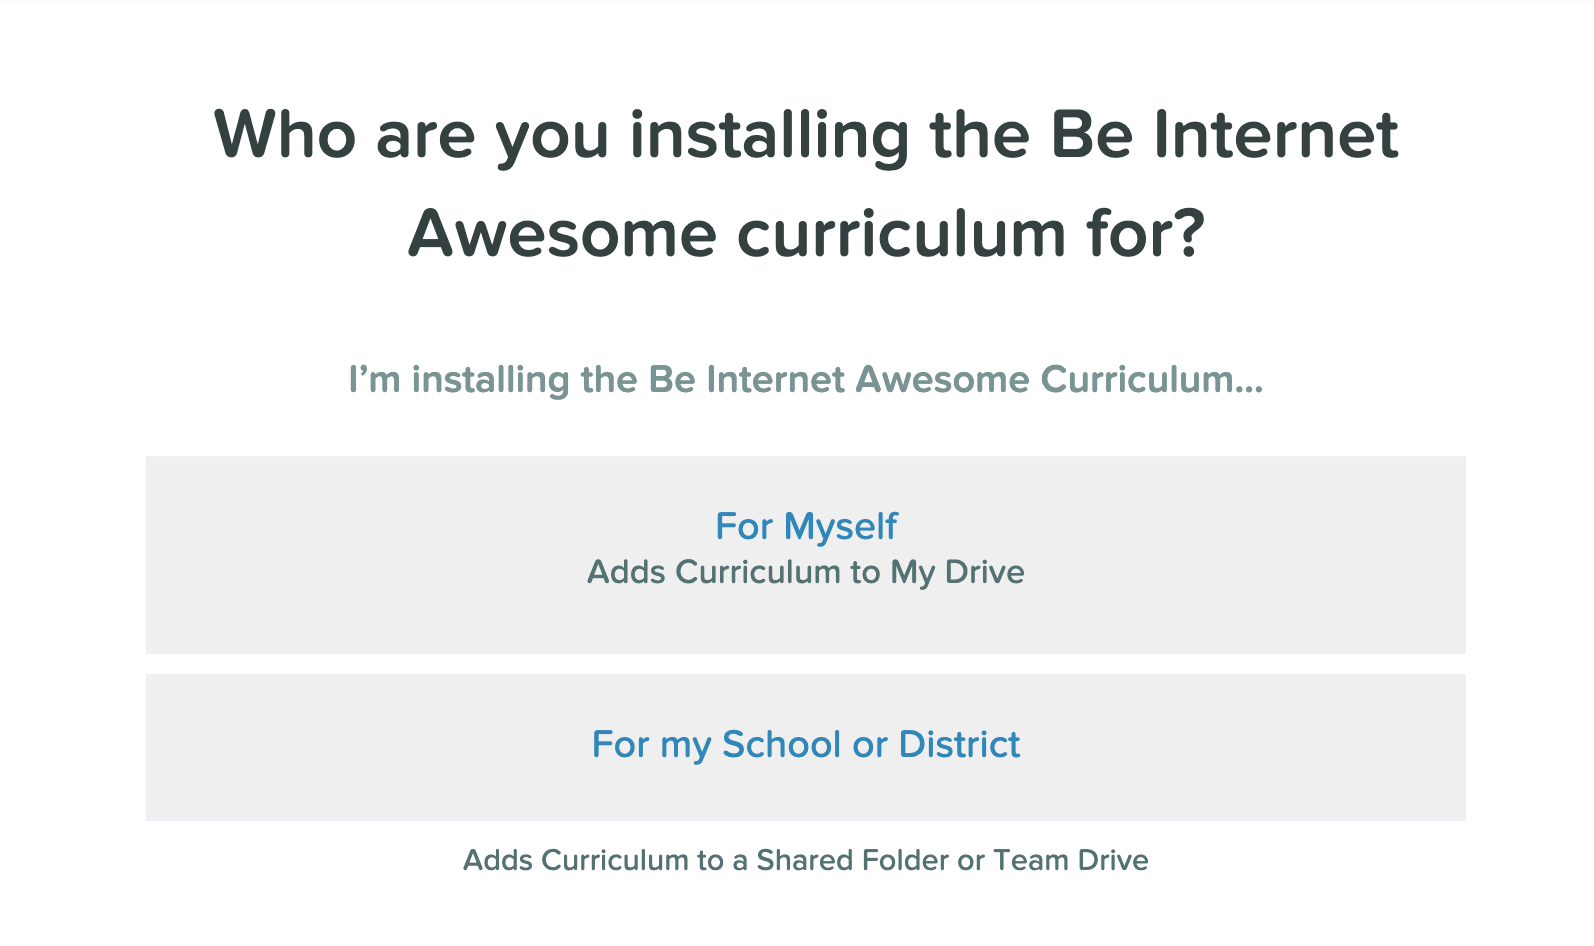
1. Go to [https://app.peardeck.com/biaInstaller/](https://app.peardeck.com/biaInstaller/).
2. Select **For my School or District**.
## Install to a Shared Folder in Google Drive
Use this option if colleagues at your school will also use the curriculum.
1. Go to [https://app.peardeck.com/biaInstaller/](https://app.peardeck.com/biaInstaller/).
2. Select **For my School or District**.
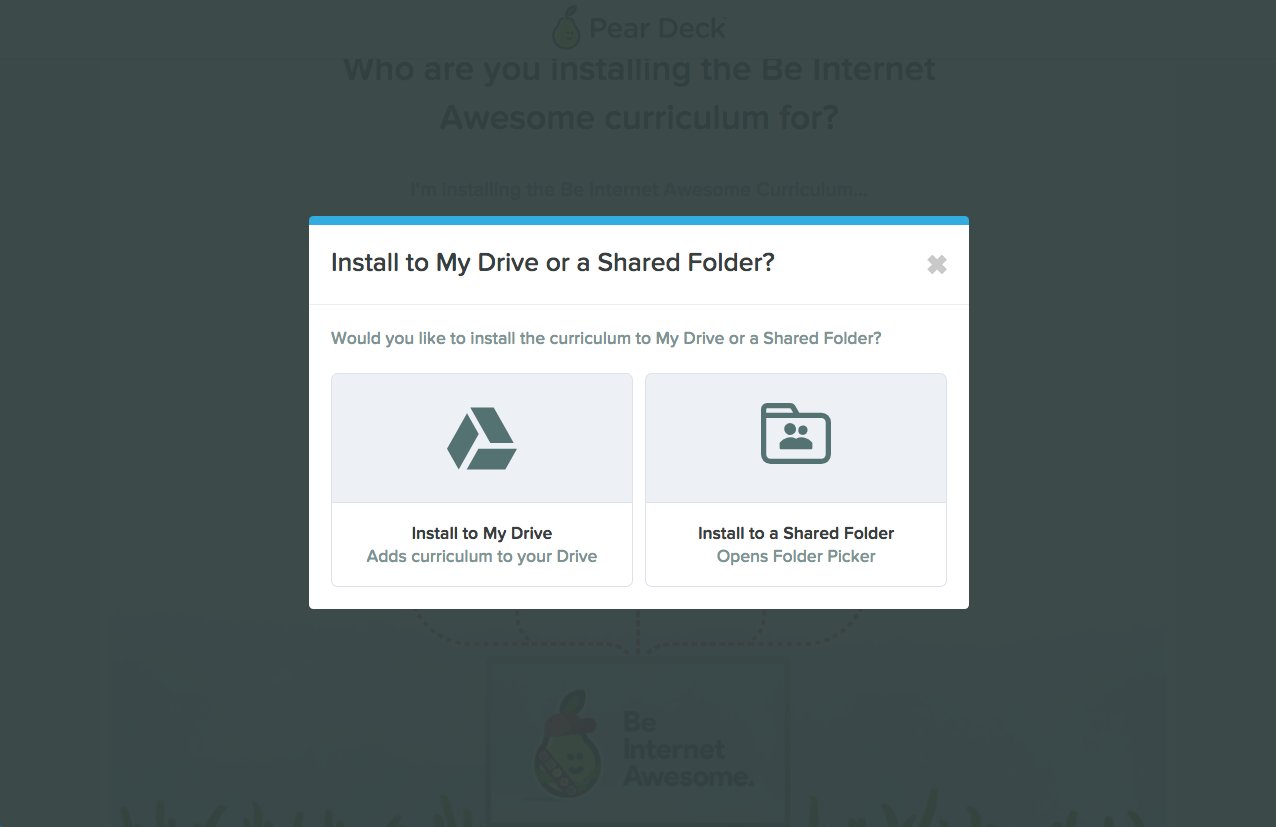
 3. Choose **Install to a Shared Folder**. You can also select **Install to My Drive** here if you change your mind and prefer to add it to your own Drive only.
 4. Wait while the curriculum installs. Do not close the window while installation is in progress. Installation typically takes about one minute.
 5. Once installation is complete, a quick-start screen appears with next steps for getting your school started with Be Internet Awesome. From that screen you can:
* Review the curriculum in Drive
* [Review the folder permissions](https://support.google.com/drive/answer/7166529) to confirm the file is accessible to everyone
* Share the folder with specific individuals in Drive
* Send an automatic email to your faculty with instructions for getting started
6. Click **Review in Drive** to locate the folder. The Be Internet Awesome files are saved inside the shared folder you selected. Anyone with access to that folder can view the curriculum.
5. Once installation is complete, a quick-start screen appears with next steps for getting your school started with Be Internet Awesome. From that screen you can:
* Review the curriculum in Drive
* [Review the folder permissions](https://support.google.com/drive/answer/7166529) to confirm the file is accessible to everyone
* Share the folder with specific individuals in Drive
* Send an automatic email to your faculty with instructions for getting started
6. Click **Review in Drive** to locate the folder. The Be Internet Awesome files are saved inside the shared folder you selected. Anyone with access to that folder can view the curriculum.
 ## Install to a Google Shared Drive
Use this option for school- or district-wide rollouts. Shared Drive integration for Pear Deck is available exclusively to school and district customers. To store and present Be Internet Awesome presentations from a Shared Drive, your school or district must have Shared Drive integration enabled with Pear Deck. Contact your Subscription Manager or Pear Deck representative to enable this before proceeding.
1. Go to [https://app.peardeck.com/biaInstaller/](https://app.peardeck.com/biaInstaller/).
2. Select **For my School or District**.
## Install to a Google Shared Drive
Use this option for school- or district-wide rollouts. Shared Drive integration for Pear Deck is available exclusively to school and district customers. To store and present Be Internet Awesome presentations from a Shared Drive, your school or district must have Shared Drive integration enabled with Pear Deck. Contact your Subscription Manager or Pear Deck representative to enable this before proceeding.
1. Go to [https://app.peardeck.com/biaInstaller/](https://app.peardeck.com/biaInstaller/).
2. Select **For my School or District**.
 3. Select the Shared Drive where you want to store the Be Internet Awesome curriculum.
4. Wait while the curriculum installs. Do not close the window while installation is in progress. Installation typically takes about one minute.
3. Select the Shared Drive where you want to store the Be Internet Awesome curriculum.
4. Wait while the curriculum installs. Do not close the window while installation is in progress. Installation typically takes about one minute.
 5. Once installation is complete, a quick-start screen appears with next steps. From that screen you can:
* Review the curriculum in Drive
* [Review the folder permissions](https://support.google.com/drive/answer/7166529) to confirm the file is accessible to everyone
* Share the folder with specific individuals in Drive
* Send an automatic email to your faculty with instructions for getting started
6. Access the Be Internet Awesome folder directly from your Shared Drive.
## Resources
Set up a free Pear Deck account before installing the Be Internet Awesome curriculum.
Review and manage sharing permissions so colleagues and students can access the curriculum folder.
5. Once installation is complete, a quick-start screen appears with next steps. From that screen you can:
* Review the curriculum in Drive
* [Review the folder permissions](https://support.google.com/drive/answer/7166529) to confirm the file is accessible to everyone
* Share the folder with specific individuals in Drive
* Send an automatic email to your faculty with instructions for getting started
6. Access the Be Internet Awesome folder directly from your Shared Drive.
## Resources
Set up a free Pear Deck account before installing the Be Internet Awesome curriculum.
Review and manage sharing permissions so colleagues and students can access the curriculum folder.