> ## Documentation Index
> Fetch the complete documentation index at: https://docs.goguardian.com/llms.txt
> Use this file to discover all available pages before exploring further.
# Present Google Slides Animations with the Power-Up
> Install the Pear Deck Power-Up Chrome extension to play videos, animations, and GIFs at full resolution during Instructor-Paced sessions
The Pear Deck Power-Up is a free Google Chrome extension that enables videos, animations, and GIFs embedded in your Google Slides to play at full resolution during a live Pear Deck session. The extension is available only in Google Chrome and only for users who sign in to Pear Deck with a Google account. Students do not need to install it.
## What the Power-Up Enables
Without the extension, videos, animations, and GIFs in Google Slides render as static images in a Pear Deck session. With the Power-Up installed:
* Slide animations and GIFs play on the Projector View and Student View during a live, Instructor-Paced session. They do not play on the Teacher Dashboard.
* Videos inserted via **Insert** > **Video** play on the Projector View. They are not playable on the Teacher Dashboard or Student View. Share the Projector View with the class on a screen or video call so everyone can watch together.
If you want students to play a video on their own screens, add it to a Website slide instead of using the Power-Up extension. See [Embed a Website Slide](/products/pear-deck/embed-website-slide) for details.
 ## Install the Power-Up Extension
Only the teacher or presenter needs to install the extension. To install it on your device:
1. Go to the [Pear Deck Power-Up listing in the Google Chrome Web Store](https://chrome.google.com/webstore/detail/pear-deck-power-up/paijmjmfnjcbjlimjeminlepannmimbi).
2. Click **Add to Chrome**.
3. Click **Add Extension** to confirm.
When the extension installs successfully, its icon appears in your Chrome toolbar. From that point on, your videos, animations, and GIFs play at full resolution each time you present using the Pear Deck for Google Slides Add-on. You can view and manage your extensions through the Chrome Extensions menu.
If you are a Google Workspace administrator and want to install the Power-Up for all teachers in your domain at once, see [Install the Power-Up for Your Domain](/products/pear-deck/install-power-up-for-administrators).
## Present with the Power-Up Active
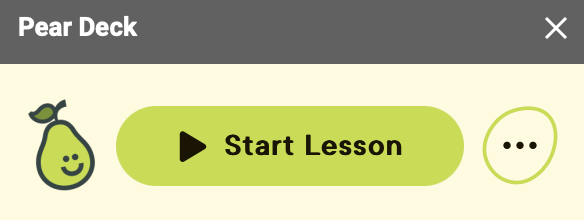
1. Open your Google Slides file and start the Pear Deck for Google Slides Add-on sidebar. Click **Start Lesson** to begin a new session.
2. When prompted, select **Instructor-Paced Mode**. The Power-Up only works in Instructor-Paced sessions.
## Install the Power-Up Extension
Only the teacher or presenter needs to install the extension. To install it on your device:
1. Go to the [Pear Deck Power-Up listing in the Google Chrome Web Store](https://chrome.google.com/webstore/detail/pear-deck-power-up/paijmjmfnjcbjlimjeminlepannmimbi).
2. Click **Add to Chrome**.
3. Click **Add Extension** to confirm.
When the extension installs successfully, its icon appears in your Chrome toolbar. From that point on, your videos, animations, and GIFs play at full resolution each time you present using the Pear Deck for Google Slides Add-on. You can view and manage your extensions through the Chrome Extensions menu.
If you are a Google Workspace administrator and want to install the Power-Up for all teachers in your domain at once, see [Install the Power-Up for Your Domain](/products/pear-deck/install-power-up-for-administrators).
## Present with the Power-Up Active
1. Open your Google Slides file and start the Pear Deck for Google Slides Add-on sidebar. Click **Start Lesson** to begin a new session.
2. When prompted, select **Instructor-Paced Mode**. The Power-Up only works in Instructor-Paced sessions.
 3. The Projector View opens and displays the join instructions for students.
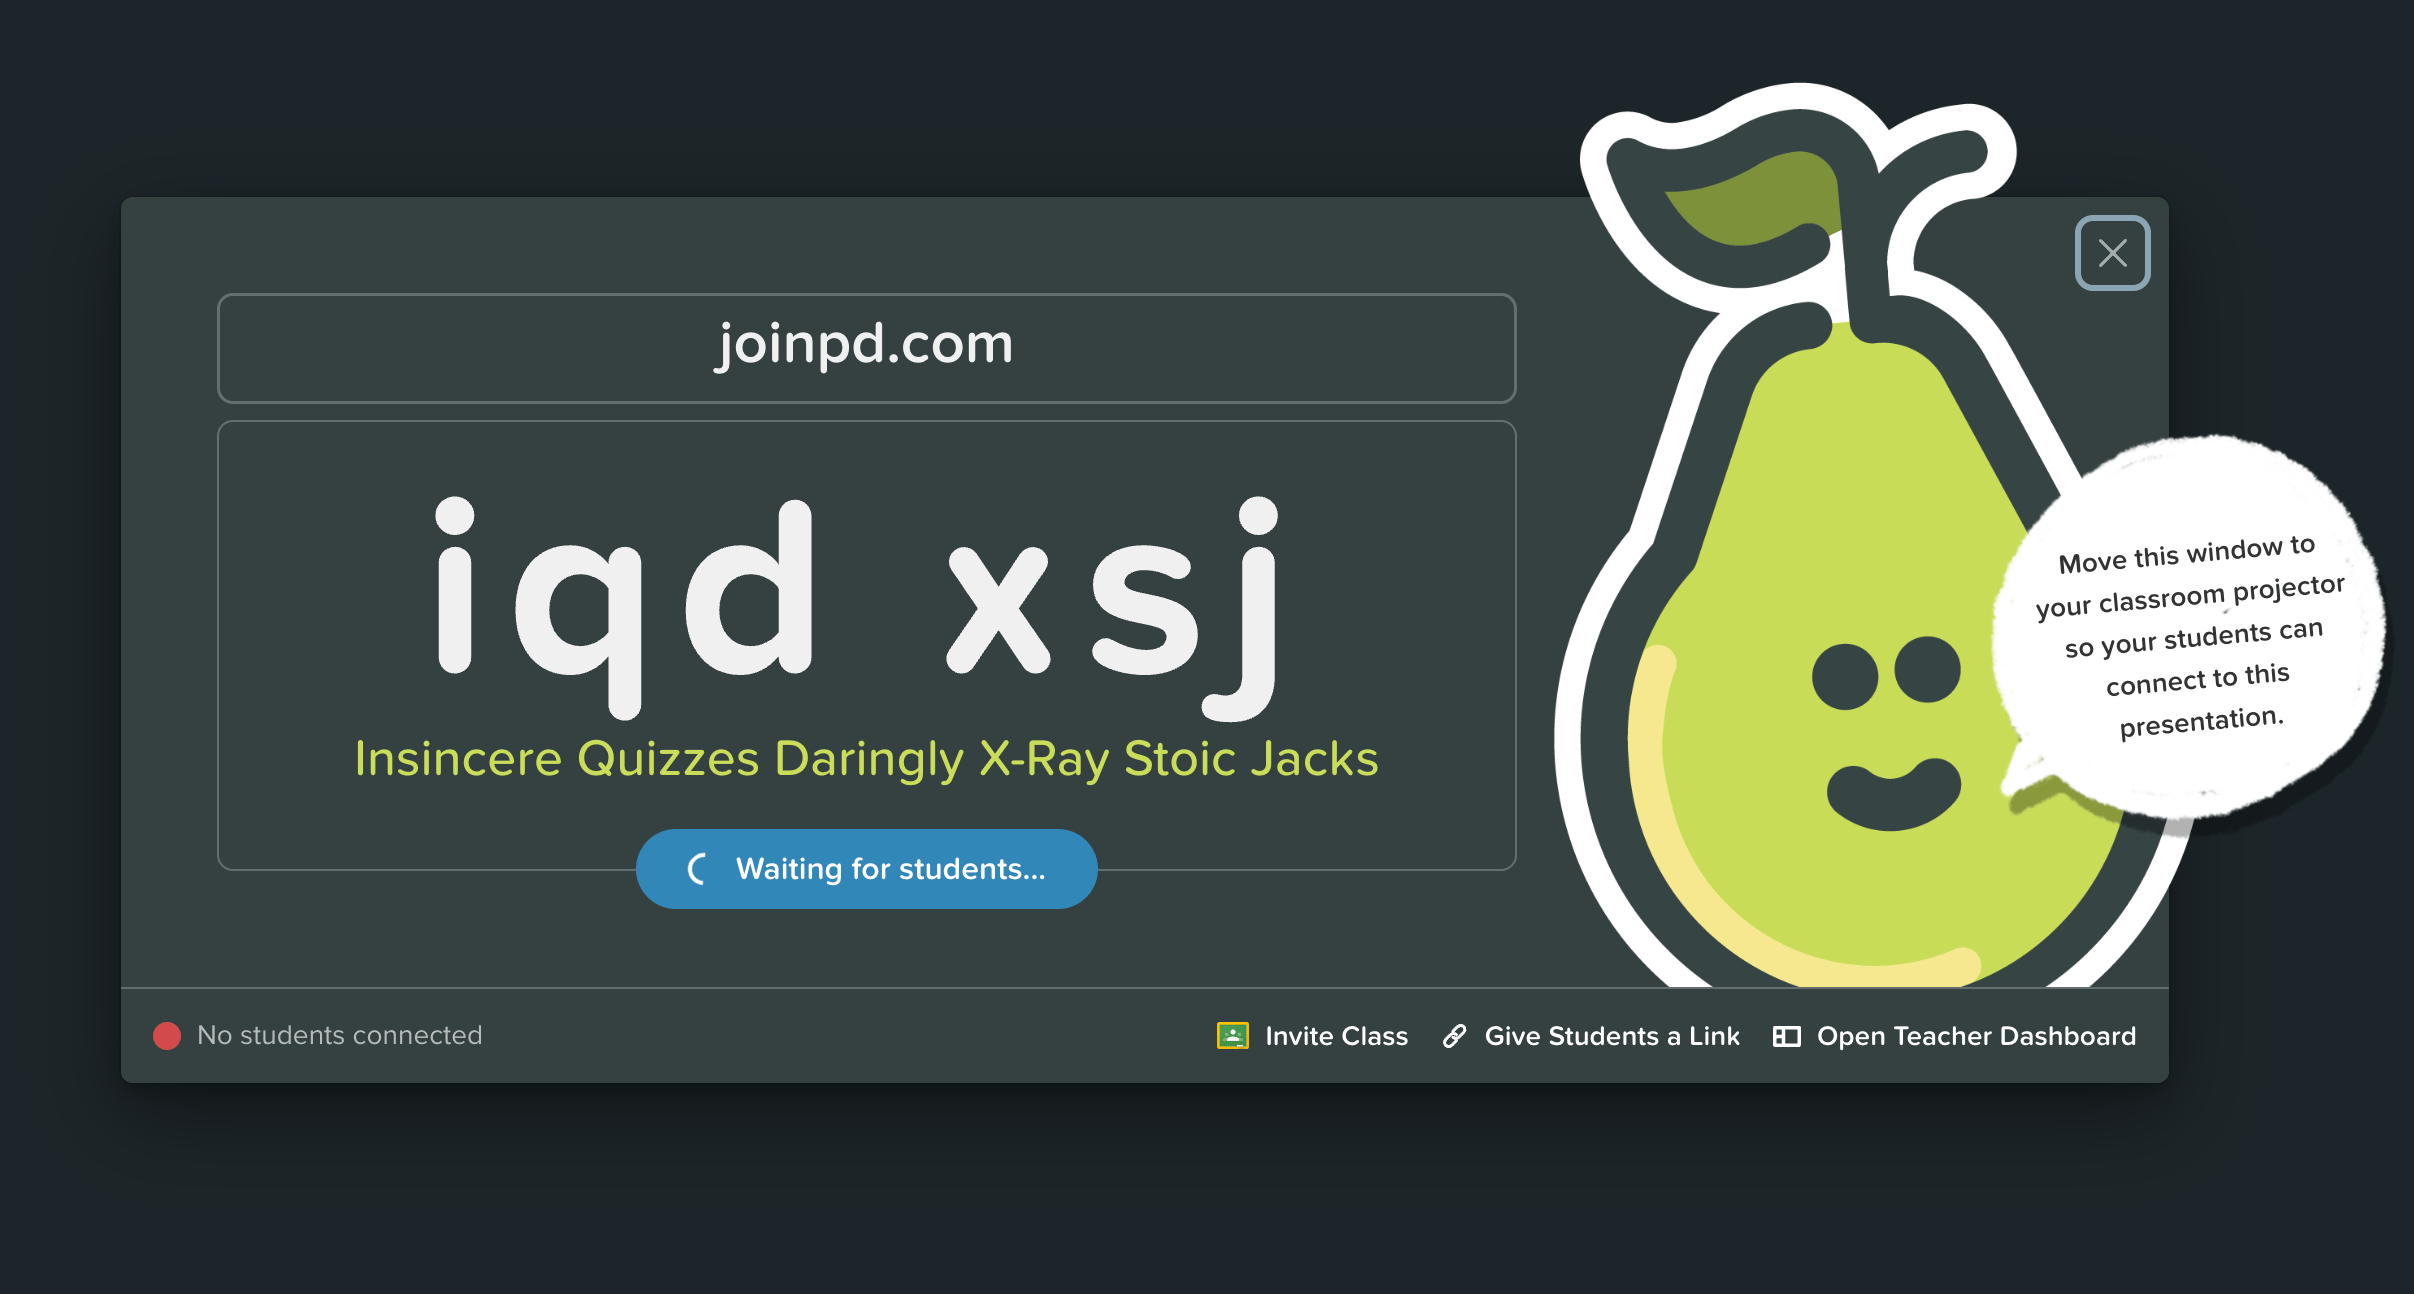 4. Students join the session to see your slides and respond to interactive questions. See [Present a Pear Deck Session](/products/pear-deck/present-a-pear-deck) for a full walkthrough of running an Instructor-Paced session.
### Tips for Presenting
* Google Slides animations and videos appear only on the Projector View. They are not available on the Student View or Teacher Dashboard.
* The extension works on one presentation at a time. If you start a second session using the same or a different deck, the interactive slides work normally, but animations, GIFs, and videos on those slides render as static images.
* To present an additional session without the Power-Up active, open your file from [Pear Deck Home](https://app.peardeck.com/home/), then present from there rather than from the sidebar.
## A Note on Using Animations
The Power-Up adds real flexibility, but your Pear Deck sessions work exactly as they always have without it. The interactive features and student engagement you rely on are unaffected if you never install the extension.
That said, visual content works best when it supports the lesson rather than competes with it. Keep animations purposeful and easy to follow. Well-chosen visuals reinforce understanding rather than creating distractions.
## Resources
Walk through running a live Instructor-Paced session from start to finish.
Google Workspace administrators can push the Power-Up extension to all teachers automatically.
4. Students join the session to see your slides and respond to interactive questions. See [Present a Pear Deck Session](/products/pear-deck/present-a-pear-deck) for a full walkthrough of running an Instructor-Paced session.
### Tips for Presenting
* Google Slides animations and videos appear only on the Projector View. They are not available on the Student View or Teacher Dashboard.
* The extension works on one presentation at a time. If you start a second session using the same or a different deck, the interactive slides work normally, but animations, GIFs, and videos on those slides render as static images.
* To present an additional session without the Power-Up active, open your file from [Pear Deck Home](https://app.peardeck.com/home/), then present from there rather than from the sidebar.
## A Note on Using Animations
The Power-Up adds real flexibility, but your Pear Deck sessions work exactly as they always have without it. The interactive features and student engagement you rely on are unaffected if you never install the extension.
That said, visual content works best when it supports the lesson rather than competes with it. Keep animations purposeful and easy to follow. Well-chosen visuals reinforce understanding rather than creating distractions.
## Resources
Walk through running a live Instructor-Paced session from start to finish.
Google Workspace administrators can push the Power-Up extension to all teachers automatically.