> ## Documentation Index
> Fetch the complete documentation index at: https://docs.goguardian.com/llms.txt
> Use this file to discover all available pages before exploring further.
# Enroll Students in GoGuardian Teacher Classes
> Add or remove students in a GoGuardian Teacher class by enroll code, email address, or CSV upload, and understand roster limits and sync sources.
After you create a classroom, you can add or remove students as needed. How you make roster changes depends on how the classroom was created:
* Classes created directly in GoGuardian Teacher can be edited freely.
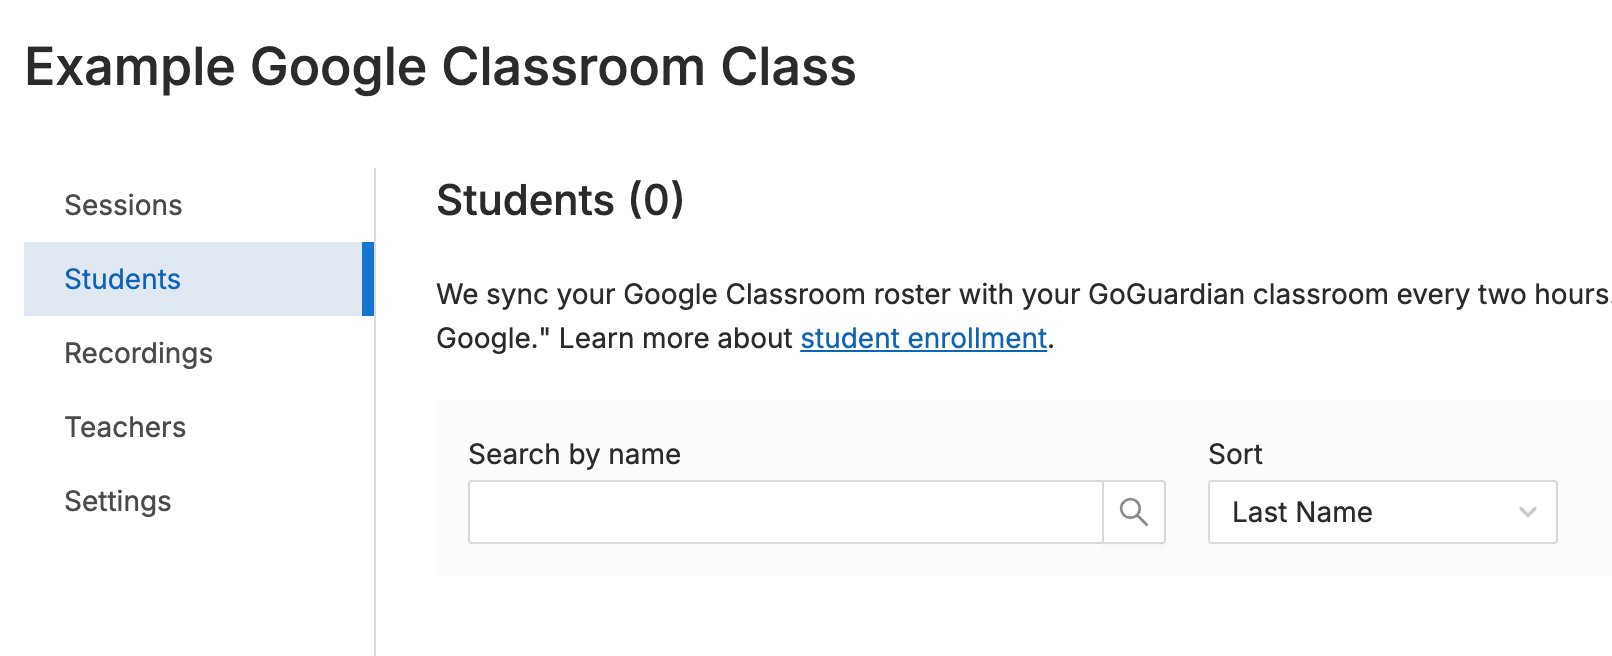
* Classes synced from a student information system (such as Clever or ClassLink) or imported from Google Classroom must have their roster edited in the original class source, then synced back to GoGuardian Teacher.
For steps to add students through Google Classroom, Clever, or ClassLink, see the relevant integration article.
Two roster limits apply to every class:
* A classroom session will not start until at least one student is enrolled.
* Class rosters are limited to a maximum of 115 students.
## Choose an Enrollment Method
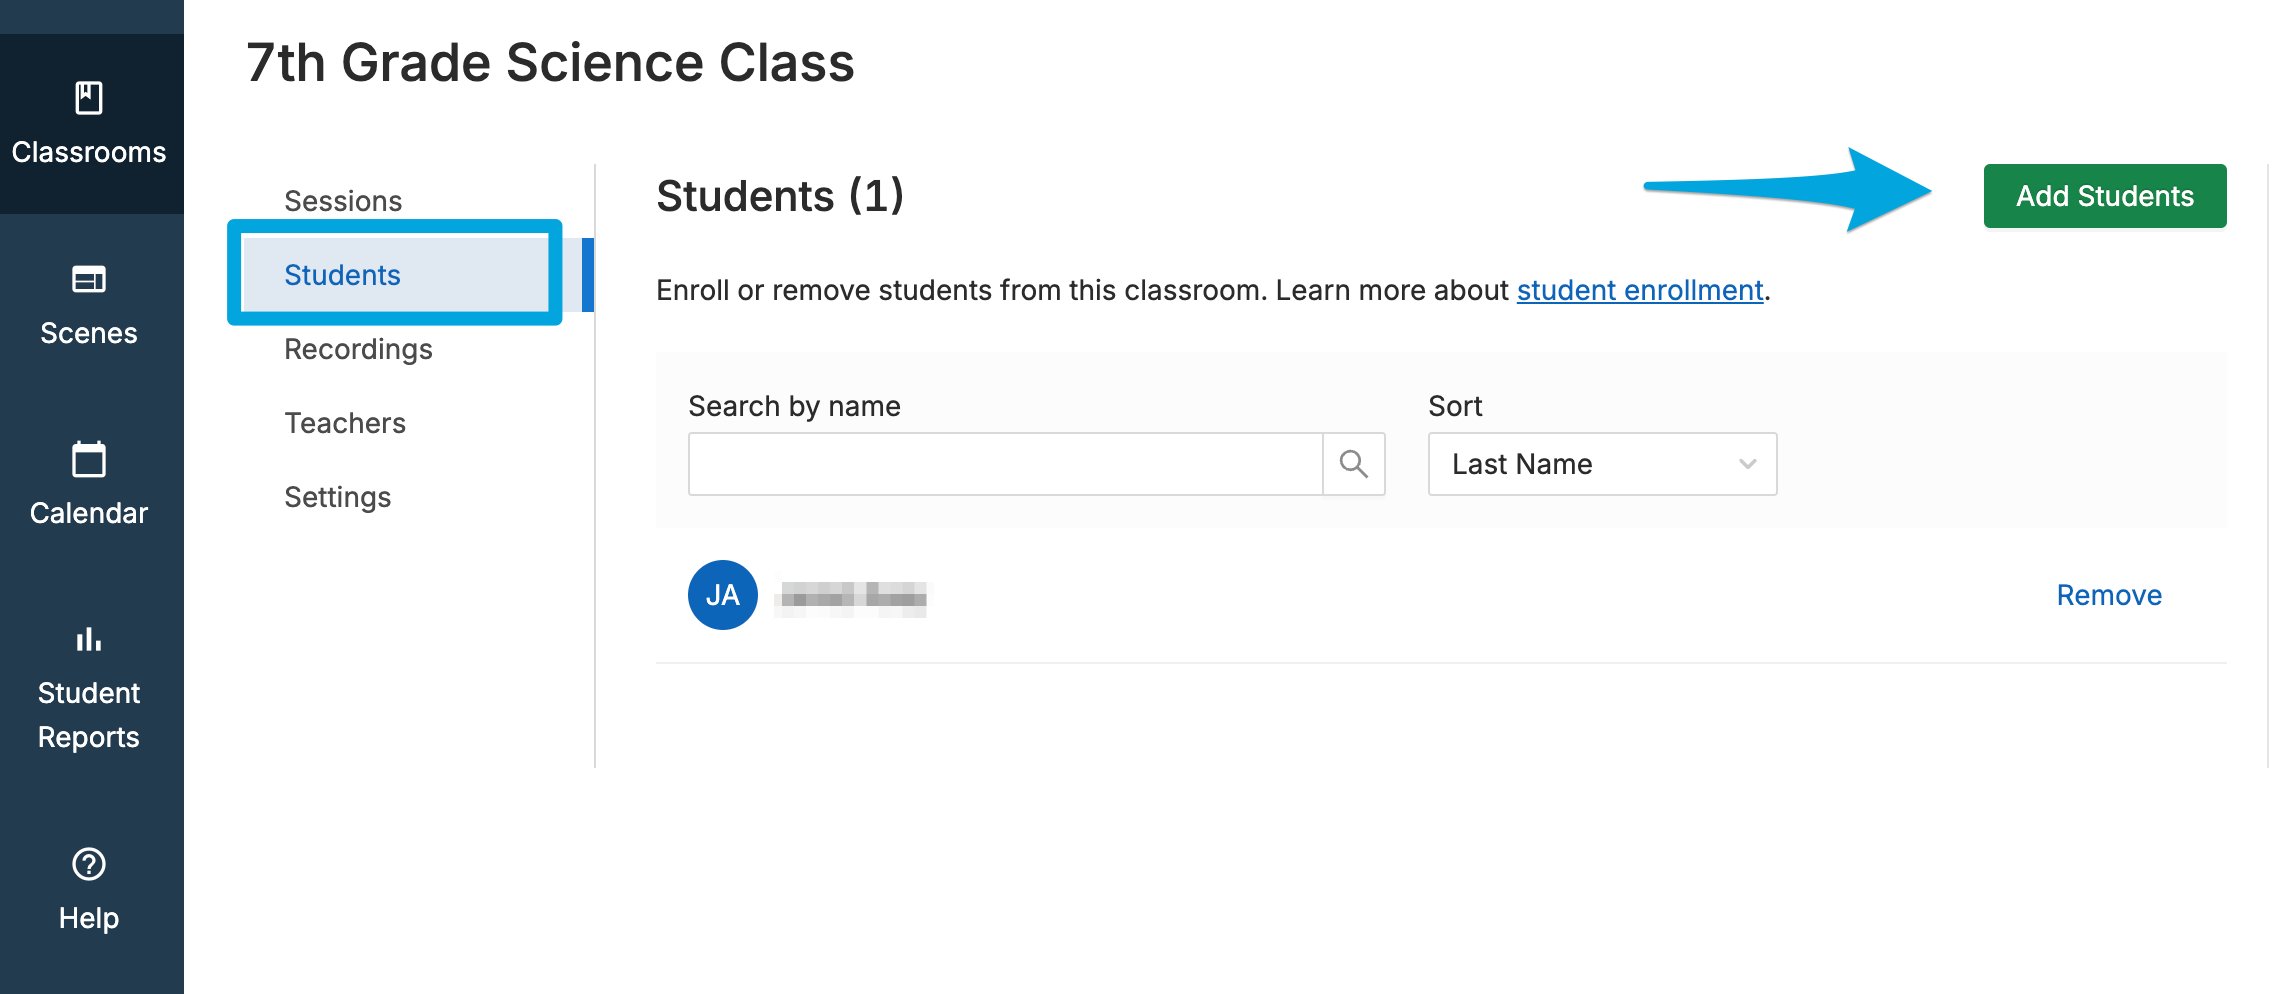
To enroll students in a class created in GoGuardian Teacher, select the classroom you want to edit, then click the **Students** tab. Click **Add Students** to choose one of three options: by enroll code, by email address, or by CSV file upload.
## Add Students by Enroll Code
The enroll code is a good option for students who are currently in class and using their devices.
1. In the **Students** section of a class, click **Add Students**.
2. Click **Use code**. A six-digit alphanumeric code unique to your classroom appears.
 3\. Have students visit [enroll.goguardian.com](https://enroll.goguardian.com/) and enter the classroom code. Students see a confirmation message when they enroll successfully.
4\. Return to the **Students** section of your classroom.
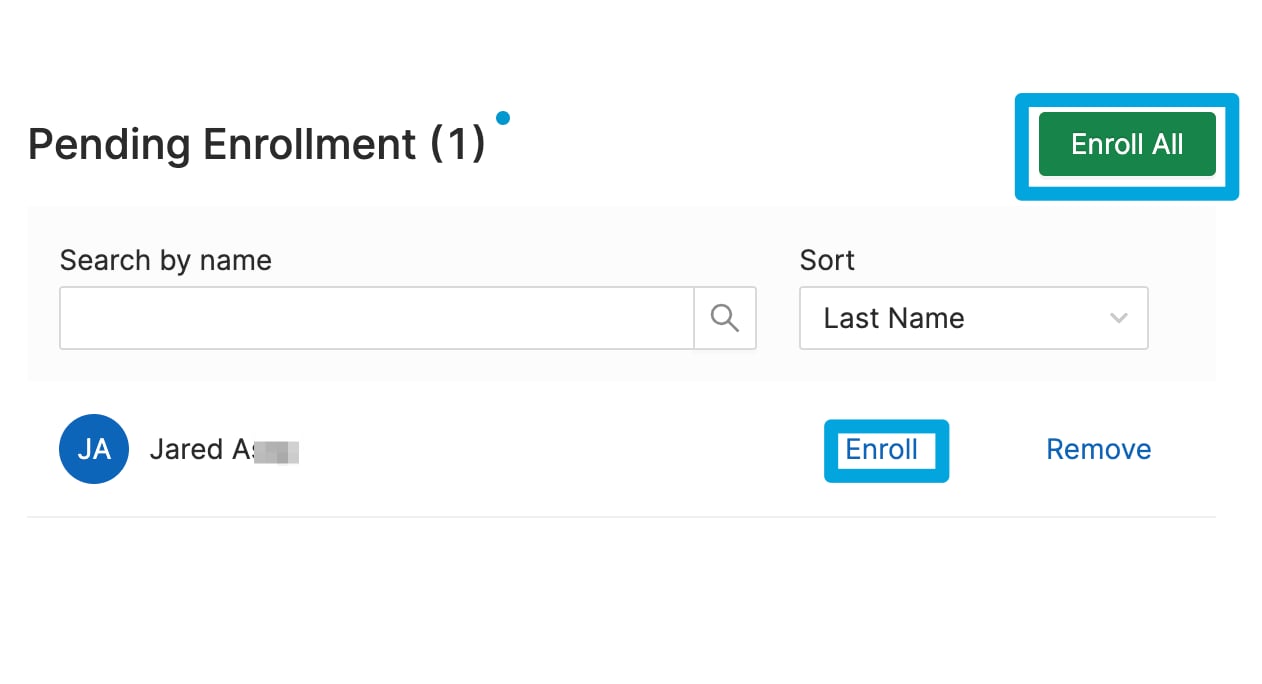
5\. Under **Pending Enrollment**, click **Enroll All** to approve the new students, or approve each student individually. You may need to refresh the page to see pending students.
3\. Have students visit [enroll.goguardian.com](https://enroll.goguardian.com/) and enter the classroom code. Students see a confirmation message when they enroll successfully.
4\. Return to the **Students** section of your classroom.
5\. Under **Pending Enrollment**, click **Enroll All** to approve the new students, or approve each student individually. You may need to refresh the page to see pending students.
 If a student sees a "We don't recognize this Chromebook" page while enrolling, GoGuardian is not yet installed on that account. Ask your GoGuardian Administrator or IT department to confirm GoGuardian is installed for each student.
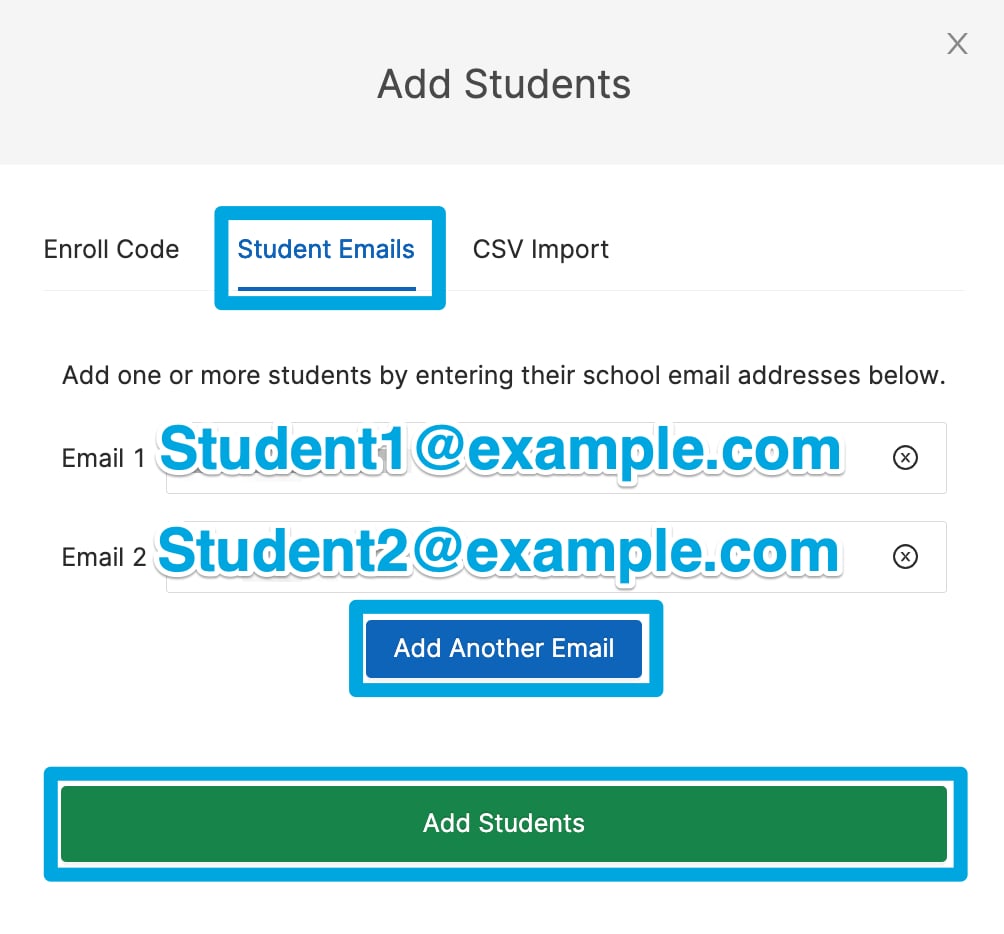
 ## Add Students by Email Address
You can add students by email address whether or not they are logged in to their devices.
1. In the **Students** tab, click **Add Students**.
2. Click **Add emails**.
3. Enter an email address.
4. Click **Add Another Email** or press Enter to add more addresses.
5. Click **Add Students**.
You can add more students with this method at any time.
## Add Students by Email Address
You can add students by email address whether or not they are logged in to their devices.
1. In the **Students** tab, click **Add Students**.
2. Click **Add emails**.
3. Enter an email address.
4. Click **Add Another Email** or press Enter to add more addresses.
5. Click **Add Students**.
You can add more students with this method at any time.
 ## Add Students by CSV File Upload
You can add up to 115 students at once with a CSV file.
1. In a spreadsheet editor (such as Google Sheets or Excel), create a file with one column and no header.
2. Enter your students' email addresses in the column, then export the file as a `.csv`.
3. In the **Students** section of the classroom, click **Add Students**, then choose the CSV upload option and select your file.
## Add Students by CSV File Upload
You can add up to 115 students at once with a CSV file.
1. In a spreadsheet editor (such as Google Sheets or Excel), create a file with one column and no header.
2. Enter your students' email addresses in the column, then export the file as a `.csv`.
3. In the **Students** section of the classroom, click **Add Students**, then choose the CSV upload option and select your file.
