

Open the Dashboard
You can open the Dashboard from a new session, the navigation bar, or the Sessions menu.-
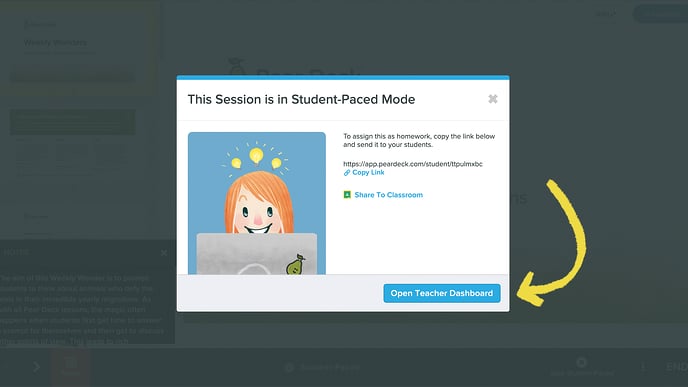
New session: Open the Pear Deck sidebar in Google Slides or PowerPoint Online and click Start Lesson. Choose Instructor-Paced or Student-Paced mode.
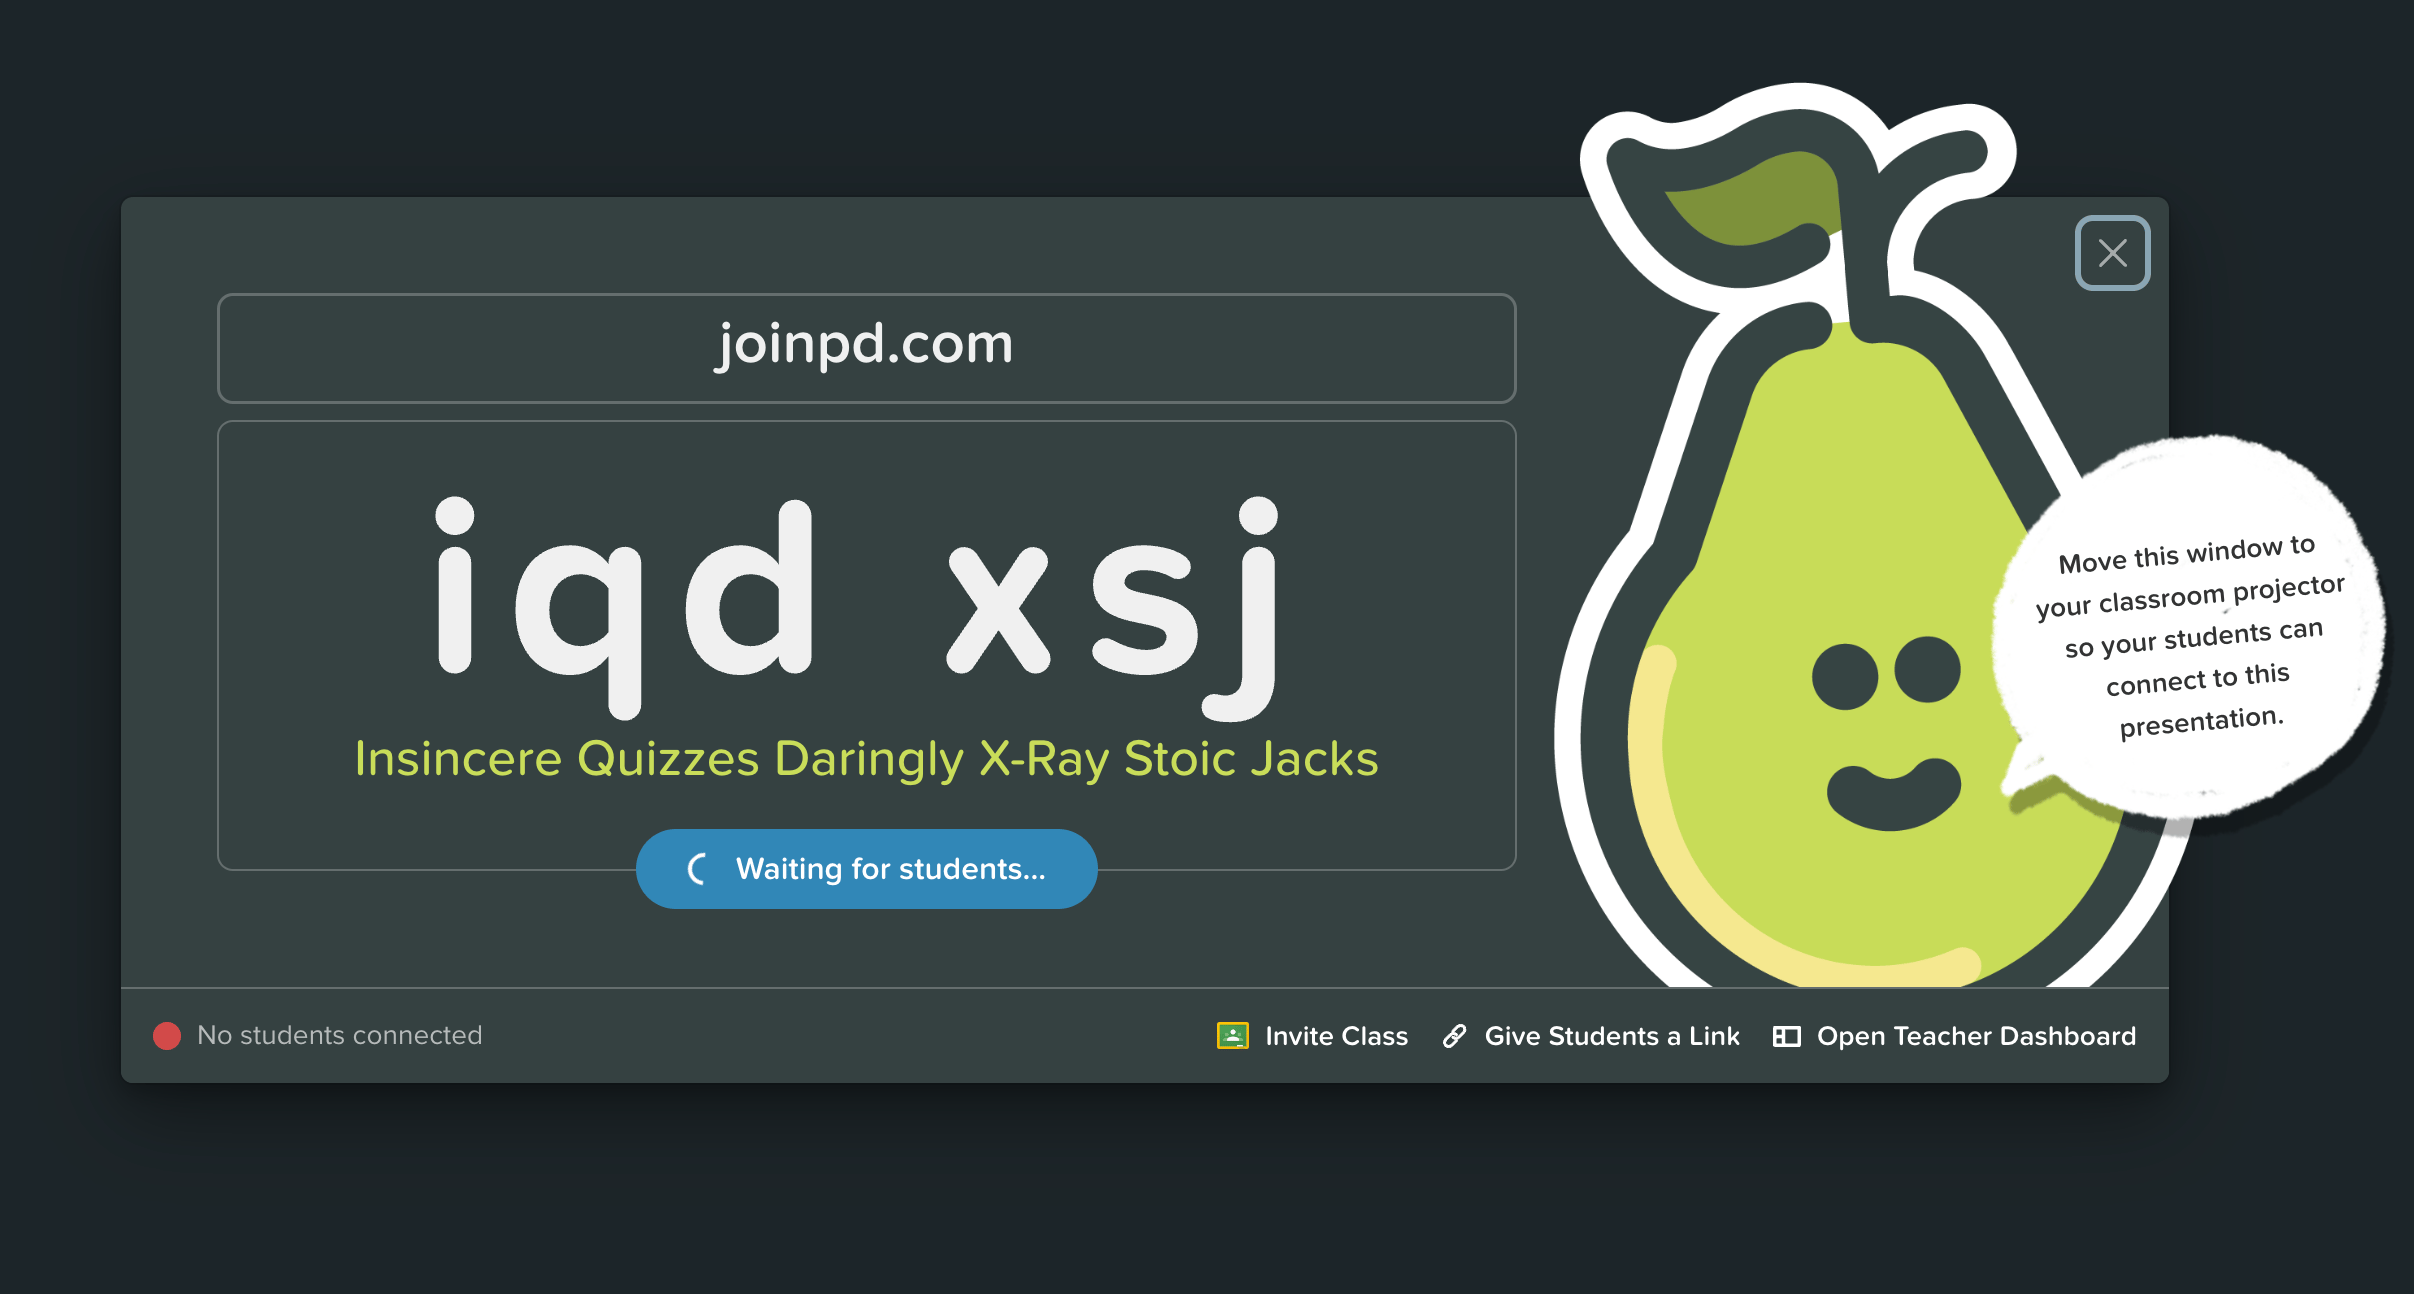
- In Instructor-Paced mode, you open the Projector View with join instructions automatically. Click Open Teacher Dashboard. Student screens sync with your Projector View and Dashboard.
- In Student-Paced mode, the Dashboard View opens automatically. Close the modal window to begin viewing it.
- Navigation bar: On any slide, click the More Actions (three-dots) menu in the navigation bar and select Open Teacher Dashboard.
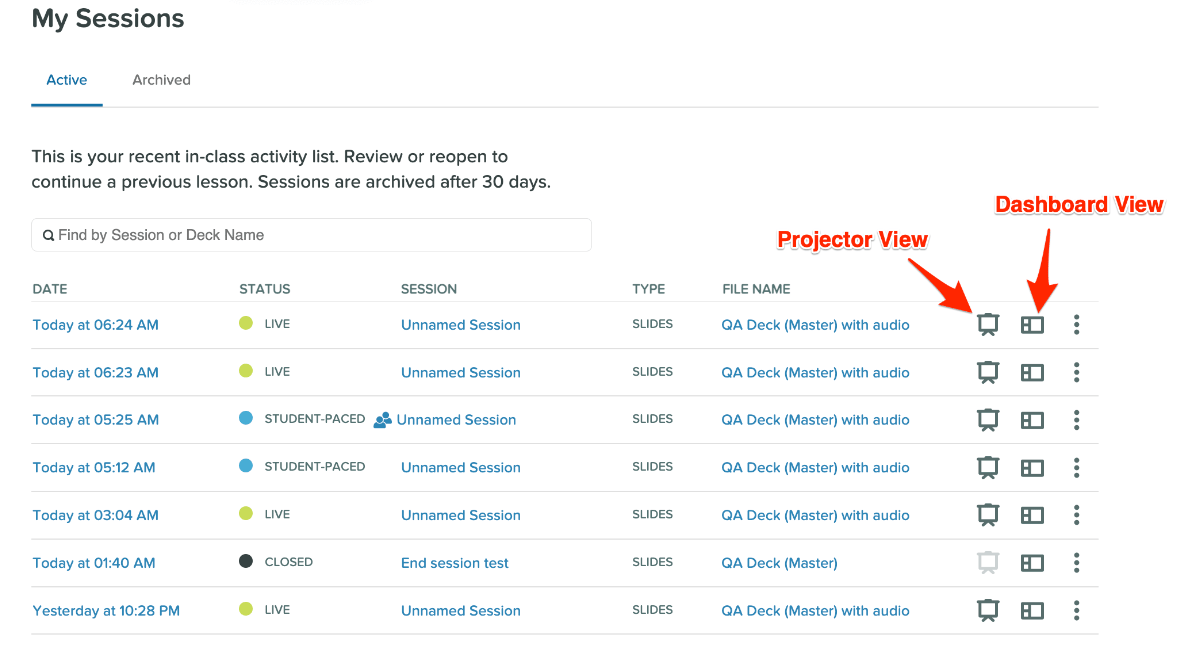
- Sessions menu: Open the Dashboard from your Sessions menu. This is the recommended method for reviewing answers after a session closes.

Use the Dashboard
Quick Tour
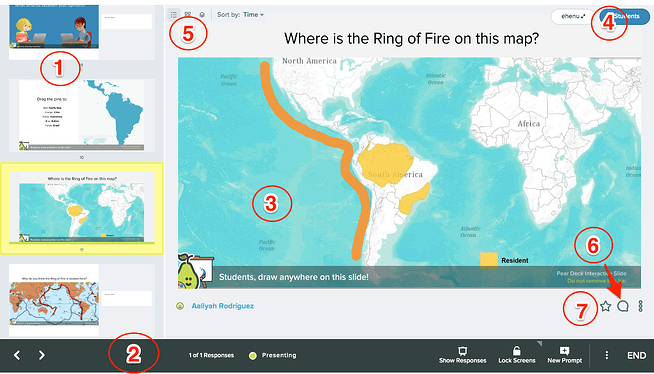
- Slide Drawer: Located on the left side of the screen. Use it to navigate between slides.
- Projector Preview: Displayed on the right side. Shows what students see on the Projector View.
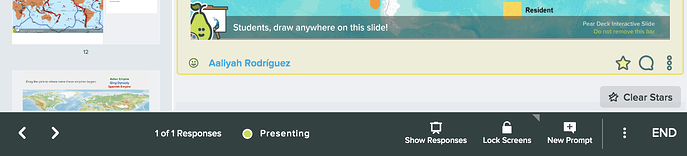
- Navigation bar: Controls slide navigation, shows or hides responses on the Projector View, locks the Student View, and adds new prompt slides. Scrolling in the Dashboard does not sync to the Projector View, so your browsing stays private. Clicking or tabbing on a response highlights it on the Projector View.
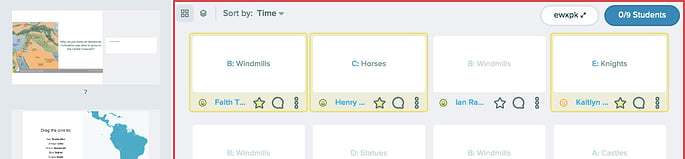
- Student Response Preview: Responses appear in real time as students answer. Scroll through responses privately without displaying them on the projector.
- Student Roster: Click the roster button to see session attendees, invite a Google Classroom class if you have the Google Classroom Integration, or block a student from the session.
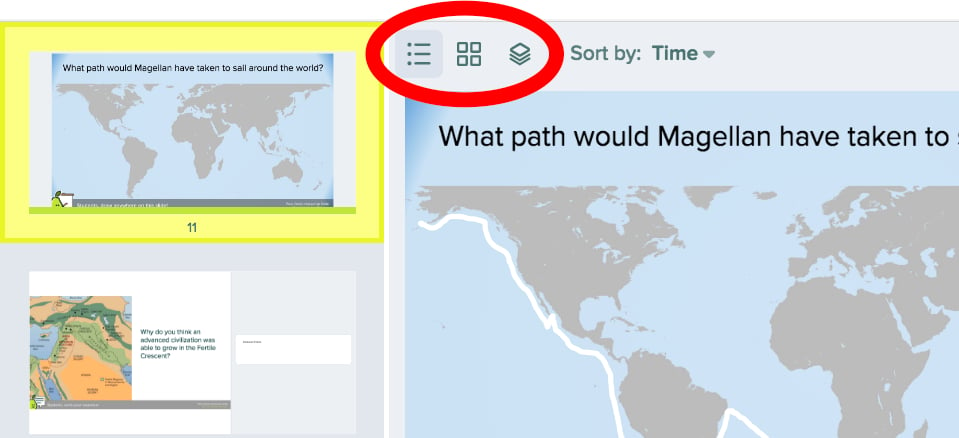
- Response Layout: Adjust the layout based on the interactive slide type. Choose List to scroll through one answer at a time, Grid to see response thumbnails, or Overlaid to view all responses against the same background image.
- Teacher Feedback: Leave a comment for a student using the Feedback button. Students receive feedback in the Student View. See Teacher Feedback.
-
Highlight a response: Click the star next to a student’s name to highlight the response on the Projector View. You can star multiple responses at once.
-
Hide a response: Click the More Actions (three-dots) button on a response to remove it from the Projector View. The answer appears grey in the Dashboard when hidden. Teachers cannot permanently delete student responses in Pear Deck.

Slide Navigation Bar Controls

- Navigation Buttons: Use the slide arrows to move forward and backward through your presentation.
- Notes: Open your speaker notes from Google Slides.
- Show/Hide Responses: Show or hide responses on the Projector View. Responses are anonymous on the Projector View by default.
- Lock: Lock student screens so they cannot make changes. Click and hold the Lock button to set a countdown timer. Students see how long they have to finish. When the timer reaches zero, all student screens lock. Available intervals: 30 seconds, 1 minute, and 3 minutes.
- Add a New Prompt: Add an interactive question to your presentation mid-session. Re-ask a question with a different response type or insert a pre-made interactive slide.
- More Actions: Access additional controls, such as ending the session or switching to Student-Paced mode.
- End: Closes the session.
Customize the Dashboard
Change the Response Layout
-
List view: Scroll through one response at a time.
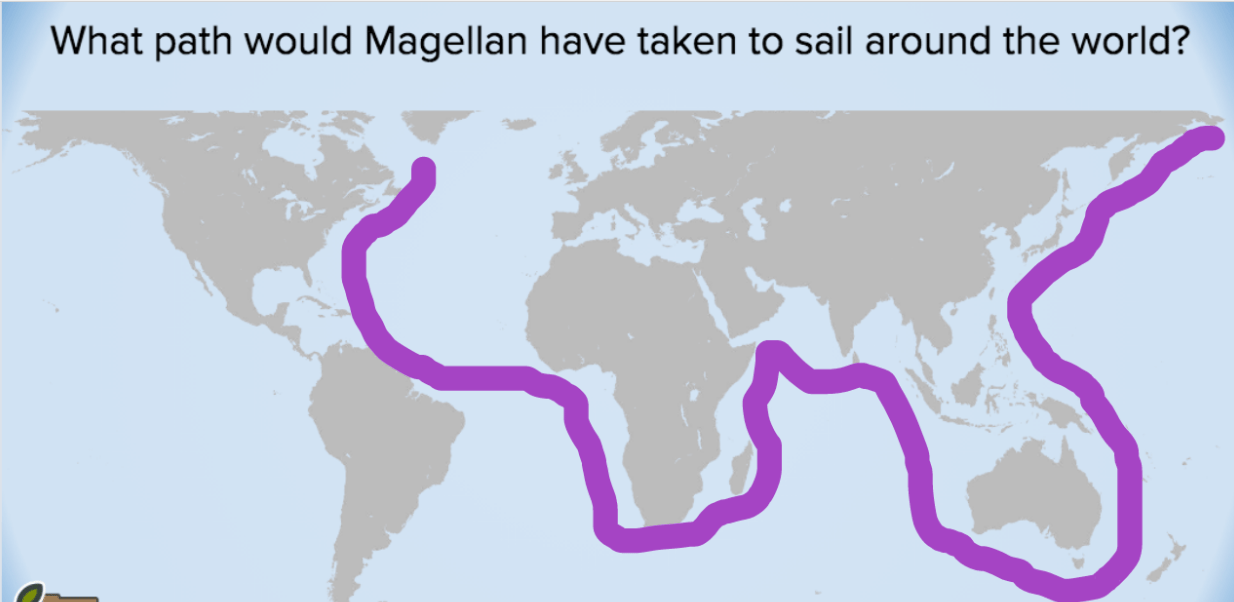
-
Grid view: See thumbnails of all responses at once.
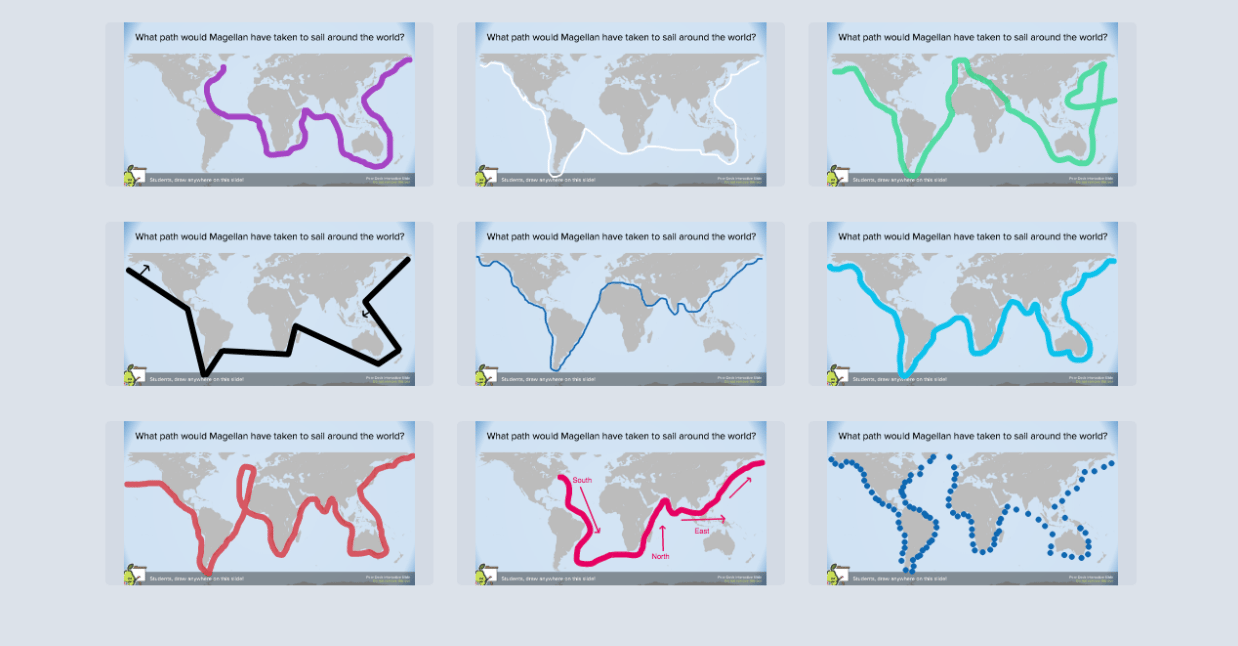
-
Overlaid view: See all responses layered against the same background image.

Text responses cannot be displayed in Overlaid view.
Sort Student Responses

- Time of response
- Student first name, in alphabetical order
Scroll the Projector View from the Dashboard
Scrolling in the Dashboard does not sync to the Projector View. To highlight a response on the Projector View, click or tab on that response in the Dashboard.Resources
Teacher Feedback
Leave comments on individual student responses and deliver feedback directly in the Student View.
Google Classroom Integration
Connect your Google Classroom roster to Pear Deck sessions for streamlined student management.