

- Adding tool details (name and description)
- Customizing fields and values
- Providing custom instructions for Pear Start’s AI model
- Testing the tool by generating content
- Publishing the tool for your use
Custom tools created by teachers display a “Custom” badge next to their name.
Create a Custom Tool
- Click Tools in the left-hand navigation menu.
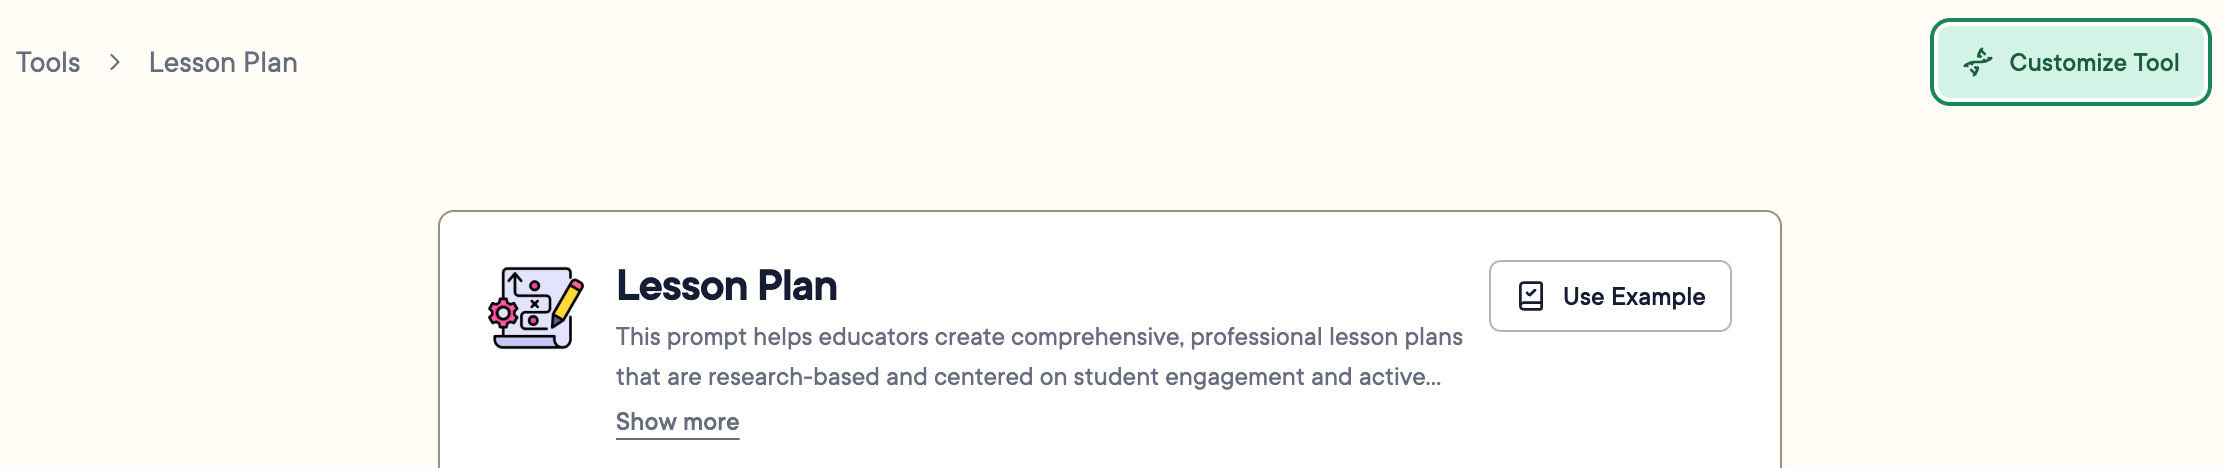
- Click Create Custom Tool under All Tools. You can also click a tool’s name and select Customize Tool.

-
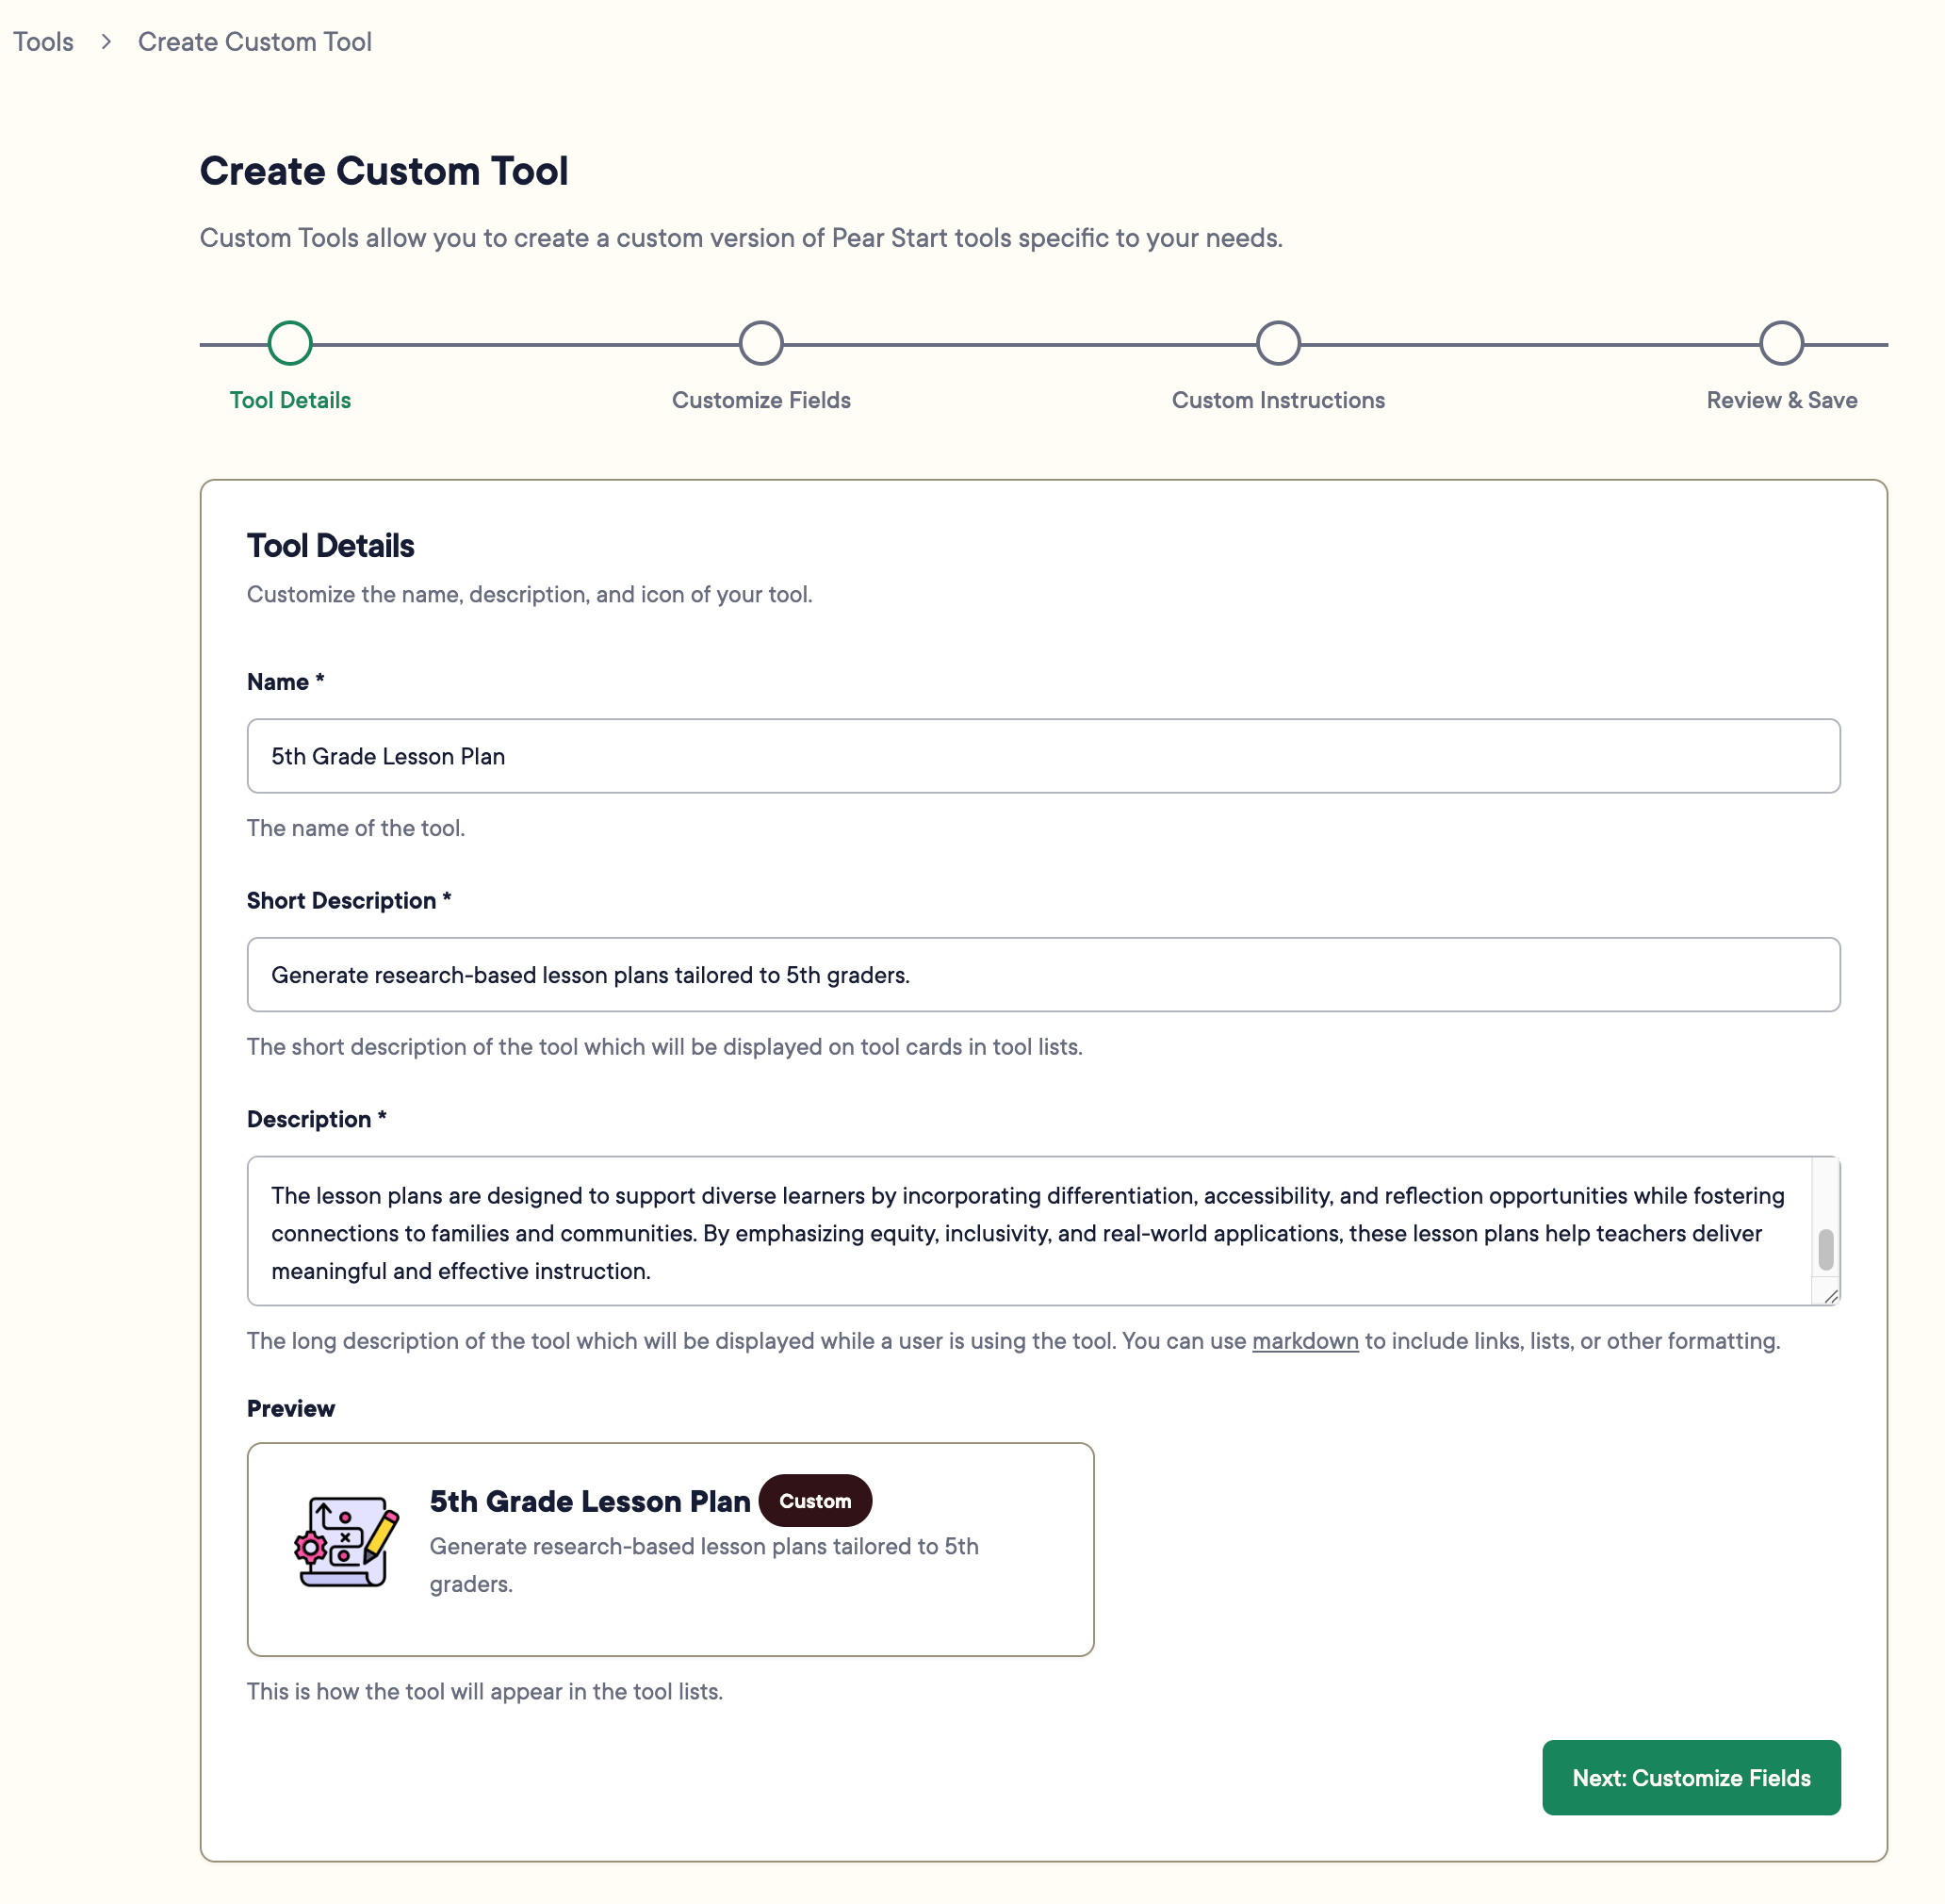
Under Tool Details, fill out the following fields:
- Name : the name shown on the Tools page
- Short Description : shown under the tool’s name in the tools list
- Description : a longer explanation of how the tool works and its best practices, shown when a teacher opens the tool
- Review the tool’s name and short description under Preview. Custom tools display a “Custom” badge.
- Click Next: Customize Fields.
- Review each field and toggle on Hide Field if needed.
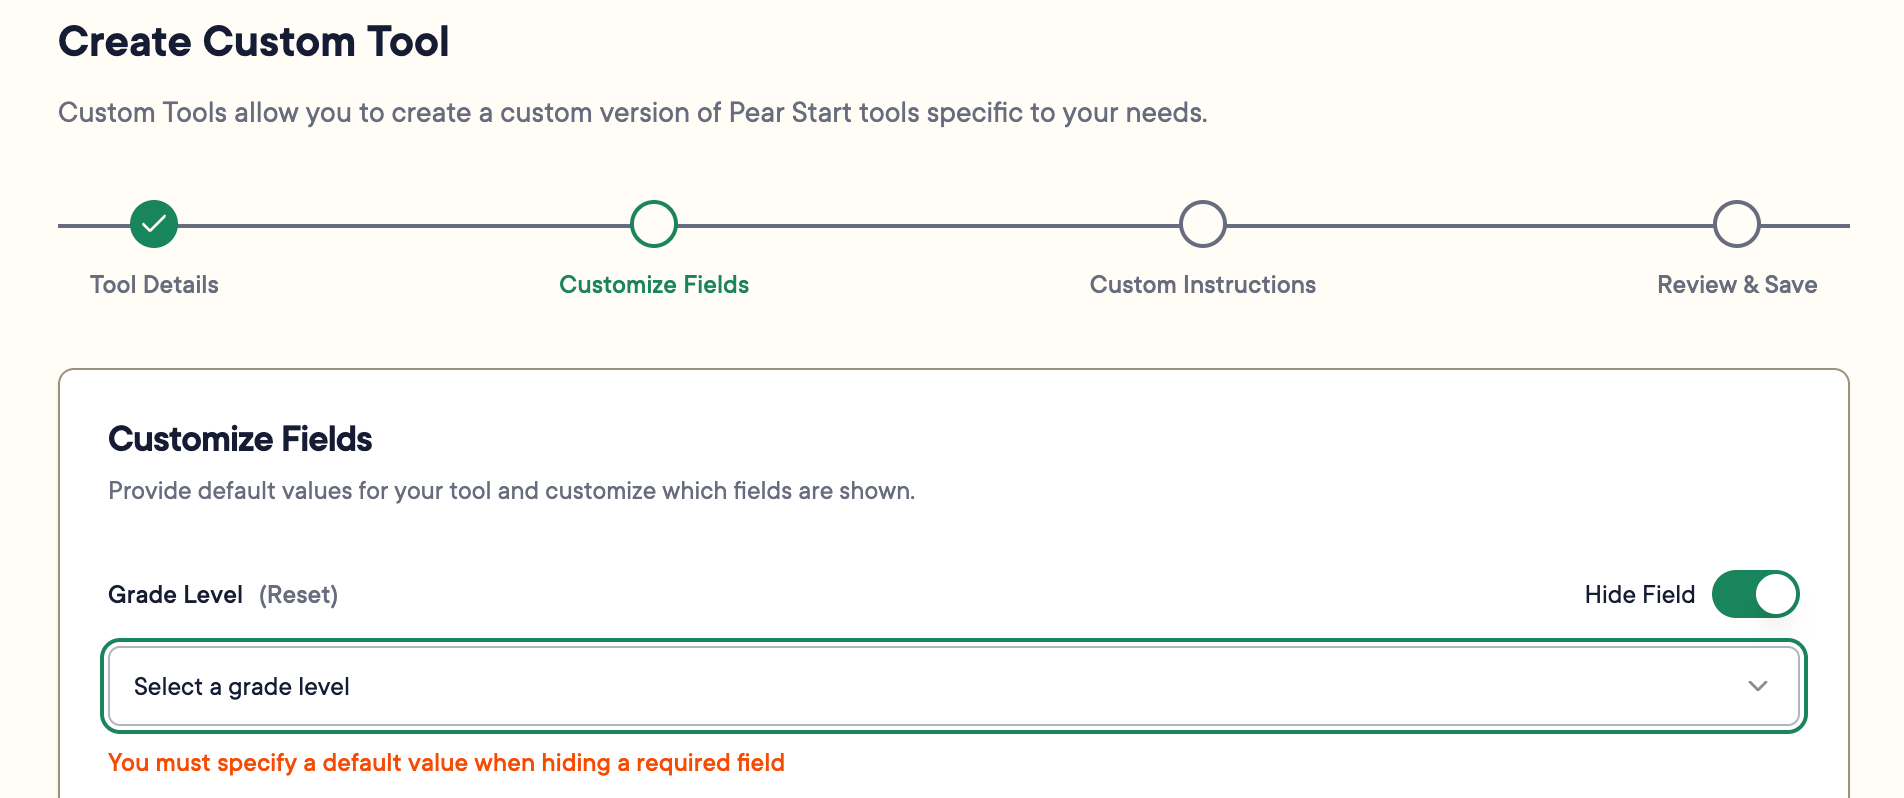
Hidden fields require default values.
- Enter default or example values for each field.
- Click Next: Custom Instructions.
- Under Custom Instructions, list steps or requirements for the AI model to follow when generating content. Examples:
- “Include links to videos, images, and materials referenced.”
- “Give clear and concise directions for student activities.”
- “Create a lesson hook to engage students at the start of a lesson.”
- Click Next: Review & Save.
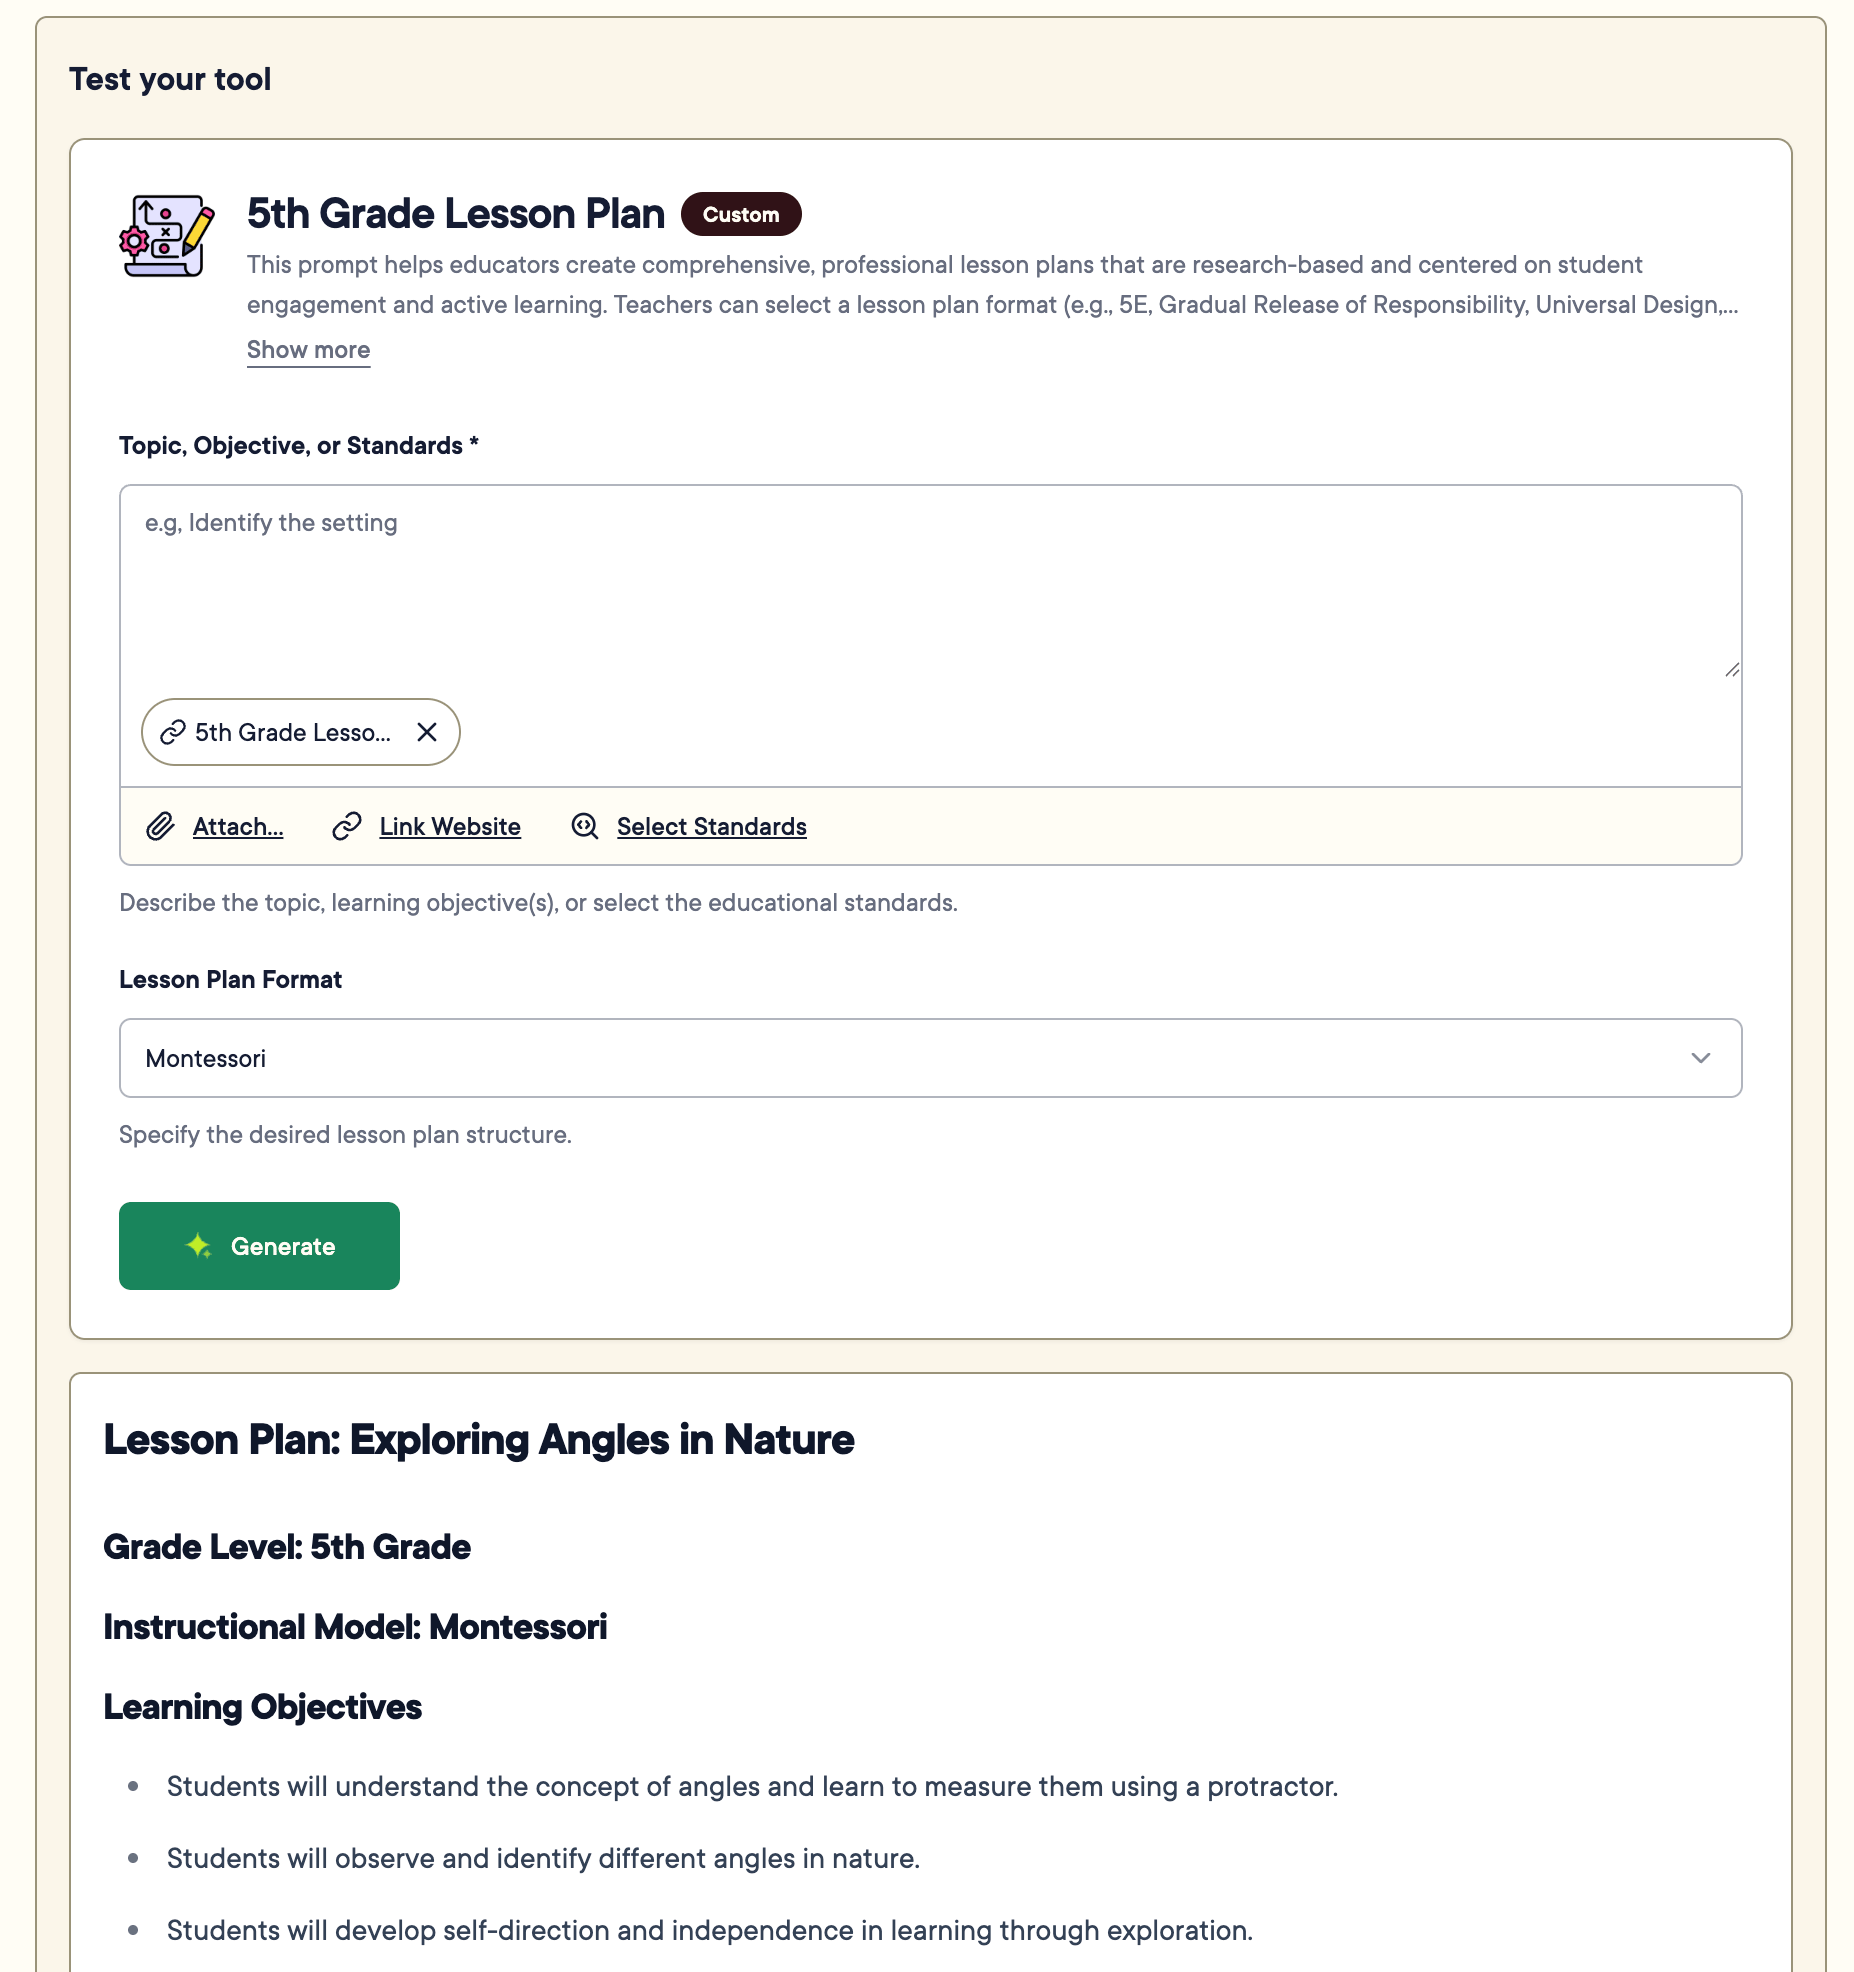
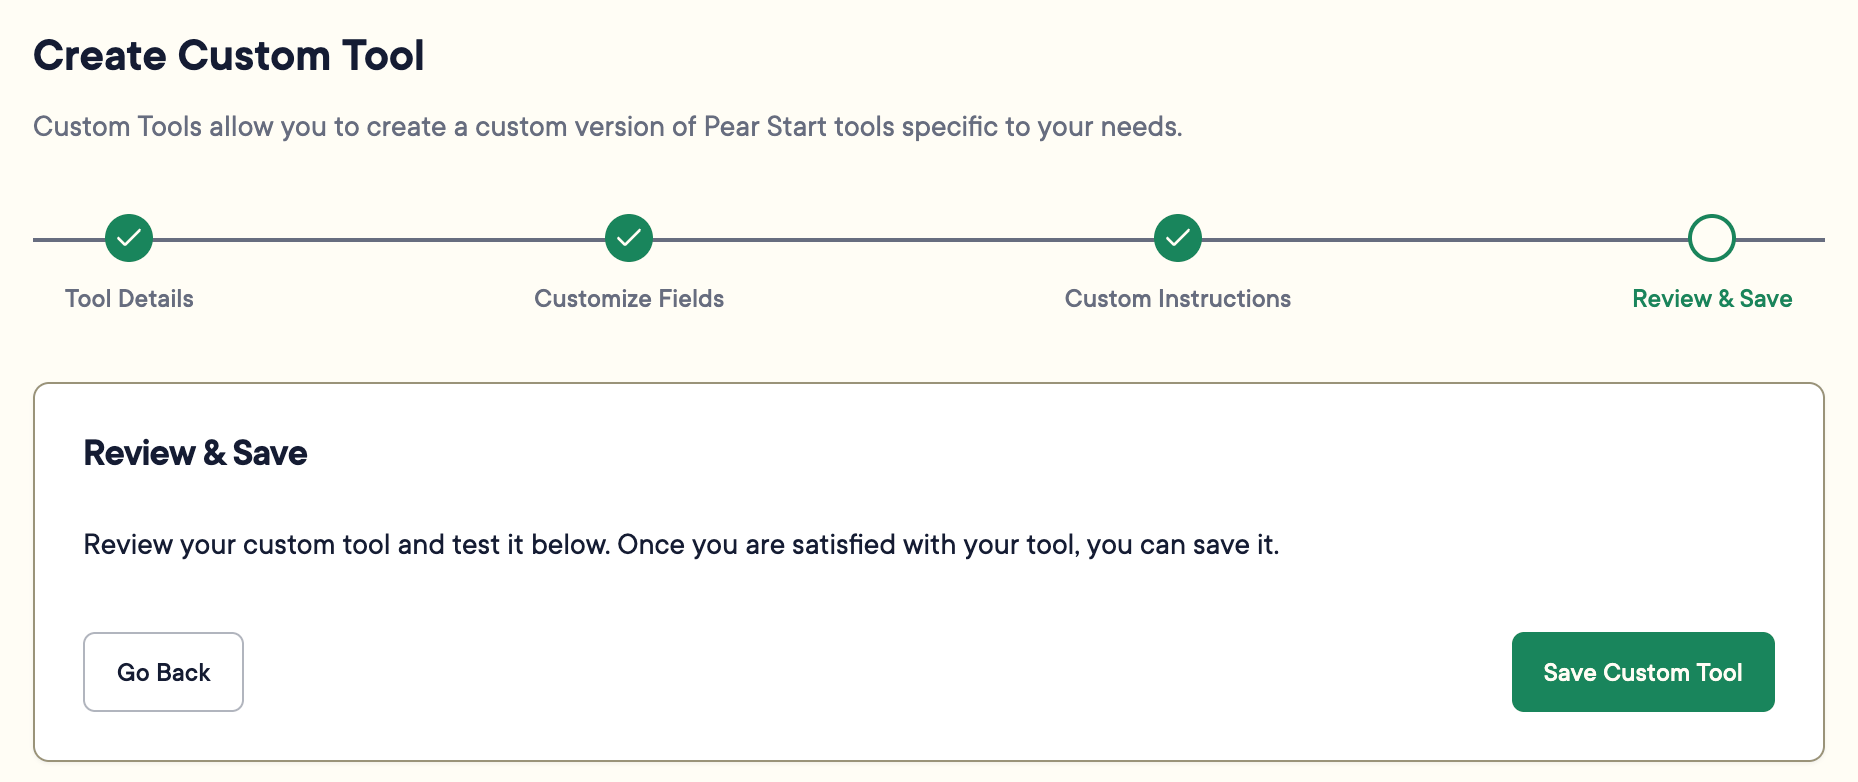
- Fill out the fields and click Generate to confirm the tool works as expected.
- Click Save Custom Tool.
Resources
Tools Overview
Learn how Pear Start Tools work and how to generate and transform content.