

Only Super Users and Super Counselors can configure a 24/7 escalation list.
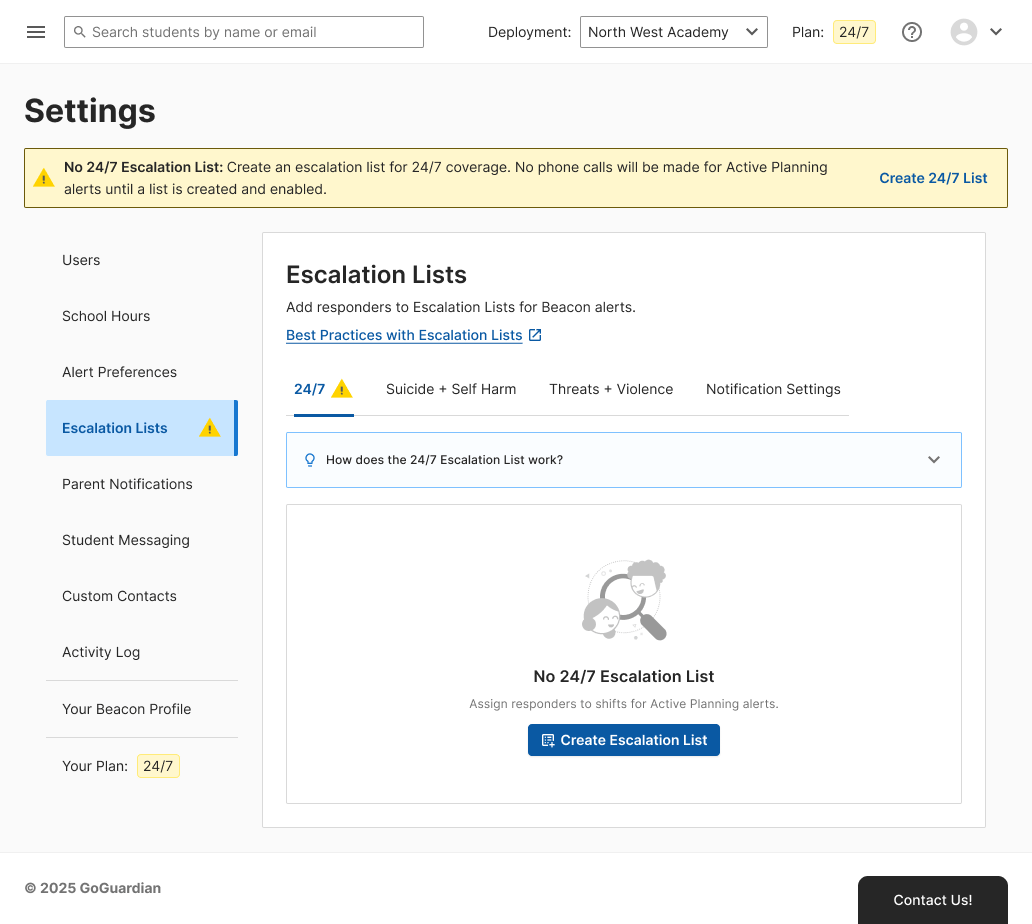
Create 24/7 Escalation List
- Go to beacon.goguardian.com and sign in.
- Click Settings in the navigation menu.
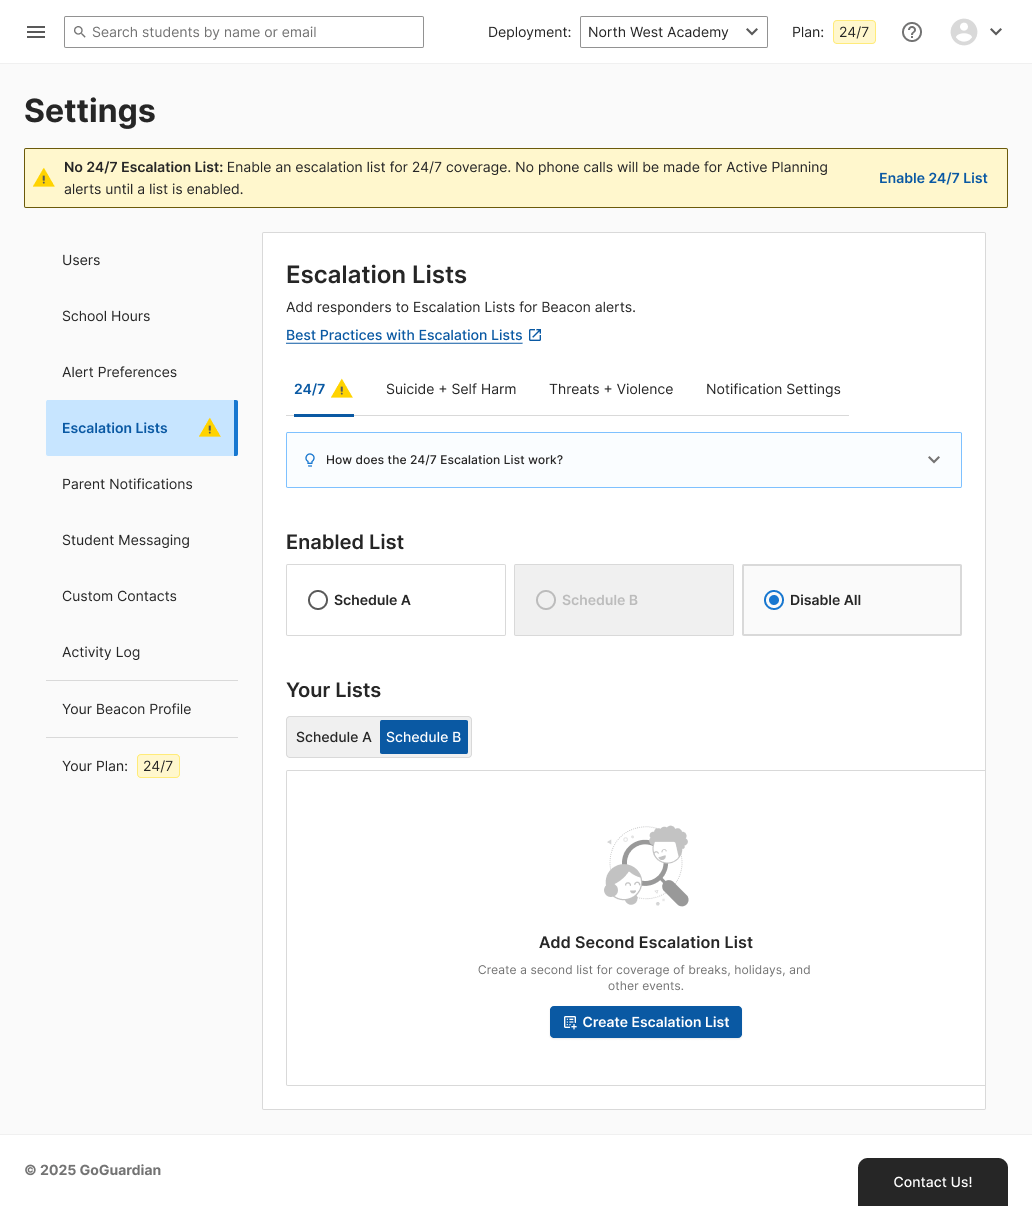
- Select Escalation Lists, then select 24/7.
- Click Create Escalation List.
- Optionally enter a name in the List Nickname field. Use a recognizable name, such as
School YearorSummer Schedule.
Schedule Shifts and Assign Responders
Build coverage separately for weekday and weekend hours. Each shift needs at least one responder.Add Shifts
- On the Weekday tab, click Add Shift.
-
Select the Start Time and End Time for the shift.
To schedule an overnight shift, set a start time later than the end time. For example, a start time of
8:00 PMand an end time of8:00 AMcovers overnight hours.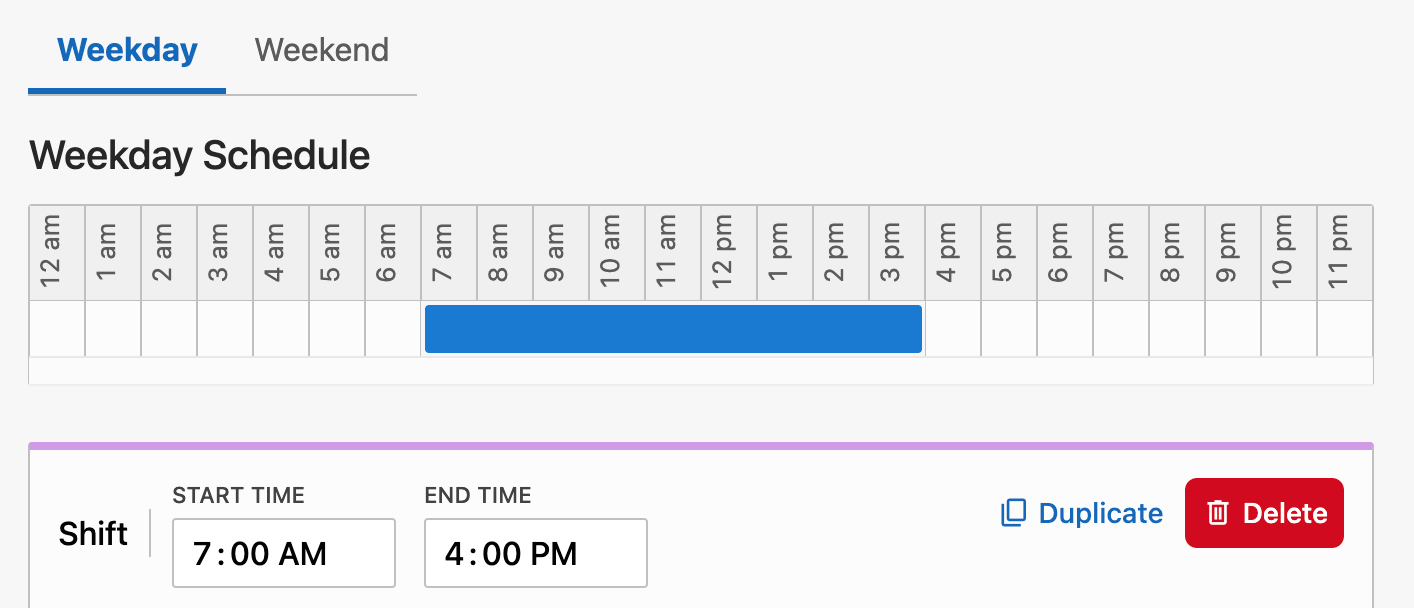
- Click Add Responder and select a responder from the Select Responder list. The responder must be an existing user in your Beacon deployment. If the responder is not in your deployment, add them in Product Settings first.
- Repeat step 3 to add every responder for this shift.
-
Click the priority number next to a responder to change the call order, then click the checkmark to confirm.
Responders with the same priority number are called in random order.
- Click Add Shift again to add another weekday shift.
-
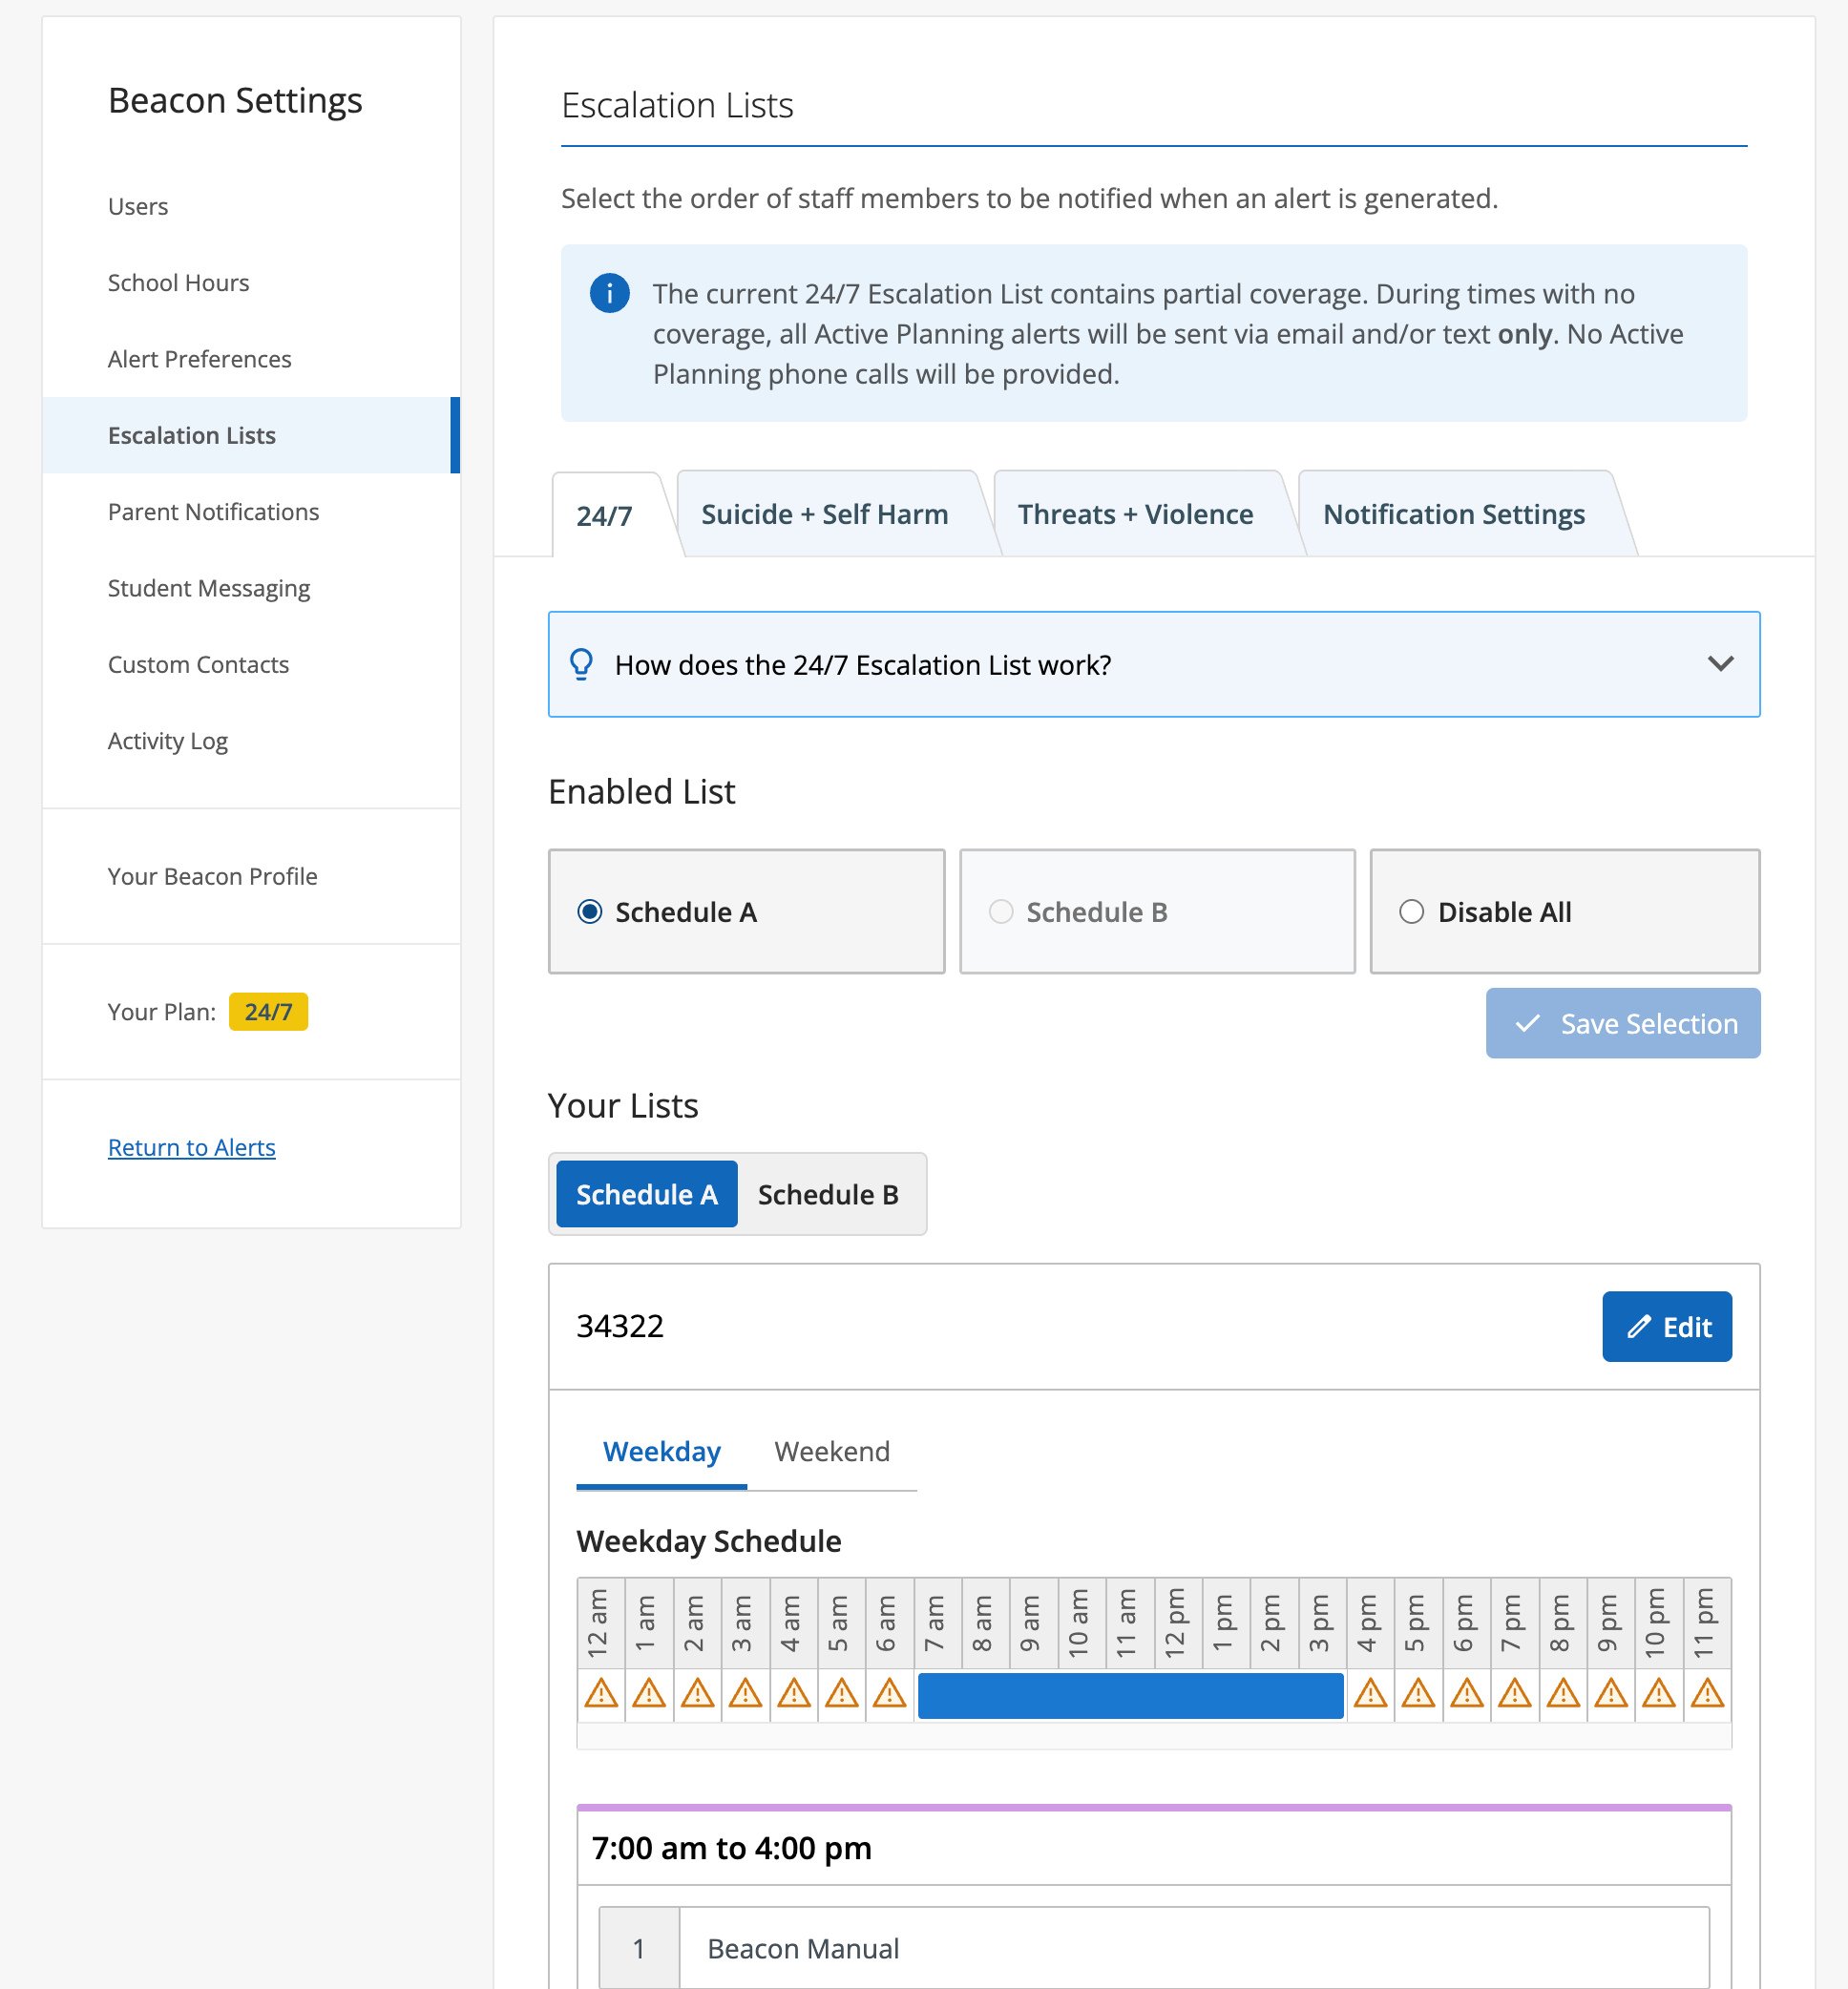
Verify the result: the coverage timeline above the shifts fills in for each covered time period.
-
Below the shift list, click Add Last Responder. The Last Responder must be available at all times and days, since they are called when no other responder on the shift answers. A Last Responder does not need a shift, a priority, or a schedule.
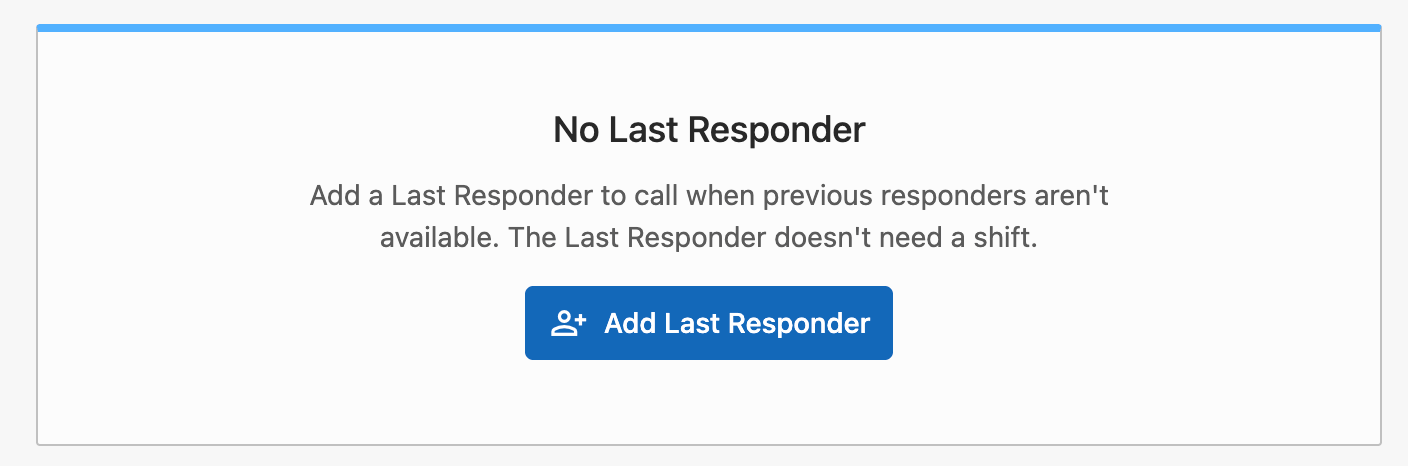
- Select a responder from the Select Responder list.
-
Verify the result: the Last Responder section displays the selected responder.
A schedule needs at least one shift with a responder, a Last Responder, or both. Beacon does not save a schedule with no coverage.
-
Click Save List.
If the weekday or weekend schedule has a coverage gap, Beacon displays a Missing Coverage for 24/7 Escalation List warning. During a coverage gap, Active Planning alerts are sent by email and text only. No phone call is placed. Click Add Coverage to return to the schedule, or click Not Now to save the list with the gap.

- Repeat the steps in Add Shifts for the Weekend shifts.
Switch or Disable an Enabled List
Only one escalation list can be active at a time.- Go to Settings, then select Escalation Lists, then select the 24/7 tab.
- Under Enabled List, select Schedule A, Schedule B, or Disable All.
- Click Save Selection.
Create a Second Escalation List
Create a second list to cover breaks, holidays, or other events that need a different schedule.- Go to Settings, then select Escalation Lists, then select the 24/7 tab.
- Under Your Lists, select the Schedule B tab, then click Create Escalation List.
- Follow the steps in Create 24/7 Escalation List and Schedule Shifts and Assign Responders to build the second schedule.
- Verify the result: both schedules appear under Your Lists, and you can switch between them from Enabled List.
Resources
Configure Escalation Lists
Configure tier-based escalation lists for email and text notifications.
Beacon User Roles and Permissions
Review which roles can manage escalation lists.
Add and Manage Beacon Users
Add users to a deployment before adding them to an escalation list.