

Only one integration source can be active at a time. If your organization uses Google Admin Console for organizational unit (OU) sync, setting Clever, ClassLink, or OneRoster as the OU source will replace it. Teacher accounts, student accounts, grade levels, class rosters, and guardian relationships sync independently and do not conflict with Google Admin Console.
Understand What Syncs and What Does Not
Teachers removed from Clever, ClassLink, or OneRoster lose GoGuardian Teacher access on the next sync but their account is not archived. Manually adjust product access in Org Management if needed.
Syncing is one-way. GoGuardian pulls data from Clever, ClassLink, or OneRoster, but never writes data back to the source. Changes made in GoGuardian do not appear in your student information system.
Manual changes made in Org Management persist through future syncs. Both individual edits and bulk CSV changes to product access or permissions are retained on subsequent syncs. If the integration source and GoGuardian disagree, treat the manual change in Org Management as the source of truth.
Prepare Before Connecting
Before linking Clever or ClassLink, verify that email addresses match across systems.- Teachers: The email address for each teacher in Clever or ClassLink must match the email address already in GoGuardian Org Management. A mismatch creates a second, separate GoGuardian account.
- Students: Each student’s email address in Clever or ClassLink must match the email address used to deploy the GoGuardian extension or The GoGuardian App.
Connect Clever
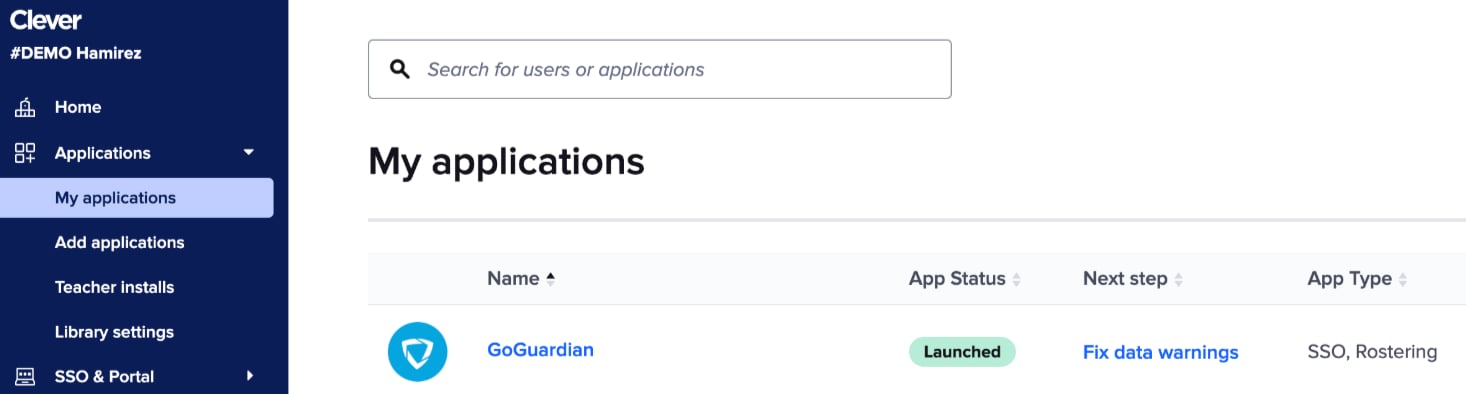
Step 1: Add GoGuardian in the Clever Portal
- Sign in to your Clever district dashboard at schools.clever.com.
- Go to Applications, then click Request Applications.
- Search for GoGuardian and click Request App.
- Verify the result: GoGuardian appears in your Applications list. If approval takes more than a few business days, contact support@goguardian.com to expedite.
Step 2: Configure Sharing Rules in Clever
- In the Clever portal, open the GoGuardian application settings.
- Choose sharing rules for GoGuardian. GoGuardian recommends Custom sharing rules, which lets you choose specific schools, teachers, and enrolled classes rather than sharing all district data.
Use the Field Access settings in Clever to control which guardian fields are shared for each student, including contact information and relationships.
Step 3: Link Clever in GoGuardian Org Management
-
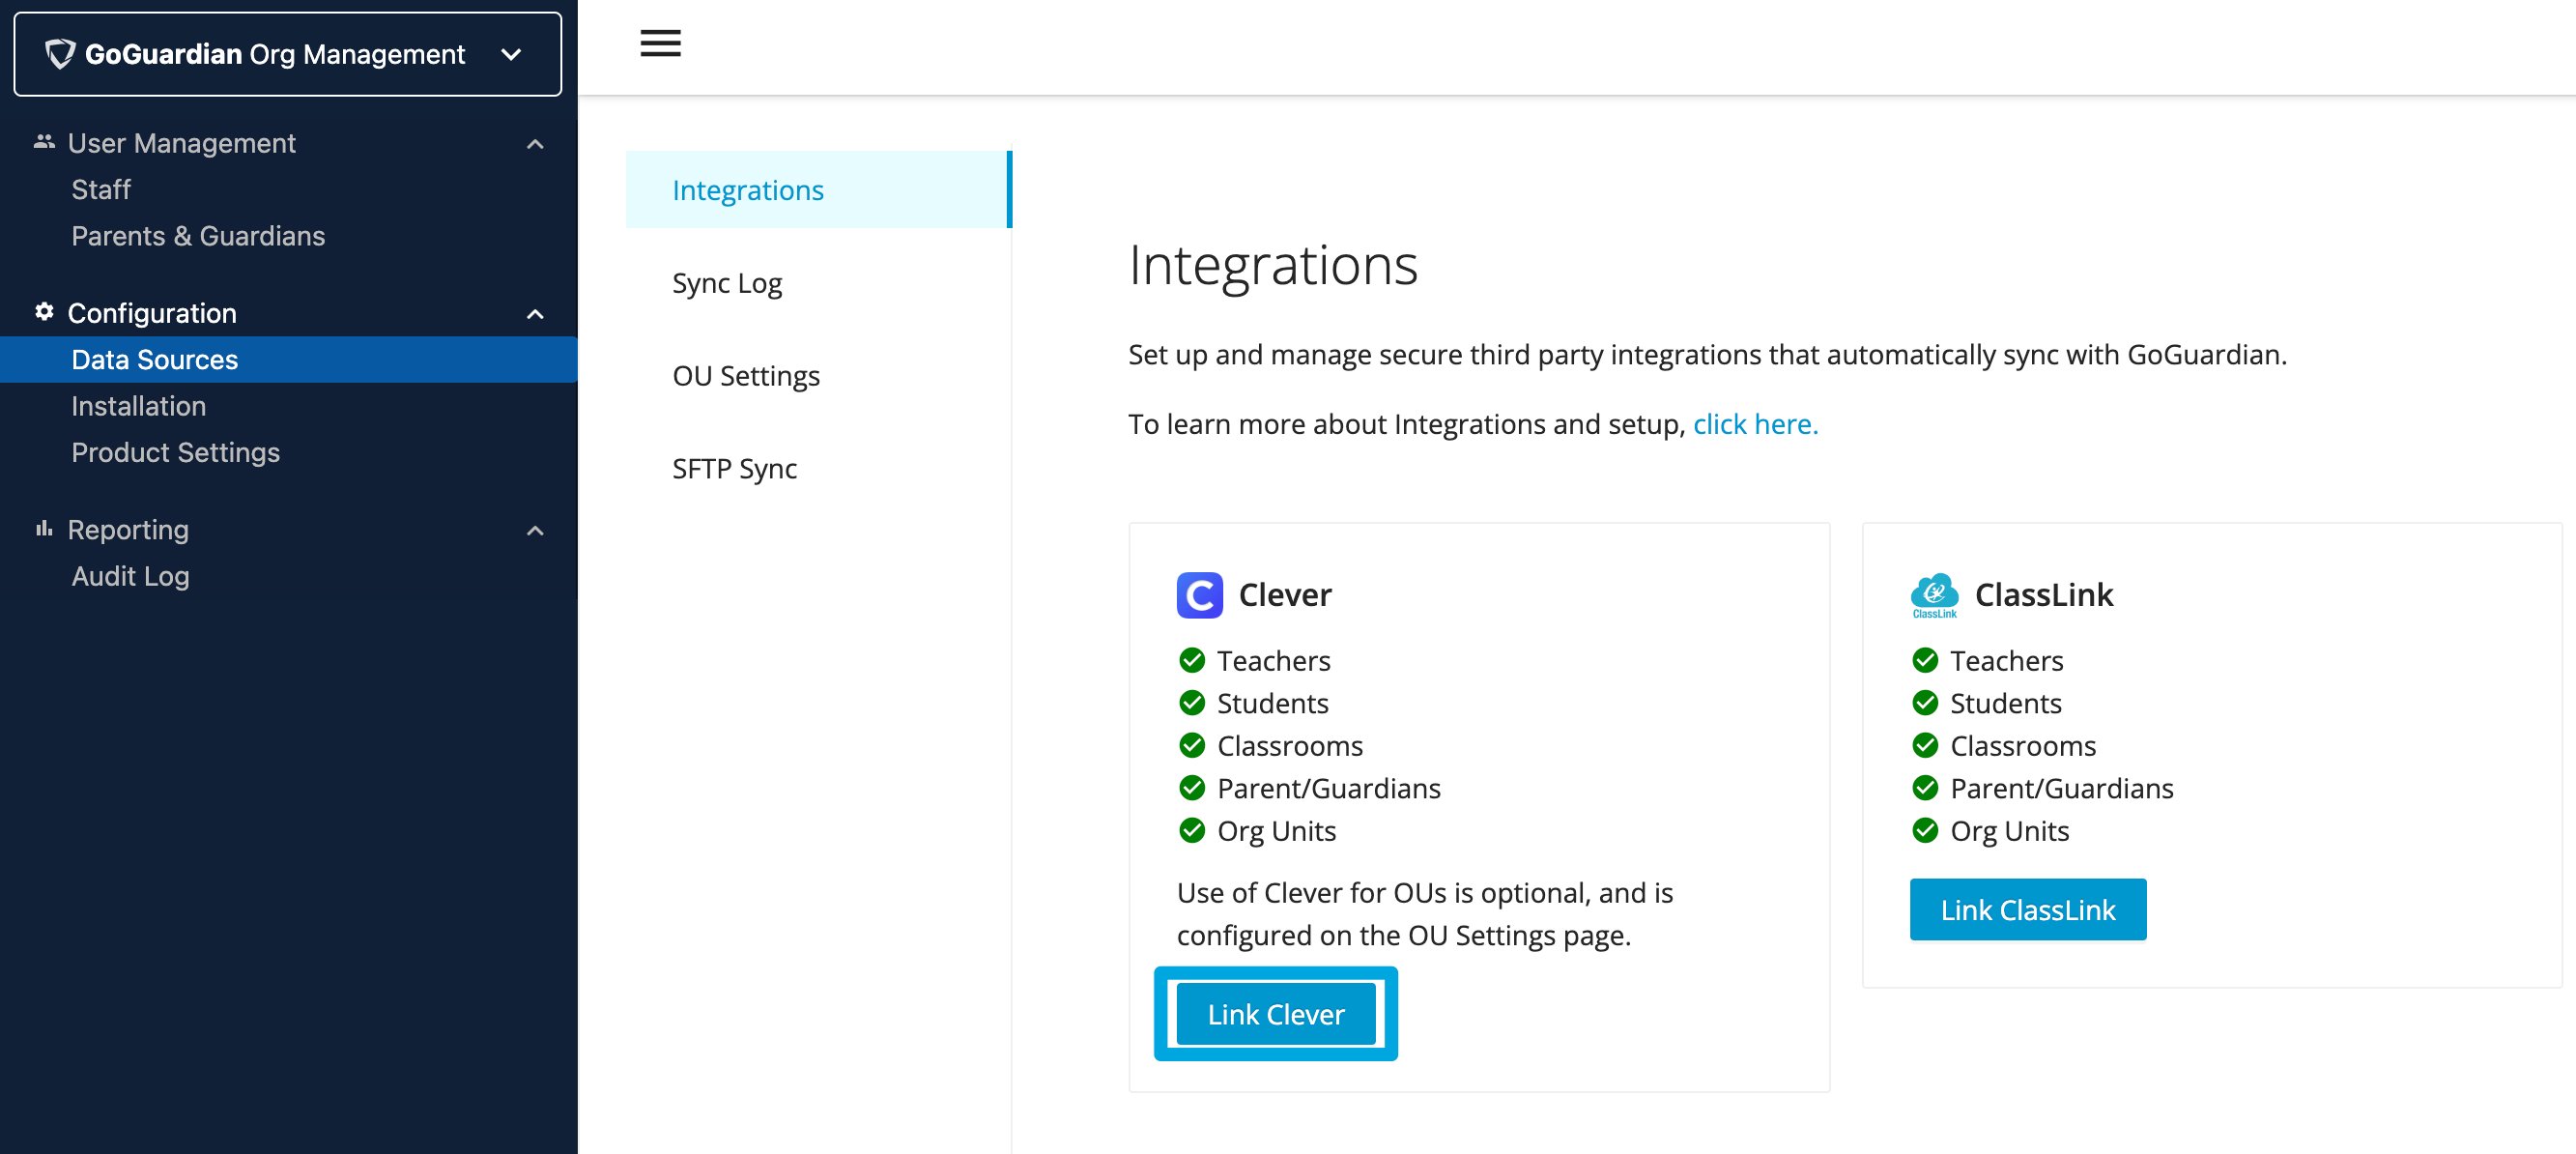
Go to manage.goguardian.com/integrations.
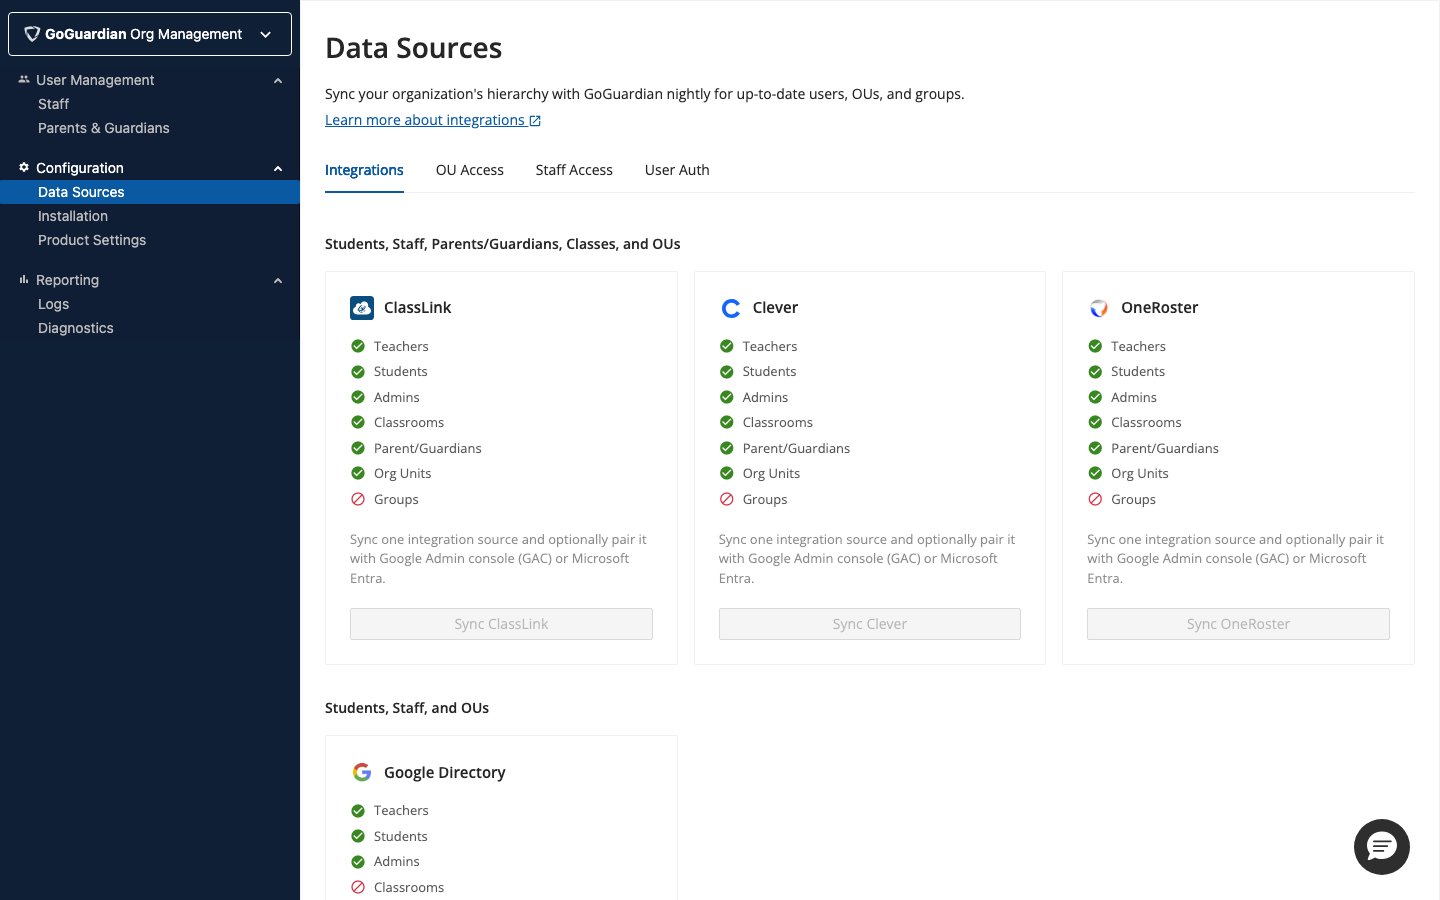
- Click Link with Clever.
-
Authenticate with your Clever credentials when prompted. If you are already signed in to Clever, the browser redirects back to
manage.goguardian.comautomatically. - Verify the result: The Clever tile shows a connected status on the Integrations page.
Step 4: Run the Initial Sync
- On the Integrations page, click Sync Now on the Clever tile.
- Wait for the sync to complete. The tile updates with a completion timestamp and a breakdown of synced records by category: Teachers, Students, Classrooms, Guardians, and OUs (if Clever is set as your OU source).
- Verify the result: Each synced category shows a green checkmark. Any categories with a yellow triangle contain errors — see Troubleshoot Clever and ClassLink Sync Errors to resolve them.
Connect ClassLink
Step 1: Confirm Data in the ClassLink Portal
- Sign in to your ClassLink portal at launchpad.classlink.com.
- Verify that your student information system (SIS) data has been synced to ClassLink. If your data is not yet in ClassLink, contact your ClassLink support representative.
- Confirm that the current, correct rosters are present before proceeding.
Step 2: Verify Teacher Email Addresses
In the ClassLink portal, confirm that the email address listed for each teacher matches the email already in GoGuardian Org Management at manage.goguardian.com. Conflicting emails create duplicate teacher accounts.Step 3: Add GoGuardian in the ClassLink Portal
- In the ClassLink portal, go to ClassLink Roster Server and select Applications.
- Search for GoGuardian and click Add Application.
- Verify the result: GoGuardian appears in your Applications list.
Step 4: Configure Sharing Rules in ClassLink
- In the ClassLink portal, open the GoGuardian application settings.
- Set sharing rules for GoGuardian. GoGuardian recommends Custom sharing rules to select specific schools, teachers, and classes.
After sharing rules are configured, use the Sanity Check icon (next to the edit icon in the Applications table) to preview a breakdown of what data will be shared with GoGuardian before running the sync.
Step 5: Link ClassLink in GoGuardian Org Management
-
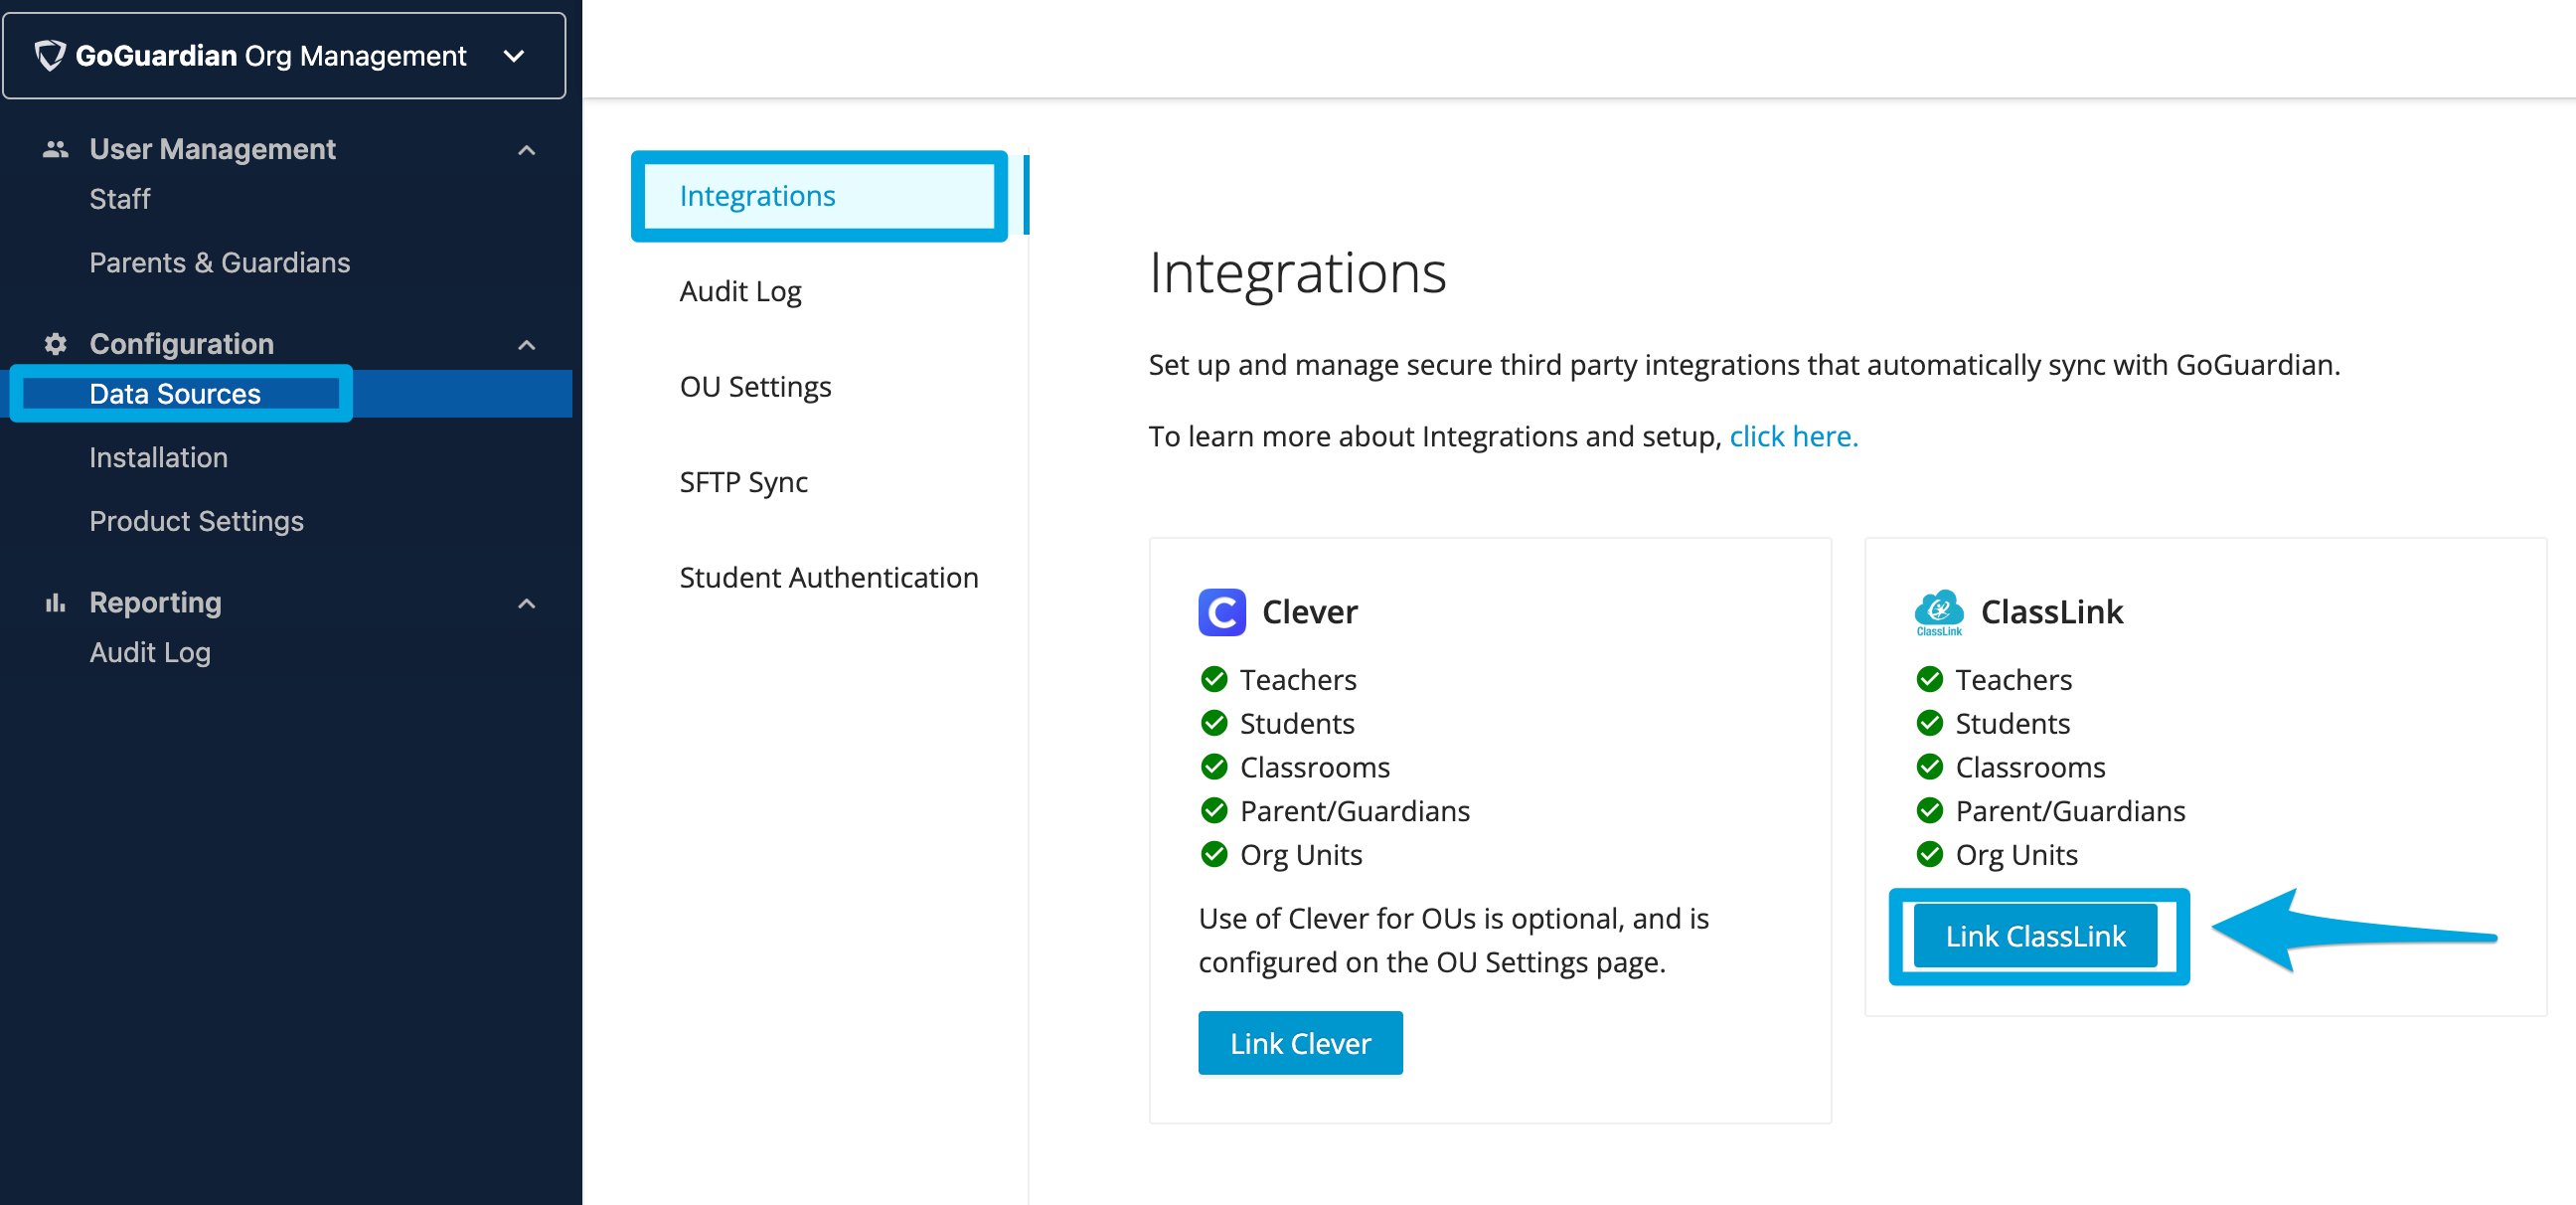
Go to manage.goguardian.com/integrations.
- Click Link with ClassLink.
- Authenticate with your ClassLink credentials when prompted. If you are already signed in to ClassLink, the browser redirects back automatically.
- Verify the result: The ClassLink tile shows a connected status on the Integrations page.
Step 6: Run the Initial Sync
- On the Integrations page, click Sync Now on the ClassLink tile.
- Wait for the sync to complete. The tile updates with a timestamp and a breakdown by category.
- Verify the result: Each category shows a green checkmark. Categories with a yellow triangle contain errors — see Troubleshoot Clever and ClassLink Sync Errors to resolve them.
Connect OneRoster
Gather OneRoster Settings
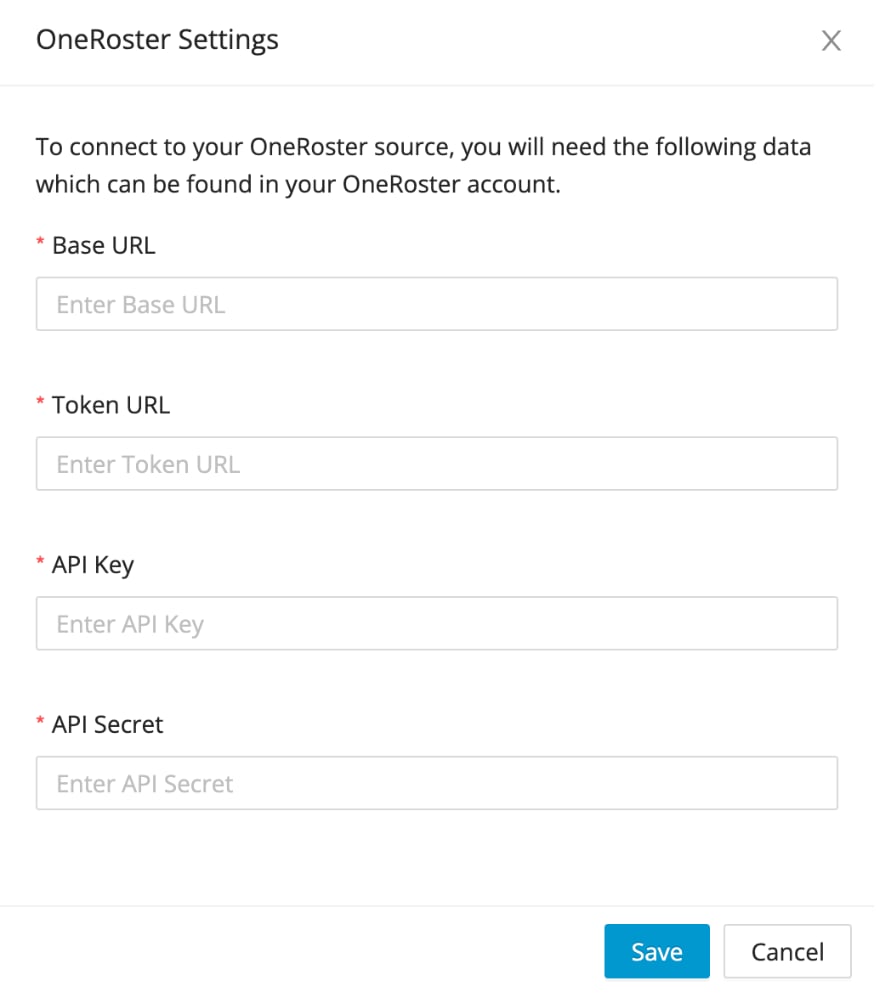
Obtain the Base URL, Token URL, API Key, and API Secret for your SIS’s 1EdTech OneRoster connection.Link OneRoster in GoGuardian Org Management
- Go to manage.goguardian.com/integrations.
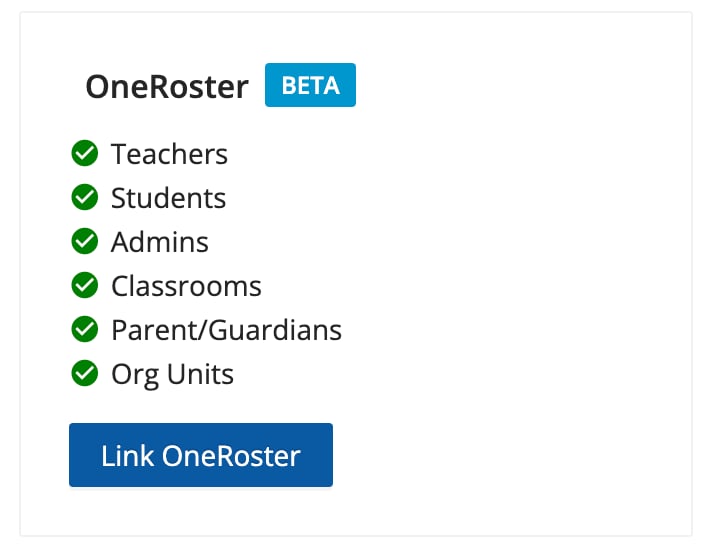
- Click Link OneRoster.
- Enter the Base URL, Token URL, API Key, and API Secret.
- Verify the result: The OneRoster tile shows a connected status on the Integrations page.
Run the Initial OneRoster Sync
- On the Integrations page, click Sync Now on the OneRoster tile.
- Wait for the sync to complete. The tile updates with a completion timestamp and a breakdown by category.
- Verify the result: The OneRoster tile shows that the sync completed.
If a sync returns errors, open the Sync Log tab, download the error log, and compare the entries with your OneRoster database. Sync errors are most often caused by missing or incorrect email addresses.
Sync Organizational Units from Clever, ClassLink, or OneRoster (Optional)
Clever, ClassLink, and OneRoster can serve as the source for organizational unit (OU) sync in GoGuardian Admin. GoGuardian can sync OUs from Clever, ClassLink, OneRoster, Google Admin Console, and Active Directory, but only one source can be active at a time. Enabling a roster integration as your OU source disables Google Admin Console or Active Directory OU sync. OUs synced from Clever, ClassLink, or OneRoster follow the organizational structure in your SIS, including shared schools and student grade levels. Google Admin Console and Active Directory offer more flexible sub-OU segmentation. For example, you can create “restricted” or “no YouTube” sub-OUs that contain only the students who should have more limited internet access, then apply more restrictive policies to those sub-OUs without affecting students outside them. If your filtering strategy depends on that kind of segmentation, use Google Admin Console or Active Directory as your OU source instead.By default, teacher OUs are not imported from the roster integration, and teachers receive the filtering policy at the root (topmost) level of the domain. To assign teacher OUs from your SIS instead, use the Restrict Teacher Monitoring by Org Unit option described below.
- Go to manage.goguardian.com/integrations and select the OU Settings tab.
- Click Enable under Clever, ClassLink, or OneRoster.
- Return to the Integrations page and click Sync Now to import OUs immediately, or wait for the nightly sync.
- Verify the result: OUs appear in the user permissions view under Suborg Access in Org Management. If expected OUs are missing, review sharing settings in your SIS and resync.
Assign Teacher OUs from Roster Integration
Organizations that use Clever, ClassLink, or OneRoster as their OU source can assign GoGuardian Teacher OU access directly from the SIS. The next sync assigns integrated teachers Teacher OU access based on their SIS OUs.- For Clever or ClassLink, select Restrict Teacher Monitoring by Org Unit on the integration tile.
- For OneRoster, enable the teacher OU assignment option in the OneRoster integration settings.
- Regardless of a teacher’s previous OU access, OUs are reassigned to mirror those listed in the SIS on each sync.
- You can add extra OUs for a teacher manually or by CSV, and subsequent syncs do not overwrite those additions.

This option is available only when Clever, ClassLink, or OneRoster is your OU source. It does not support organizations that use Google Admin Console or Active Directory as their OU source.
Place New Student in Their OU
Clever, ClassLink, and OneRoster OUs sync once per day. When a new student is added to your SIS and shared with GoGuardian, the next nightly sync or a manual sync indexes that student into the correct OU. To index a new student immediately, go to manage.goguardian.com/integrations and click Sync Now.Provision Admin Accounts from Roster Integration (Optional)
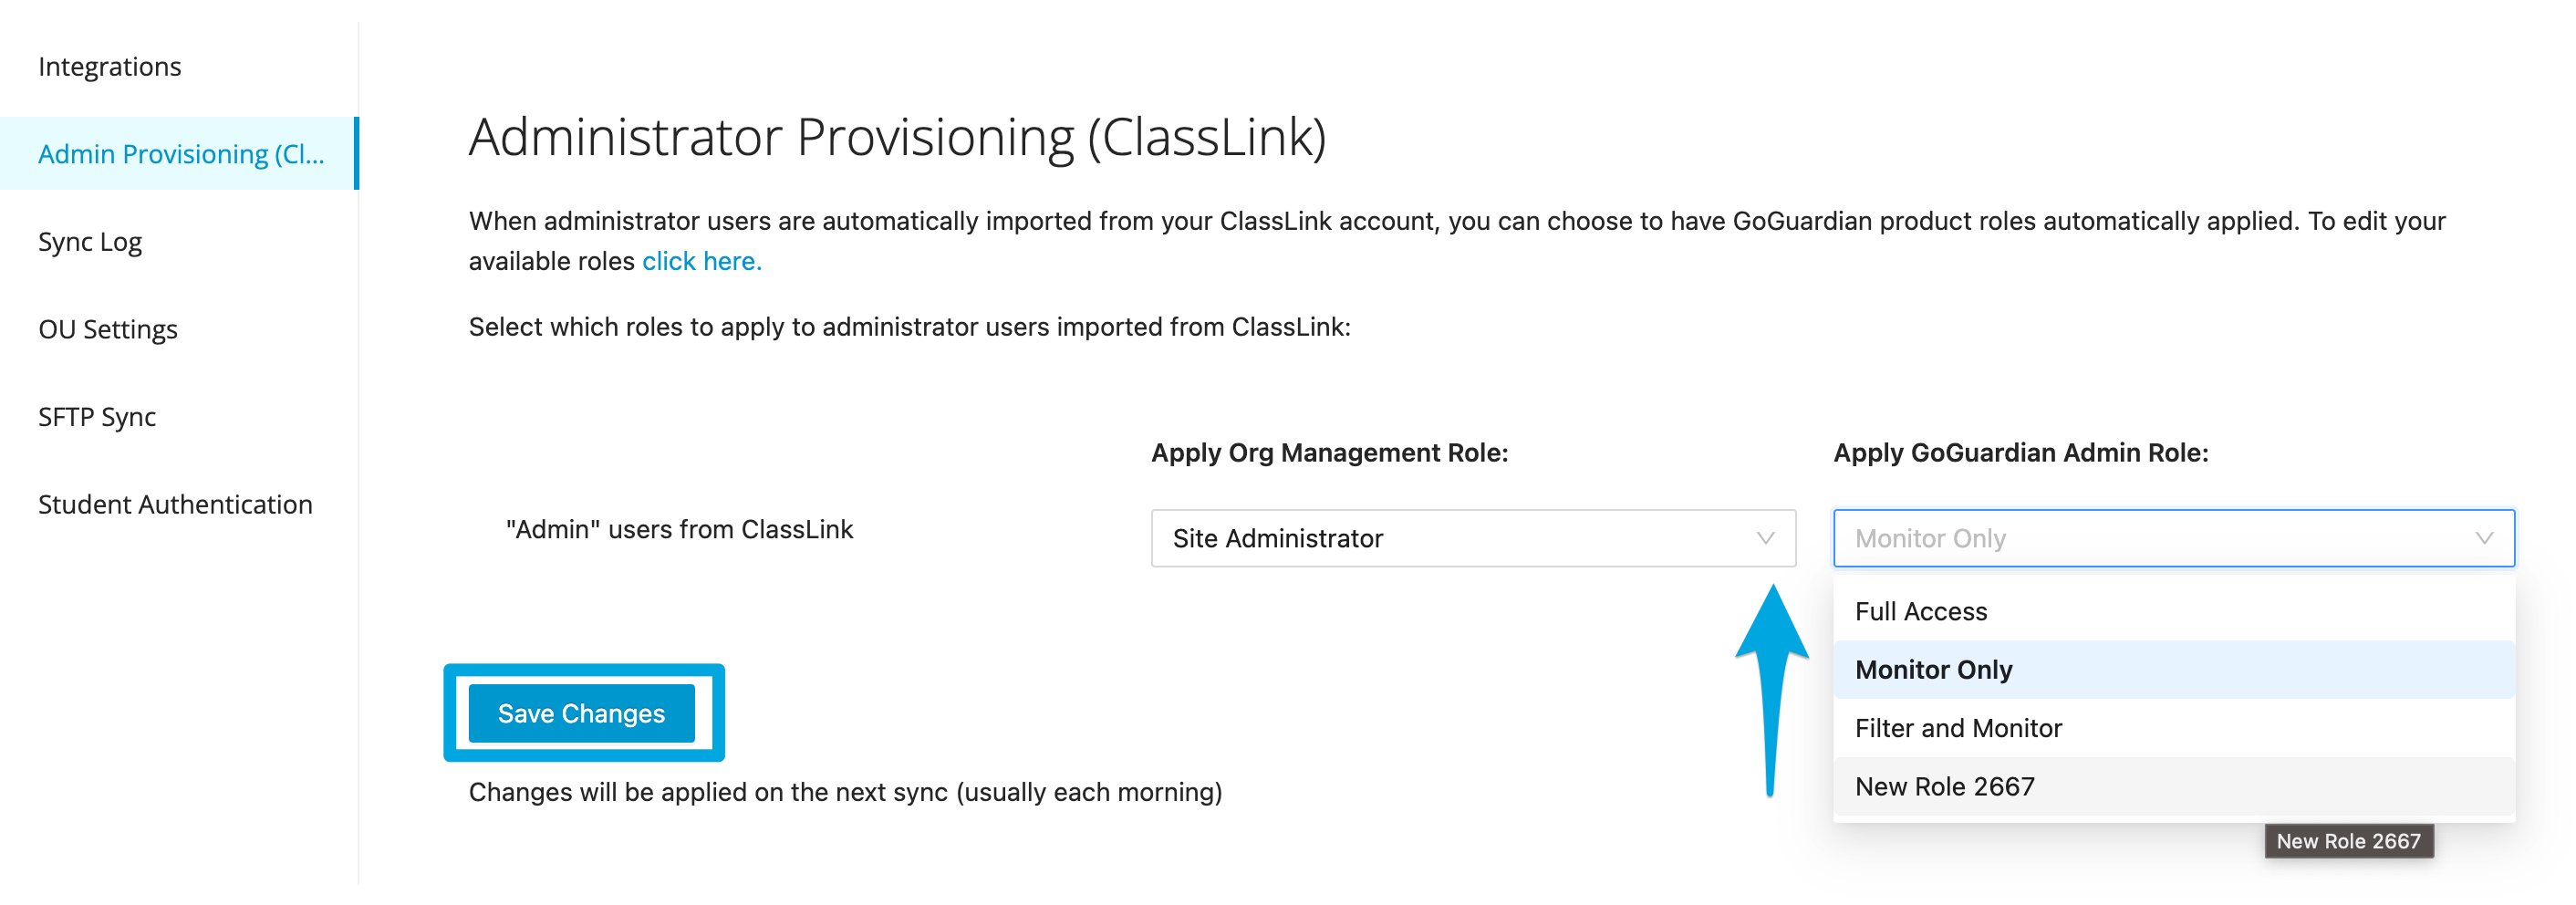
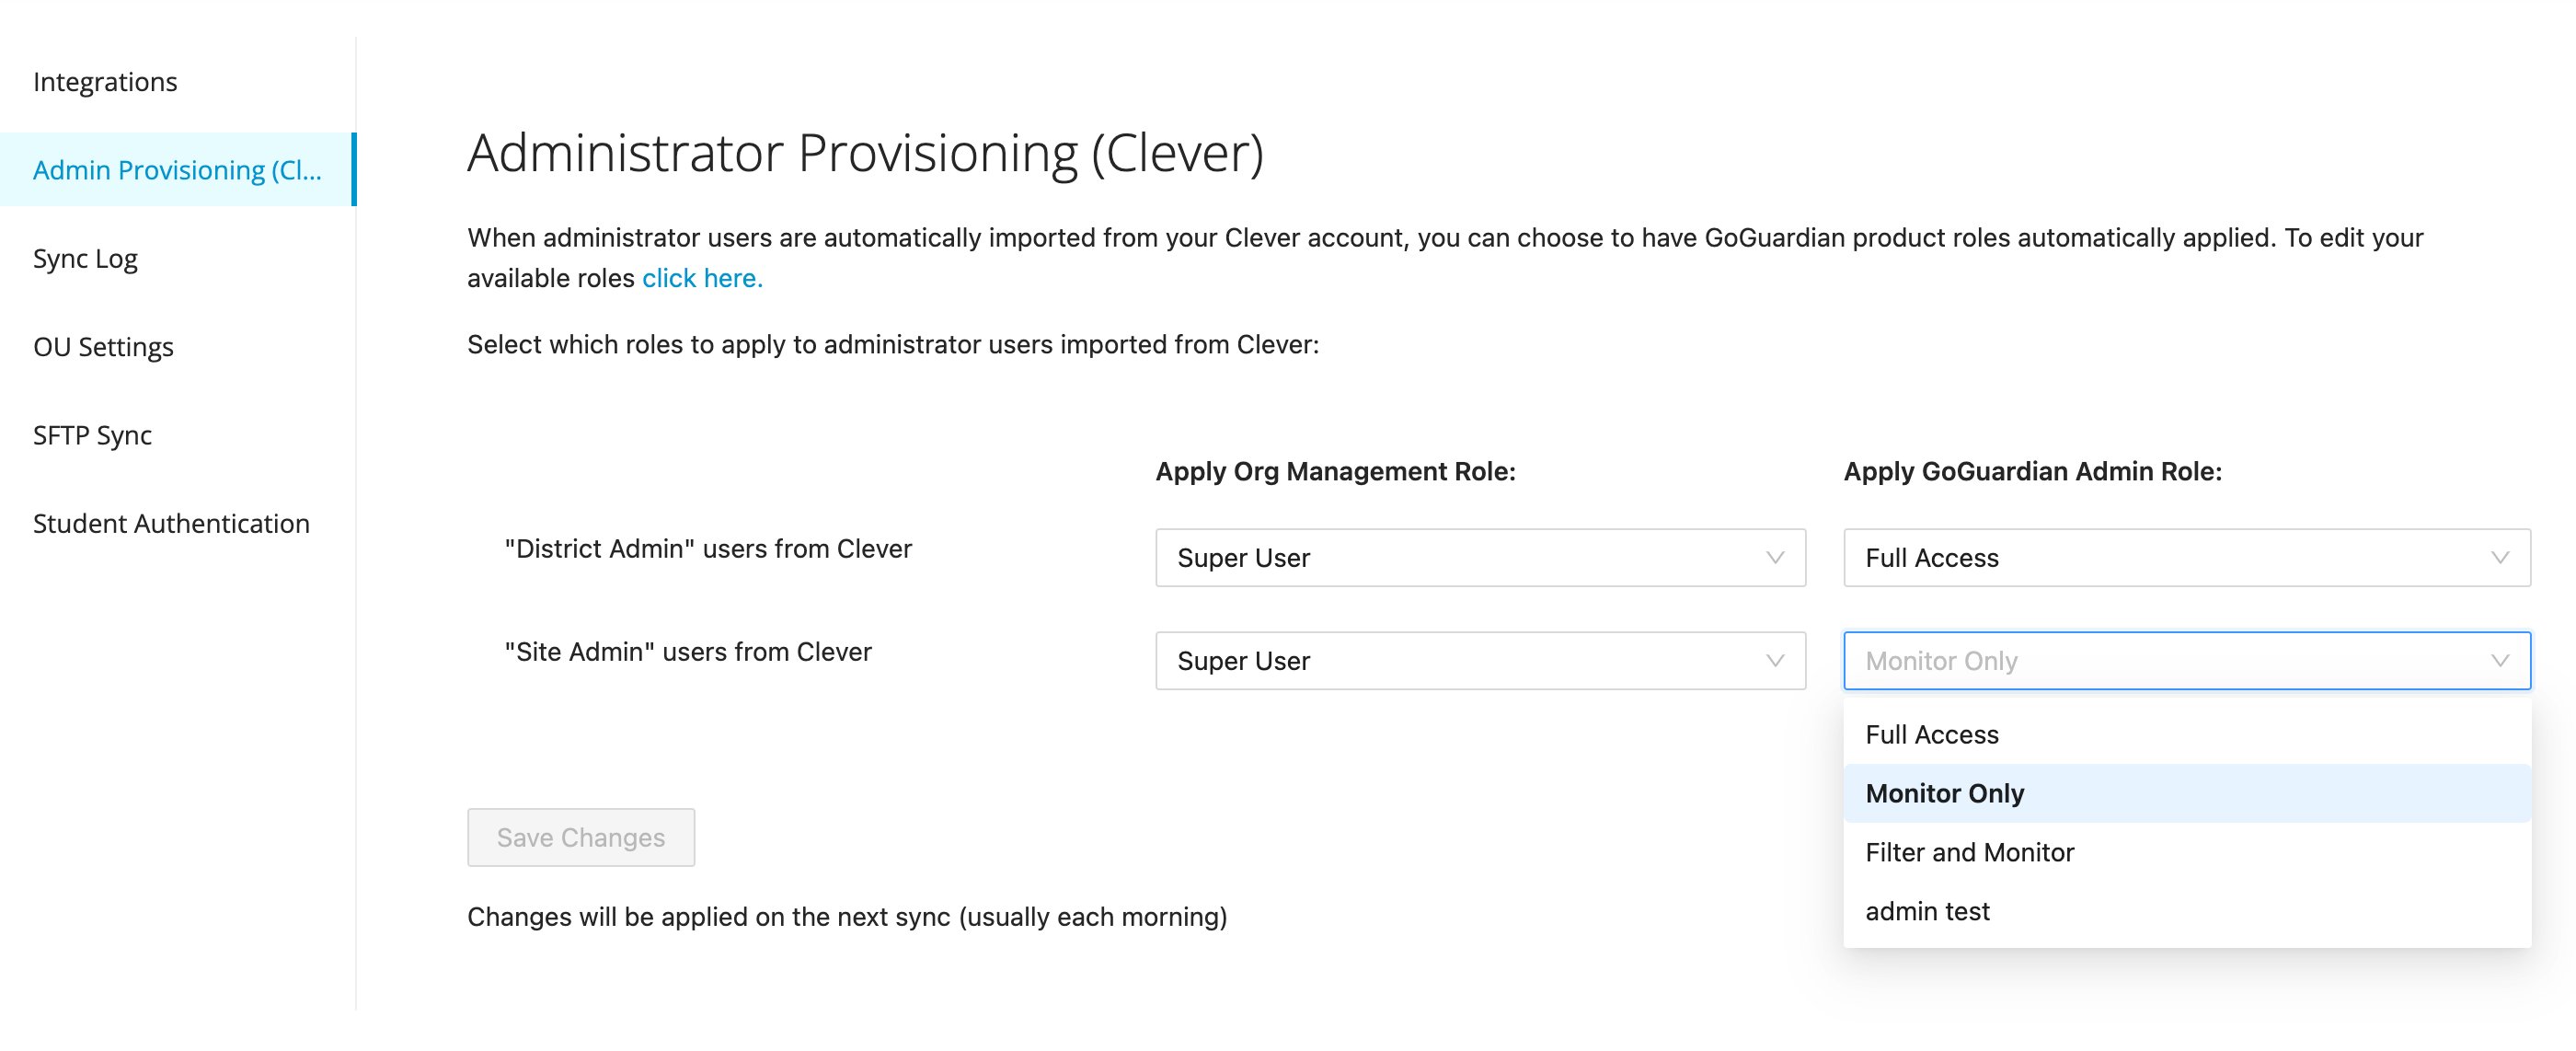
GoGuardian can automatically create GoGuardian Org Management and GoGuardian Admin accounts for users with administrative roles in Clever, ClassLink, or OneRoster.Admin Provisioning requires a GoGuardian Admin license.
- Go to manage.goguardian.com/integrations and click Admin Provisioning Settings on the Clever or ClassLink tile.
- Turn on Admin Provisioning.
- Select the Org Management and Admin roles to assign to provisioned accounts, then click Save.
- Verify the result: On the next sync, GoGuardian creates accounts for users with Site Admin or District Admin status in Clever (or Admin status in ClassLink) and assigns the roles you selected.
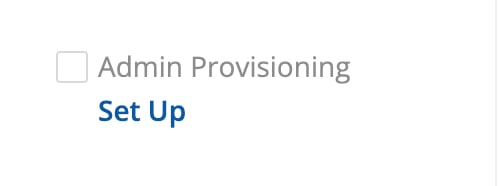
- On the Integrations tab, turn on Admin Provisioning.
- Open Admin Provisioning (OneRoster).
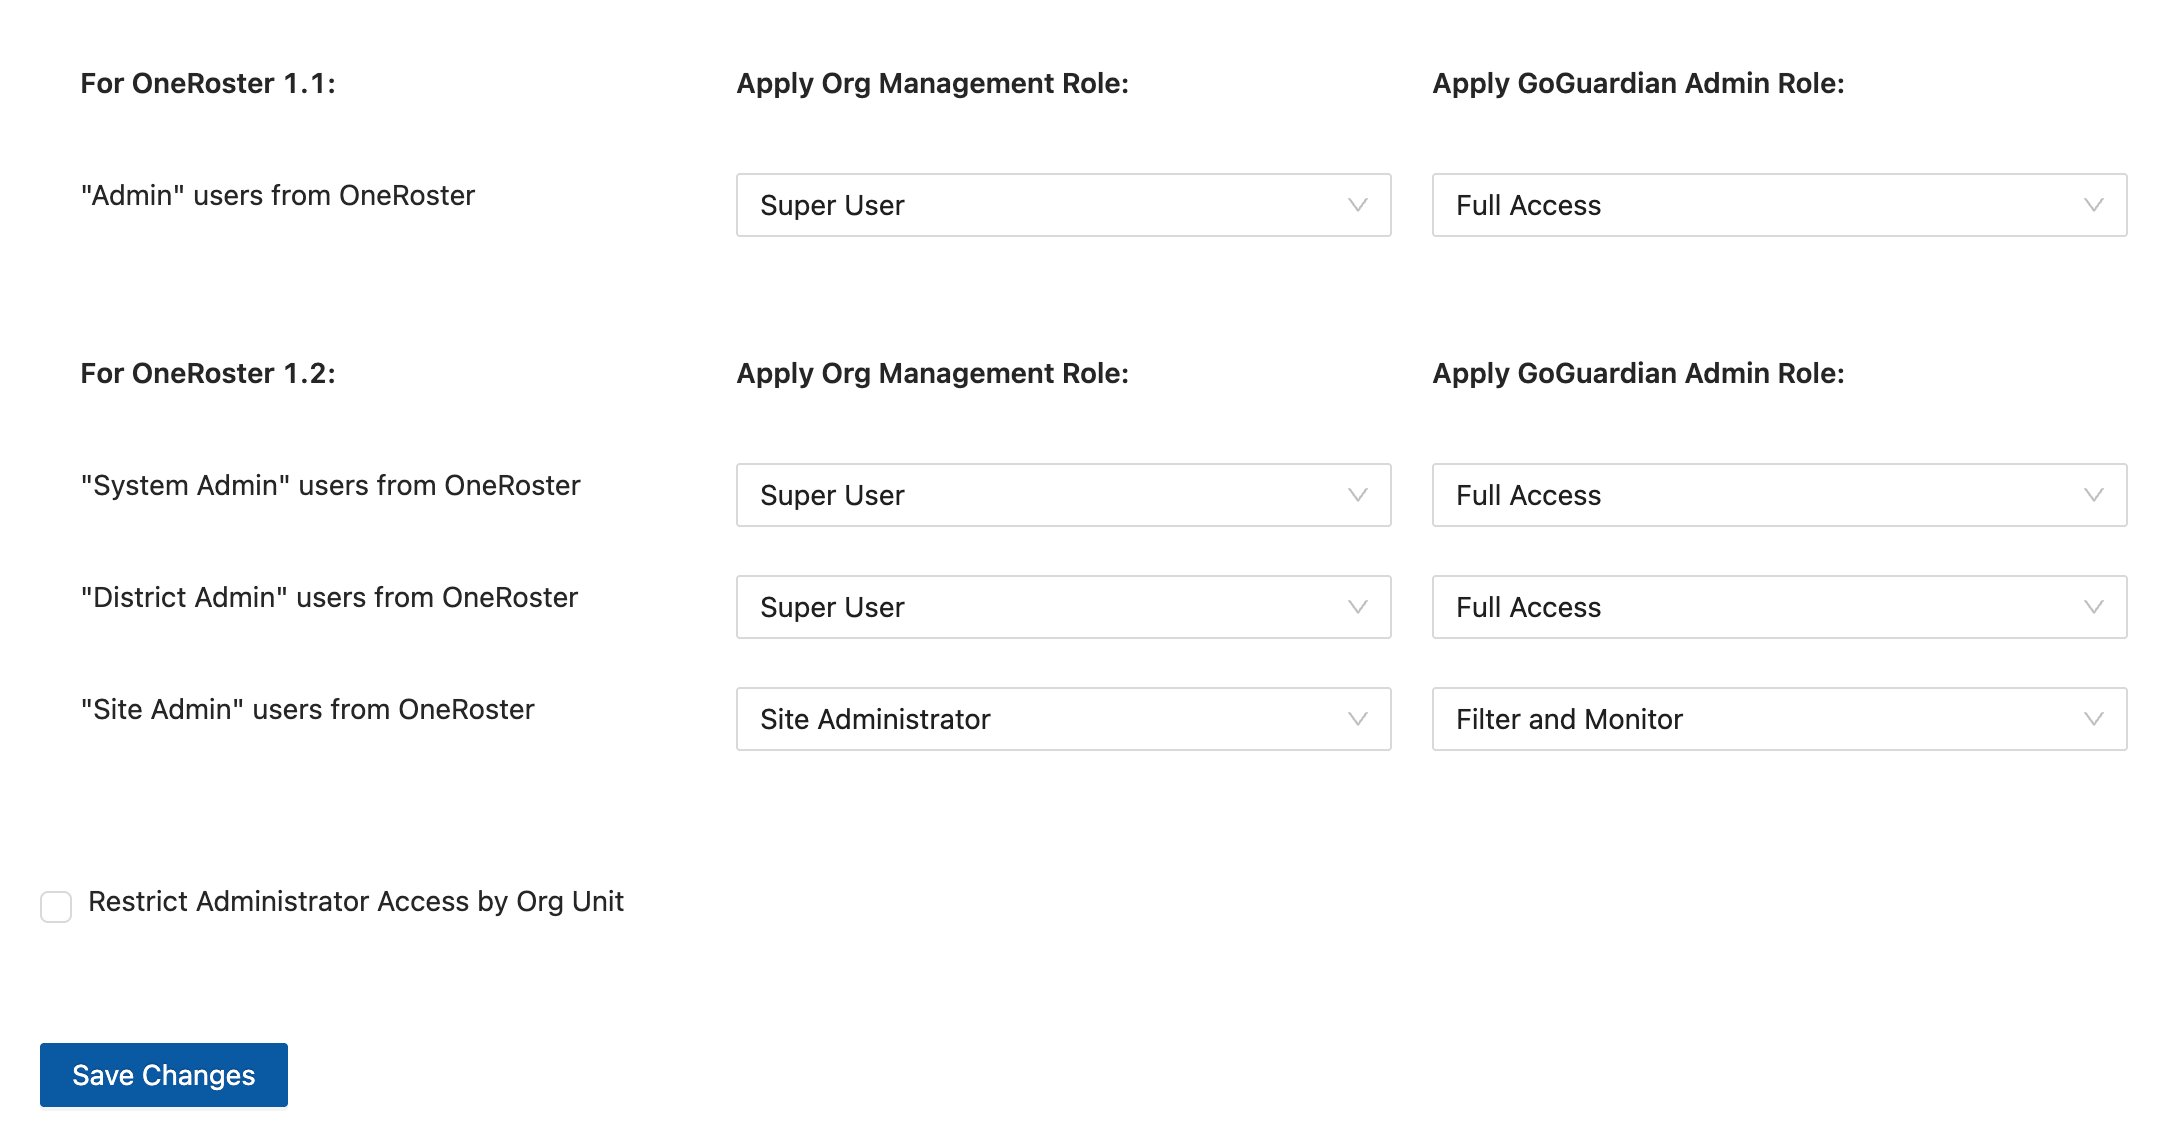
- Assign Org Management and GoGuardian Admin roles based on OneRoster roles.
- To assign OU access based on each administrator’s OneRoster OU access, turn on Restrict Administrator Access by Org Unit.
- Click Save Changes.
- Verify the result: The next sync provisions the administrators with the selected roles and OU access.
Restricting administrator access by OU requires OneRoster to be the GoGuardian OU source.
Assignable roles include Super User (Org Management), Full Access, Filter and Monitor, and Monitor Only (Admin), as well as any custom RBAC roles. For more on custom roles, see Granular Access Control.


Troubleshoot Clever and ClassLink Sync Errors
Resolve teacher, student, classroom, and guardian sync errors.
Google Directory Provisioning
Set up teacher provisioning from Google Admin Console.
Manage User Accounts
Add and edit user accounts manually in Org Management.
Granular Access Control
Create custom roles for Org Management and Admin.