

Insert an Audio Recording Into a Slide
For best results, keep recordings short: two to three minutes helps students focus on both the audio instruction and the prompt on the slide. You can add a separate recording to each slide, which lets you stagger and customize instructions across your presentation.- In Google Slides, open the Pear Deck for Google Slides Add-on.
- Open the slide where you want to add audio.
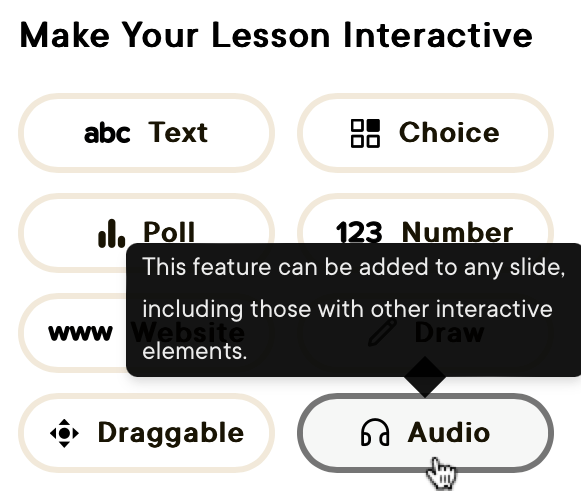
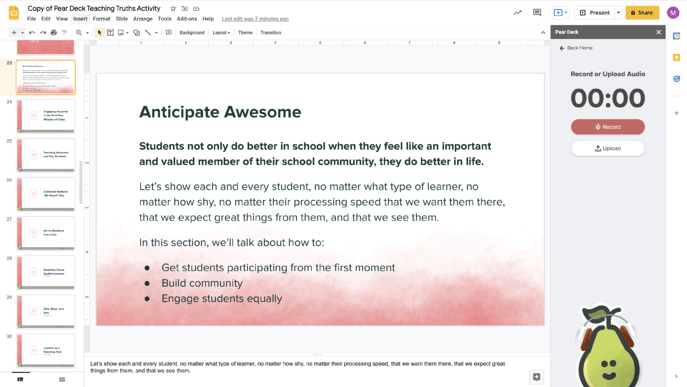
- In the Pear Deck sidebar, scroll down and click Audio.
- Allow Pear Deck access to your microphone when prompted by your browser.
- In the new window, click Record or Upload.
- To record a new clip, click Record and begin speaking. The timer runs while you record.
- When you finish, click Pause.
- Choose Resume to add more, Delete to remove the recording, or Done to save it for review.
- Click the Play button to preview the recording, or click Rerecord Audio to start over.
- When satisfied, click Save Audio to Slide.
- To use an existing file, click Upload and select an MP4 file from your computer (20 MB maximum).
- Click Play to preview it.
- When satisfied, click Save Audio to Slide.
- Click Add to Current Slide to confirm.
-
A small object is inserted into the slide. Note the following about this object:
- The object is not the audio player. It stores the audio file on the slide so it is playable on the Student View when students join the session.
- You can move the object anywhere on the slide, drag it off the slide onto the canvas, or resize it by selecting it and dragging the edges.
- To change or replace the recording, click the Audio button in the Pear Deck sidebar to reopen the recording window.
- To delete the audio file, select the object and press Delete.
- To add the same audio file to multiple slides, right-click the object and select Copy, navigate to a new slide, then right-click and select Paste.
How Audio Works on the Student View
When your deck is ready, click Start Lesson in the Pear Deck sidebar to begin a new session. You are prompted to choose Student-Paced or Instructor-Paced mode. Audio recordings are playable on the Student View only. They are not available on the Projector or Dashboard Views. Here is what students do to play audio:- Join the session by clicking the join link or going to joinpd.com and entering the join code. This opens the Student View.
- Navigate to a slide that has audio instructions.
- Click the Audio button in the bottom-right corner of the screen.
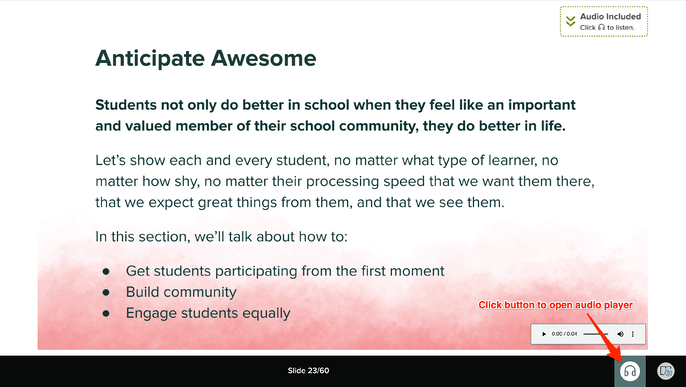
- The Audio Player opens. Click Play or Pause.
FAQs
Does Audio Work in Both Student-Paced and Instructor-Paced Modes?
Yes. Students can play audio recordings on the Student View in either session mode.Why Doesn’t My Recording Play When I Click the “Audio Included” Object?
The object stores the file but does not play it. To listen to or change the file before presenting, click the Audio button in the Pear Deck sidebar. During a session, audio plays only through the Audio Player on the Student View. Pear Deck slide audio cannot be played on the Projector or Dashboard Views.What Is the Advantage of Pear Deck Slide Audio Over Other Options?
Pear Deck Slide Audio offers the following benefits:- Slide audio works in both session modes, so students can play it in a Student-Paced lesson without the teacher present.
- You can make original recordings and customize instructions as you build your lesson.
- You can layer audio over any interactive slide, so students can listen to the instruction and respond to the question on the same screen.
Do Google Slides Audio Clips Work in Pear Deck?
Google Slides lets you insert pre-recorded audio via Insert > Audio. Those clips play in a Pear Deck presentation under specific conditions: on the Projector View only, in an Instructor-Paced session, and with the Pear Deck Power-up Chrome extension installed.Why Do I Need to Allow Microphone Access?
The first time you add audio to a slide, Pear Deck requests permission to use your microphone. You must allow access to use Slide Audio. If you need to update this setting, click the lock icon in the browser URL bar and allow microphone access. You should then be able to record with Pear Deck Audio.What File Types Can I Upload?
You can upload an MP4 file from your computer. If the file is stored in Google Drive, save it to your computer first and then upload it to Pear Deck Slide Audio.Why Does Pear Deck Say My File Is Too Large?
Pear Deck Slide Audio supports files of 20 MB or less.Can I Add More Than One Recording to a Slide?
You can add one Pear Deck Audio recording per slide. You can copy and paste multiple recordings onto a slide, but during a live session only the first recording plays on the Student View.Is There a Limit to How Many Slides Can Have Audio?
There is no limit. Keep recordings short so they are easier for students to focus on.The Audio I Recorded Sounds Glitchy. How Can I Fix This?
The built-in recorder does not apply audio optimization, which may affect quality. If you notice issues, record the clip using the voice recording software on your device and upload that file to the slide instead.Resources
Student-Paced Lessons
Set up and run a session students move through at their own pace.
Present a Lesson
Start and control an Instructor-Paced session from the Pear Deck sidebar.