

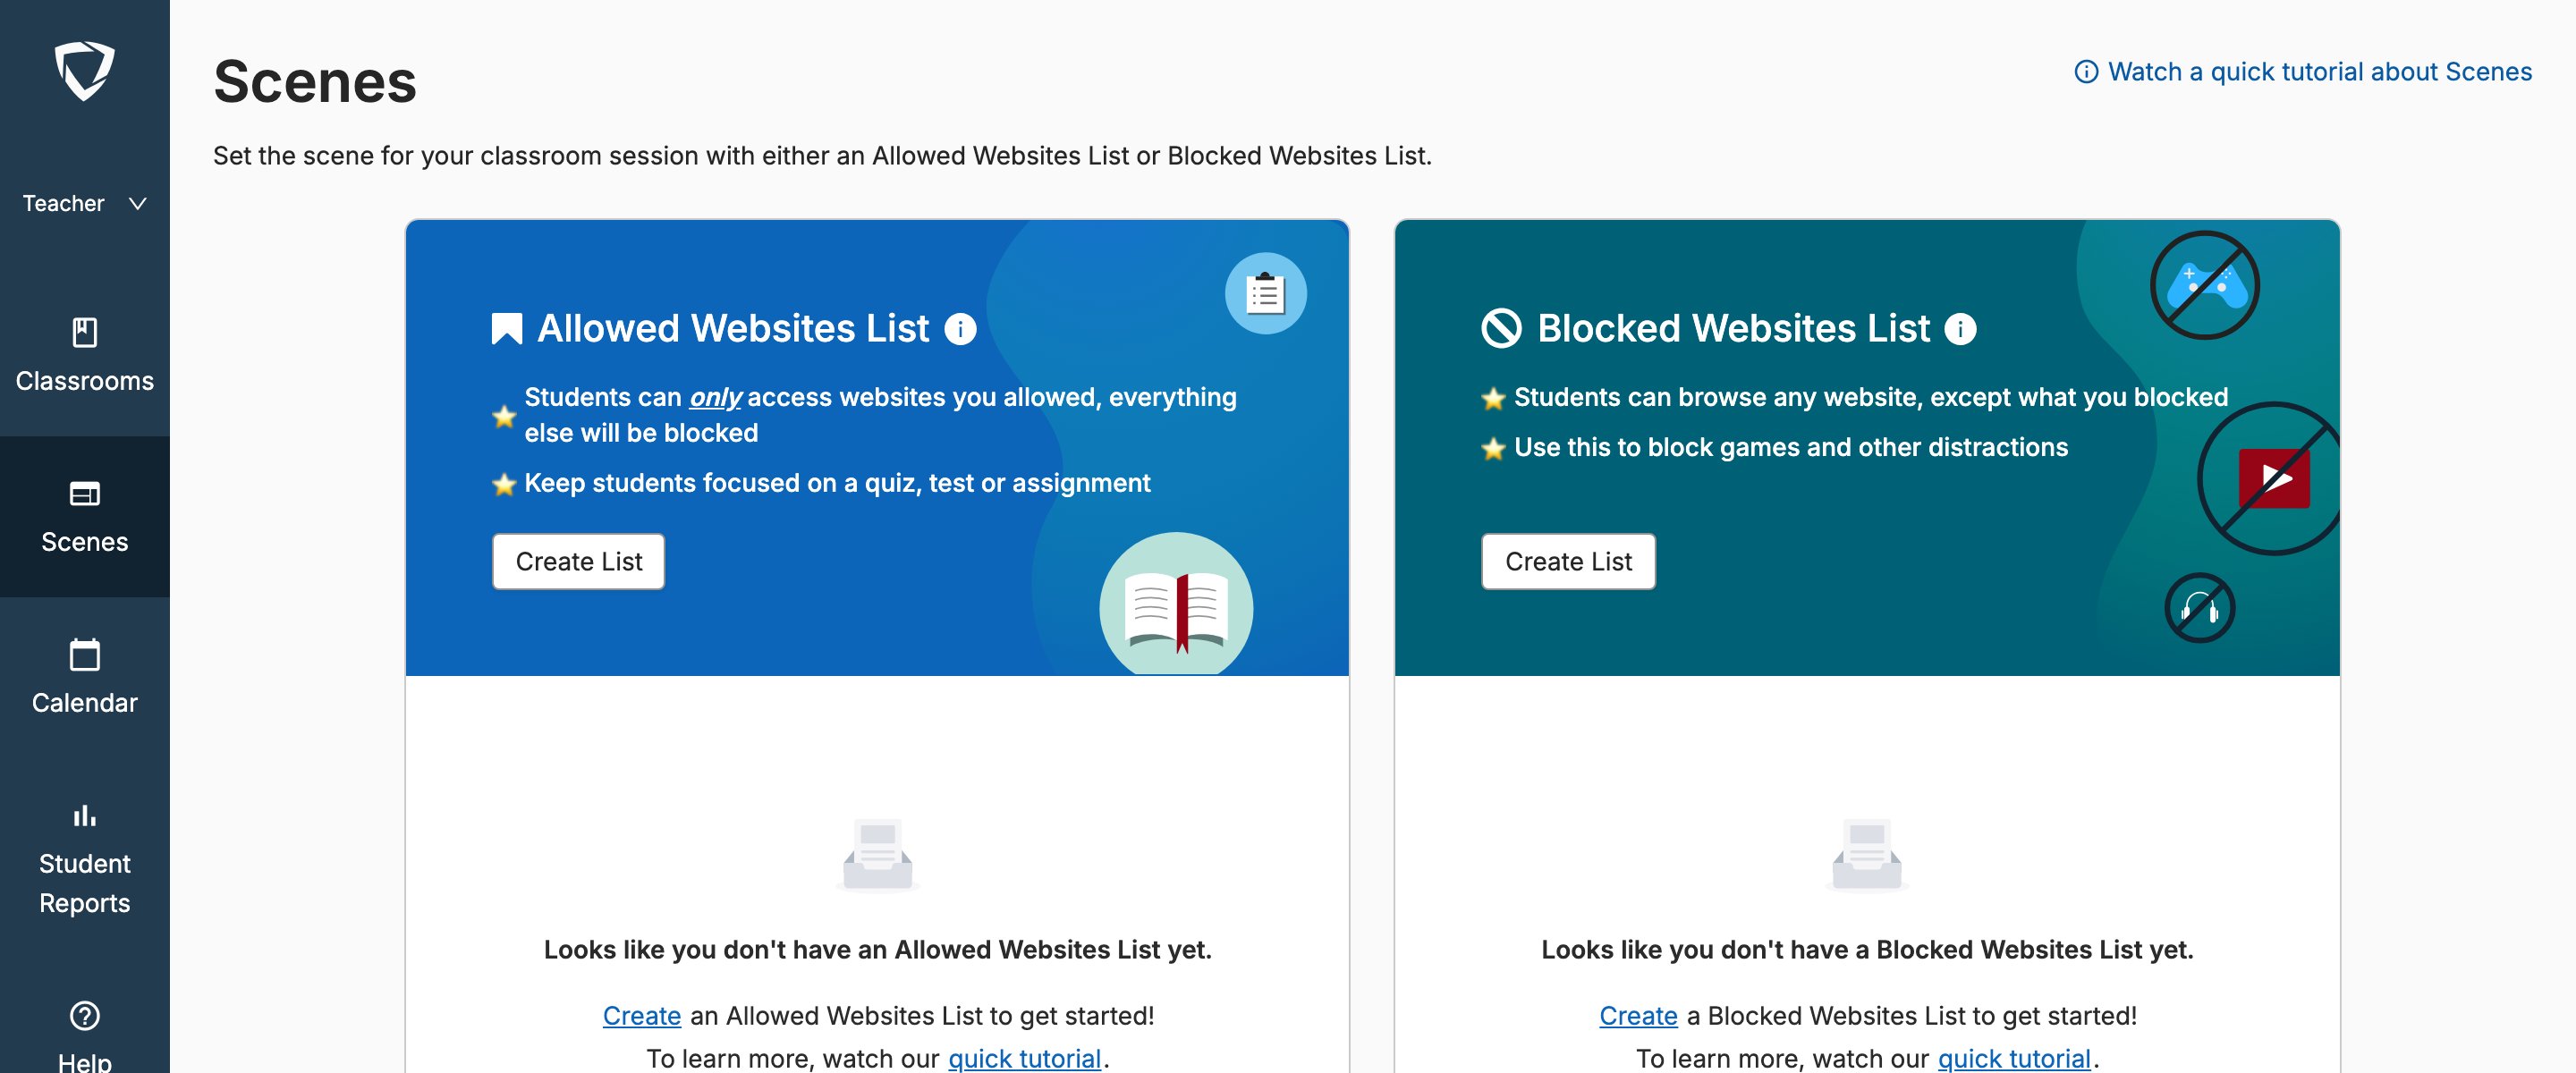
How Scene Sharing Works
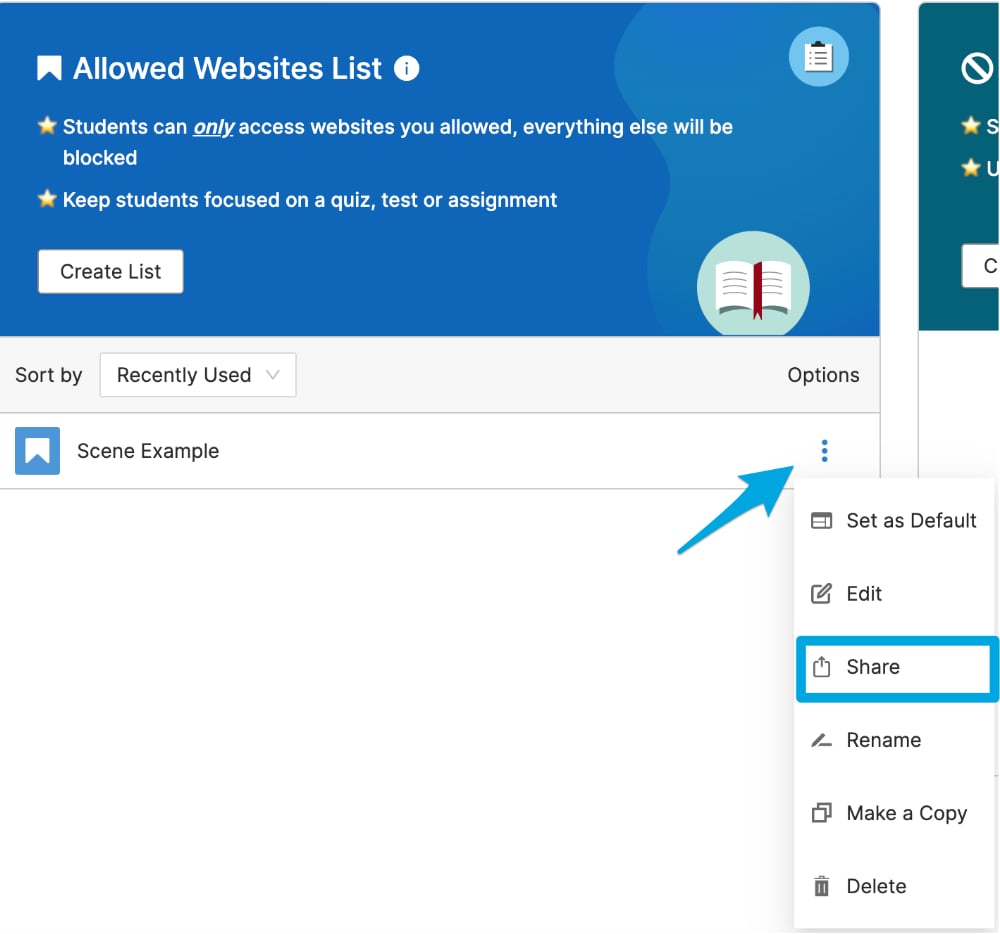
Each Scene you create has a 3-dot (kebab) menu next to the Scene name. From that menu, you can click Share to access Scene sharing options.Only Scene owners — those who originally created the Scene — can share or edit the Scene.
Share a Scene
- Select the 3-dot (kebab) menu next to the Scene you want to share, then click Share.
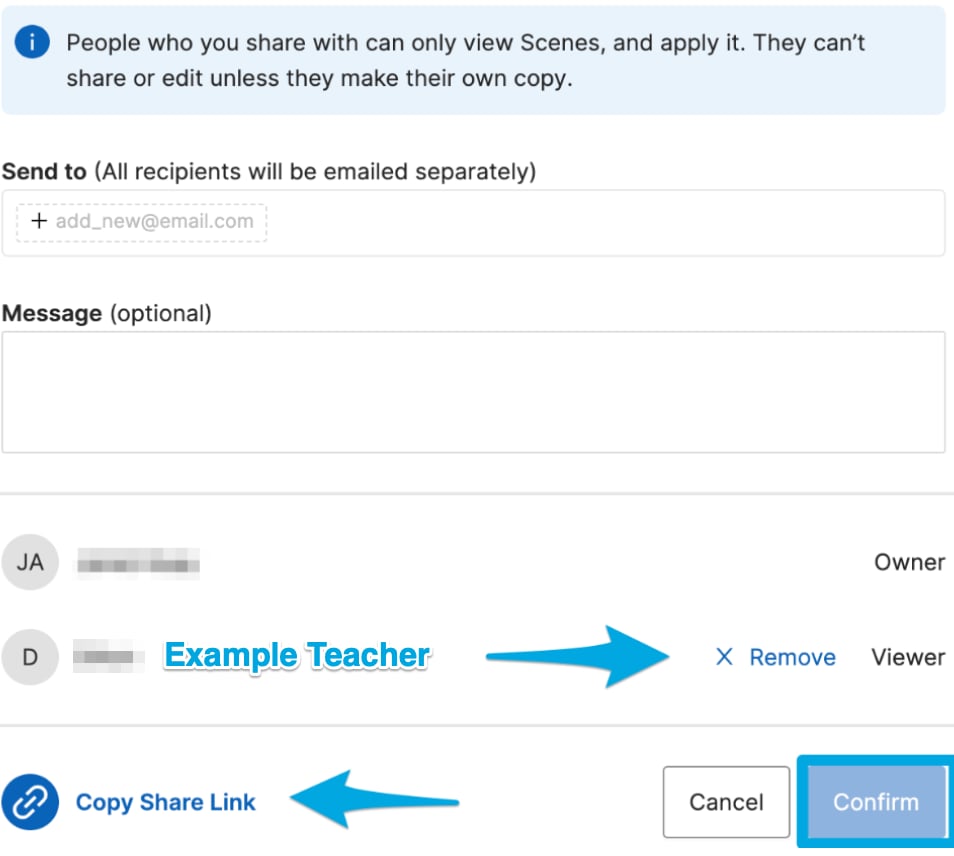
- In the Share Scene tool, enter the email address of the teacher you want to share with. Optionally, add a message or description of the Scene. Click Confirm to share.
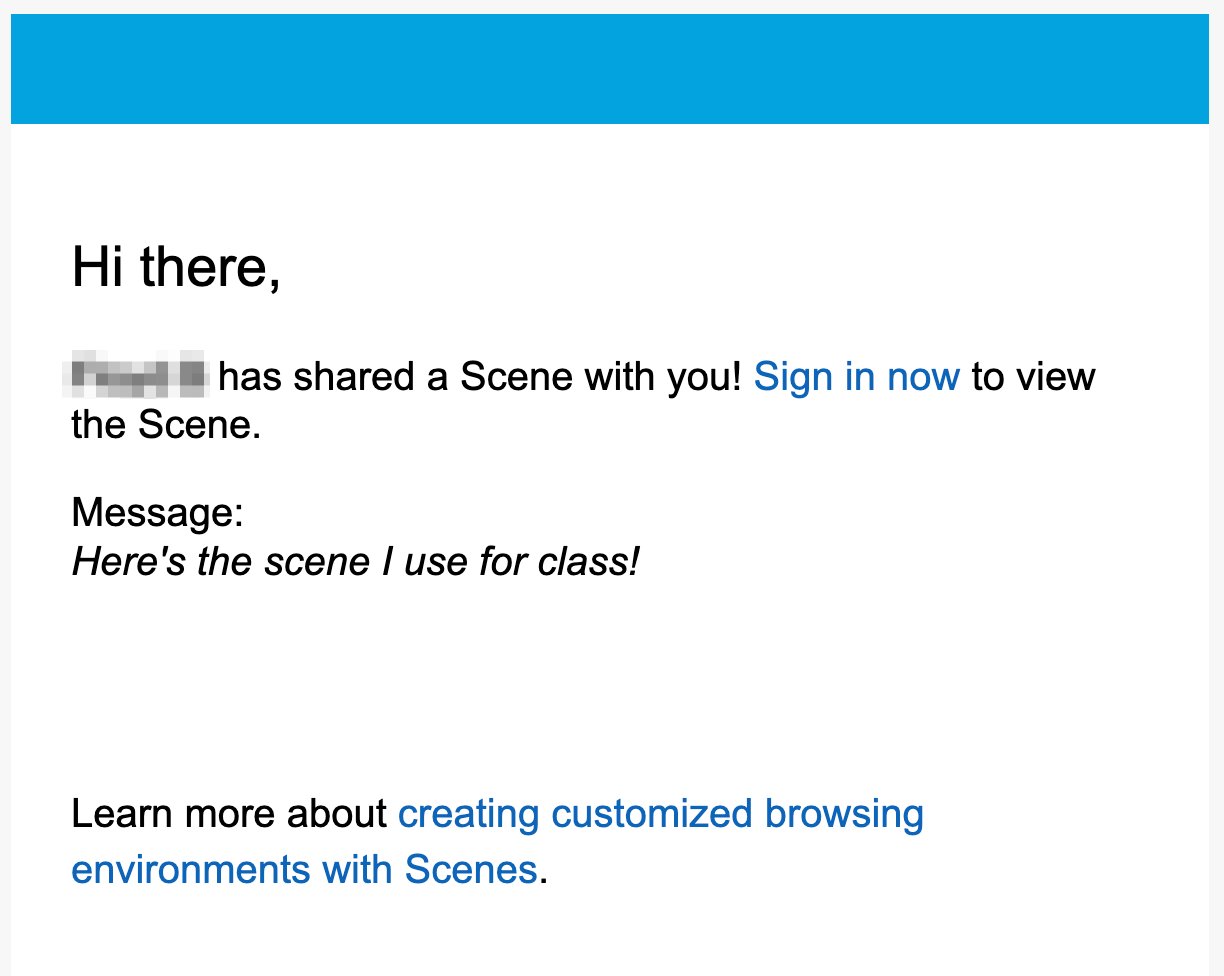
- The recipient receives an email from noreply@goguardian.com with the subject line “GoGuardian Teacher Scene has been shared with you,” including a link to view the Scene.
Scenes can only be shared with teachers within the same organization and GoGuardian account.
Manage Shared Scenes
Each Scene you’ve shared displays a Sharing label next to the Scene name. Hover over the Sharing label to see a list of the teachers the Scene has been shared with.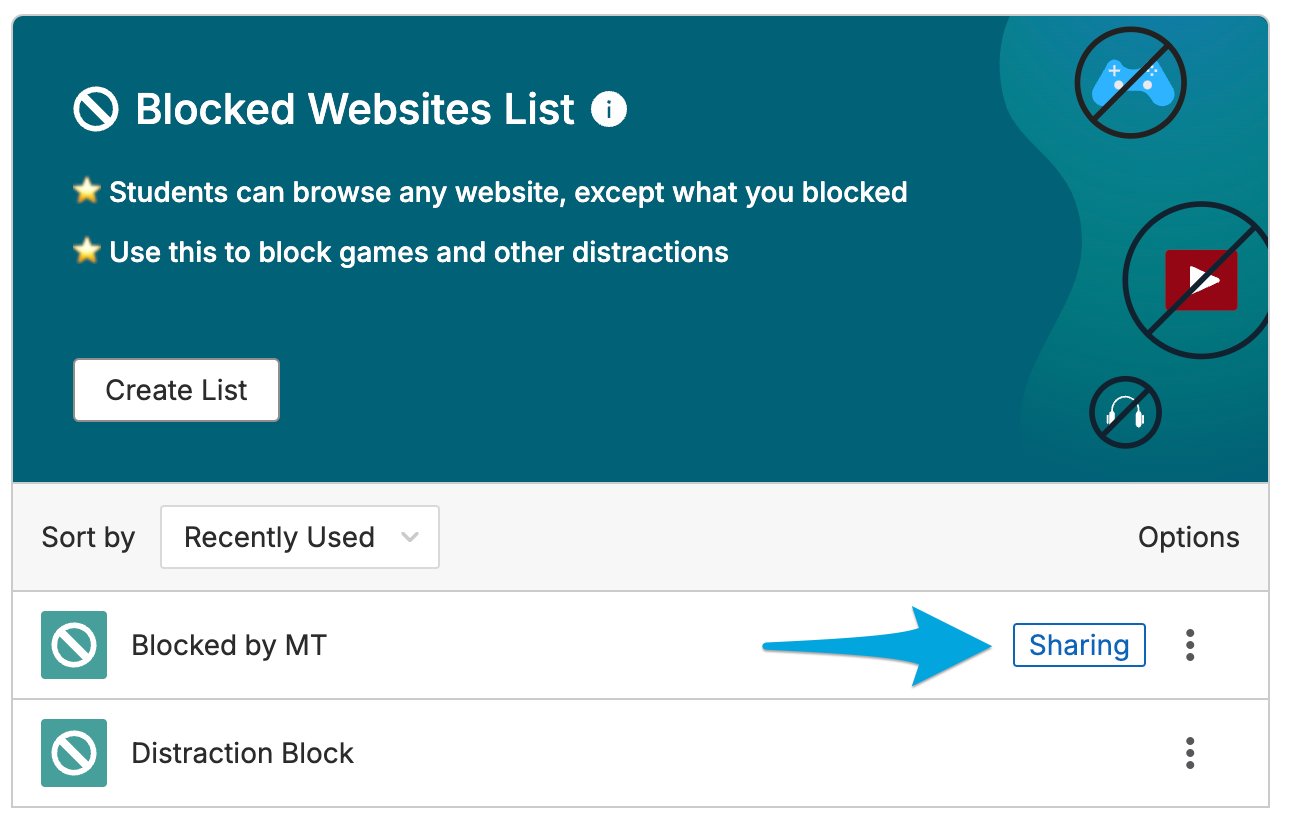
Use Shared Scenes
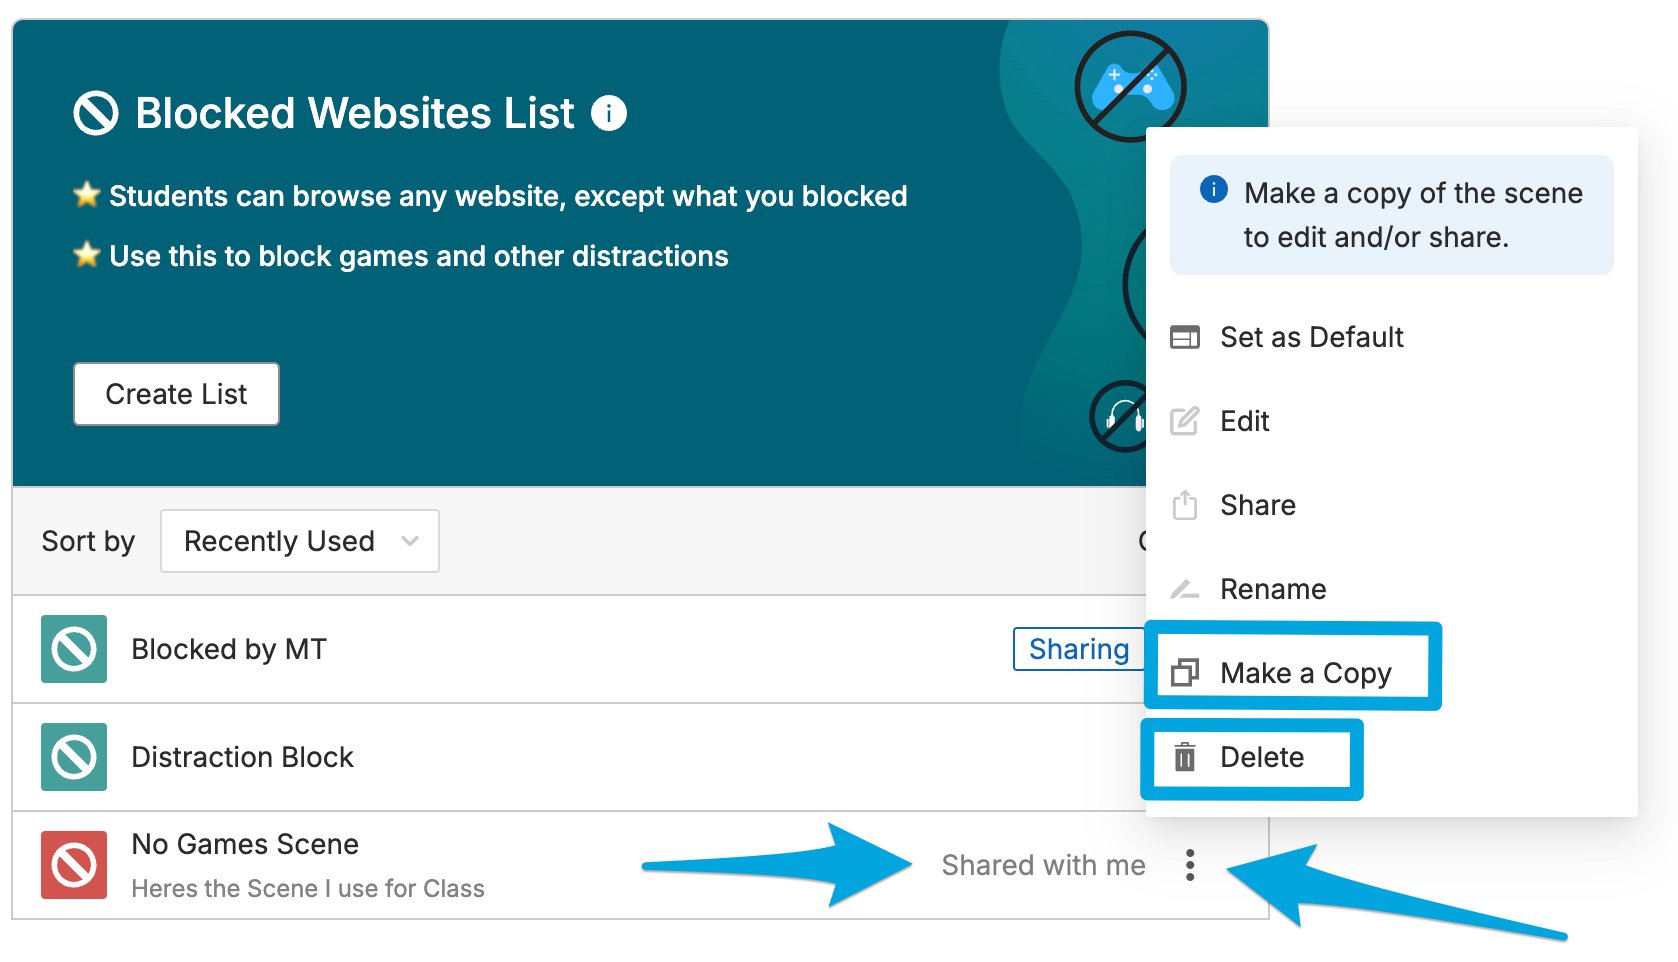
Teachers who receive a shared Scene see it in their Scenes list with a Shared with me label. Any changes the owner makes to the Scene are automatically reflected in the shared version. Teachers who receive a shared Scene cannot edit it directly. To customize a shared Scene:- Select the 3-dot (kebab) menu next to the shared Scene.
- Click Make a Copy.
- Edit, apply to classes, or re-share the copied Scene as needed.
Remove Shared Access
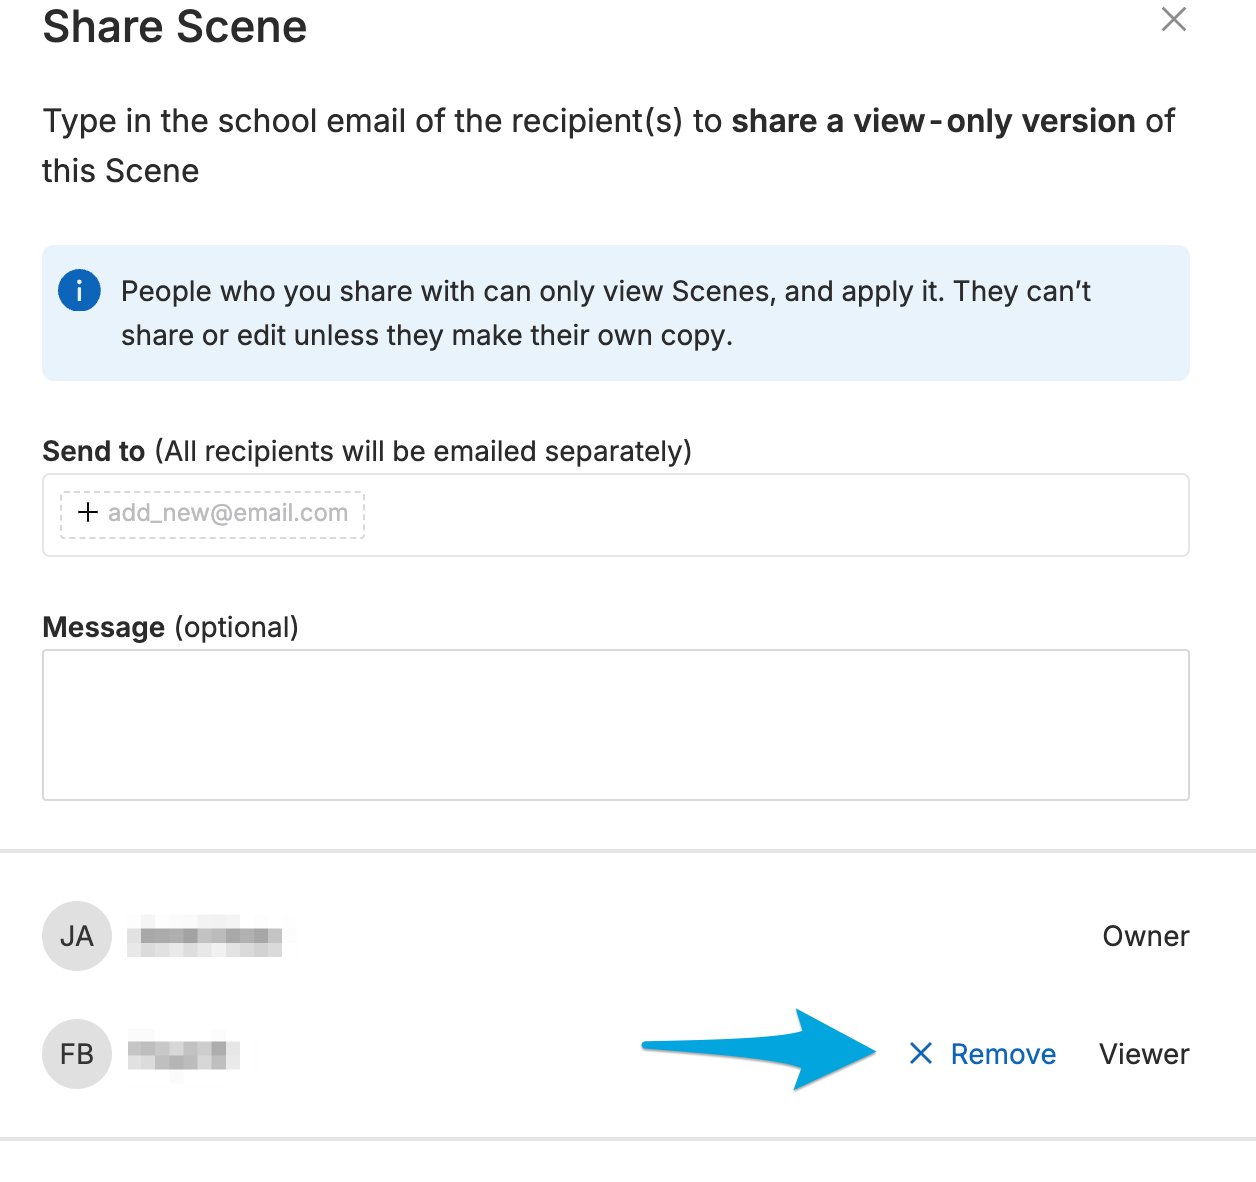
- Select the 3-dot (kebab) menu next to the Scene, then click Share.
- Click Remove next to the teacher’s name whose access you want to revoke.
- The teacher no longer sees the Scene in their Scenes list.
Resources
Scenes Overview
Learn what Scenes are and how they work in GoGuardian Teacher.
Create and Apply a Scene
Step-by-step instructions for building and applying a Scene to your class.
Components of a Scene
Understand the filtering options available when building a Scene.
Scene Conflicts
Learn how Teacher resolves conflicts when multiple Scenes apply to the same class.