

Scene Types
Create a Scene
-
Sign in to teacher.goguardian.com and click the Scenes tab in the left column.

- Click Create List on either an Allowed Websites List or a Blocked Websites List to choose the Scene type.
- Give the Scene a name. Optionally add a color and description. Click Next.
-
Enter a website or webpage and click Search. GoGuardian Teacher will suggest related sites. Click Add next to each site you want to include.
You can add a full website, a website path, or an individual webpage:
- Full website: allows or blocks the entire site and all pages within it (for example,
nationalgeographic.com) - Website path: allows or blocks only a specific section (for example,
nationalgeographic.com/animals) - Individual webpage: allows or blocks only a single page (for example,
nationalgeographic.com/animals/endangered-salamanders)
- Full website: allows or blocks the entire site and all pages within it (for example,
- The Scene is saved automatically as you add sites. Return to the main Scenes page to confirm it appears in your list.
Edit and Share Scenes
Each Scene has a 3-dot menu in the same row as the Scene name. From this menu you can rename the Scene, make a copy, edit the block or allow rules, set it as a Default Scene, or share it with other teachers. When you share a Scene, any teacher who receives the invitation can use it. Only the original Scene owner can edit the rules.
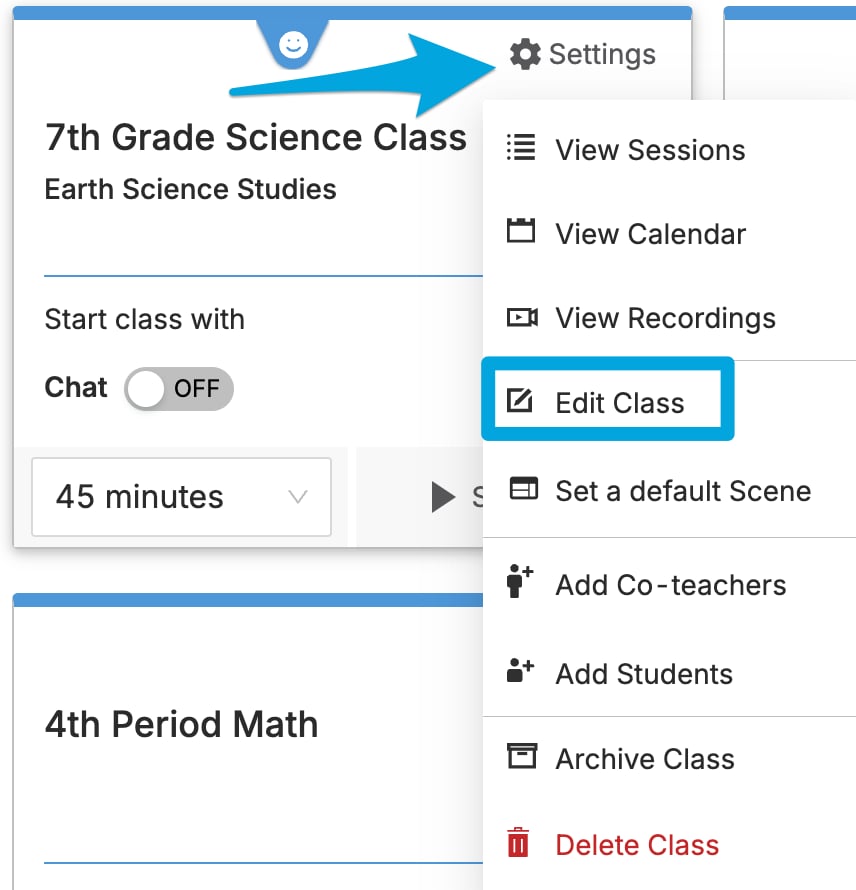
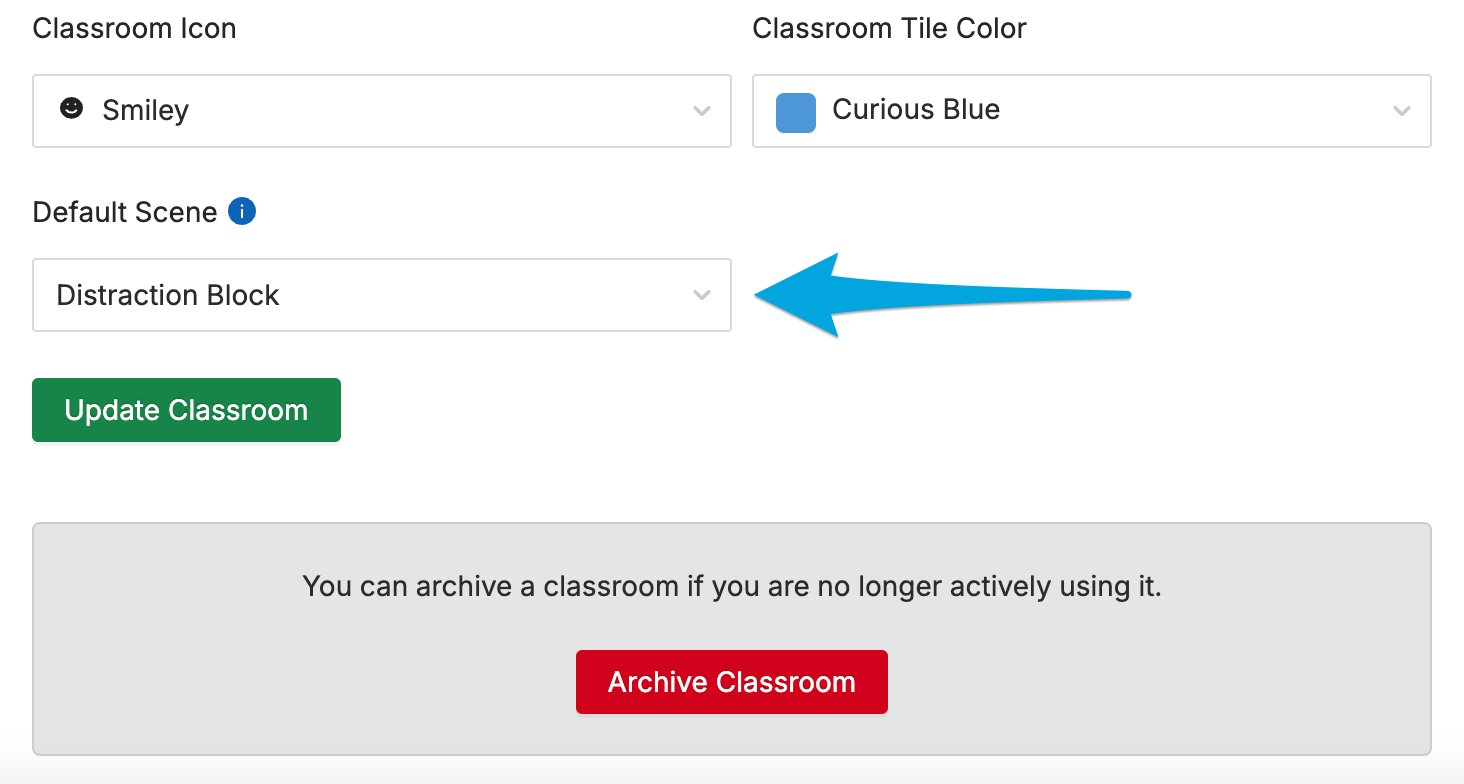
Apply a Scene During a Session
Scenes can only be applied during an active class session. To apply a Scene manually: Click the Scene Applied drop-down menu during an active session and select a Scene from the list. The currently applied Scene always appears at the top of the list.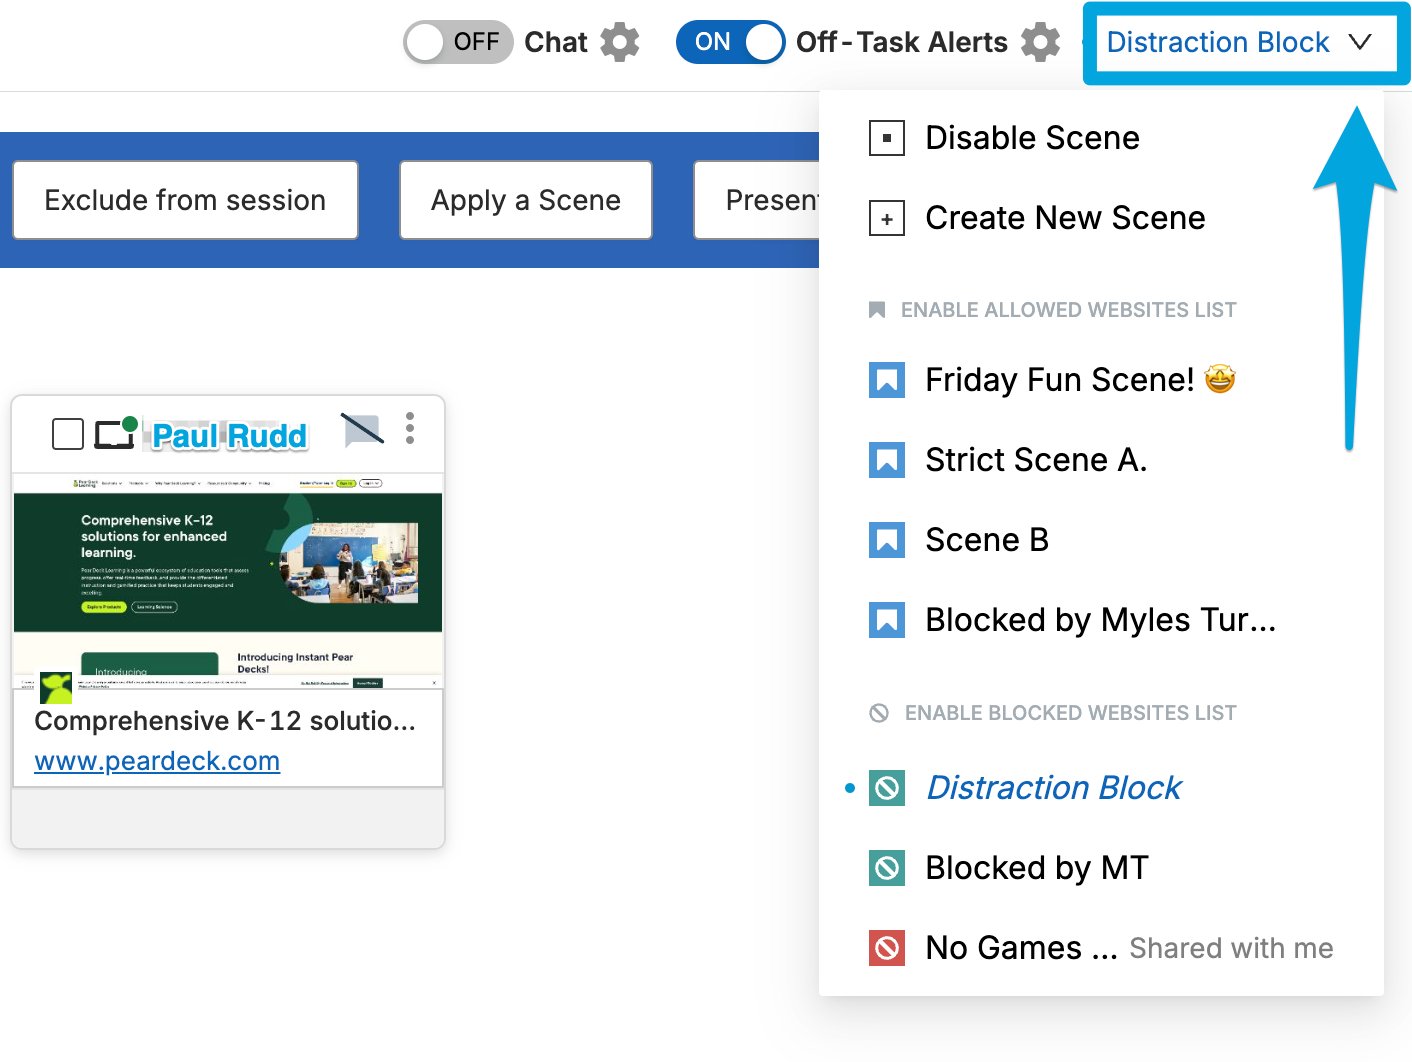
If you use automatically scheduled classes with a Default Scene, archive the class or remove the Default Scene at the end of the school year. A scheduled class with an active Default Scene will continue applying filtering rules to students after the class ends.
Resources
Scenes Overview
Review all Scene features, including auto-open tabs and tab limits.
Components of a Scene
Review all Scene settings and what each one controls.
Use Wildcards in Scenes
Use wildcard patterns to block or allow groups of URLs.
Scene Conflicts
Resolve conflicts when multiple Scenes are active at the same time.