

Generate and Print Bubble Sheets
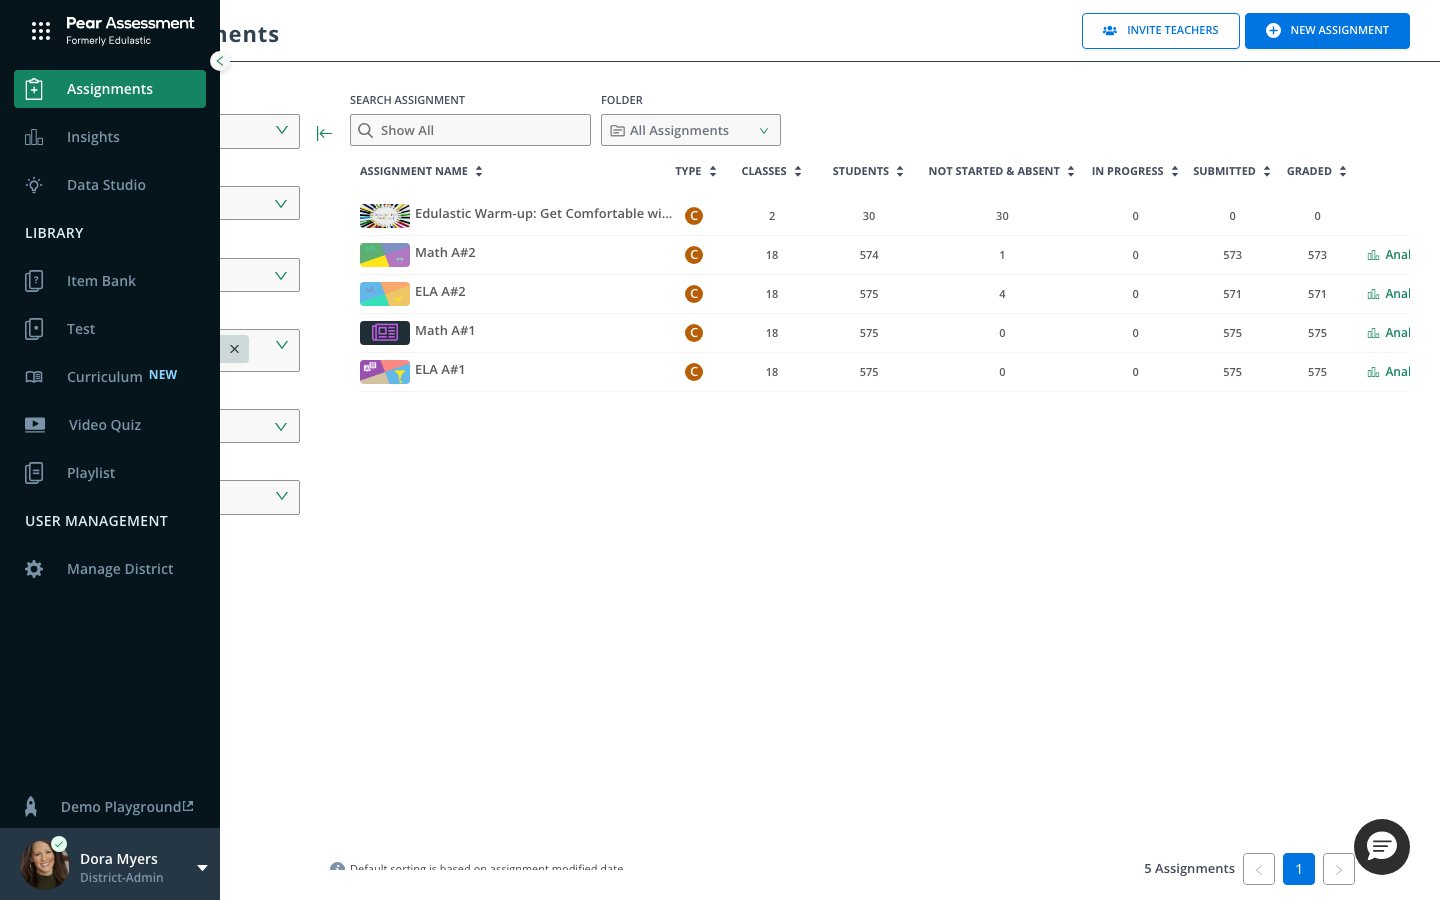
- Navigate to Assignments and open the assignment you want to use with bubble sheets.
- Click Actions and select Generate Bubble Sheets.
- Download the PDF and print one copy per student.
Bubble sheets reflect your test’s question structure at the time of generation. If you modify the test after printing, generate new sheets before distributing them.
Distribute and Collect Sheets
Hand one bubble sheet to each student. Students use a pencil to fill in the bubble for each answer. Collect the completed sheets before scanning.Scan and Upload Completed Sheets
After collecting the completed sheets, photograph or scan each one, then upload the images to Pear Assessment for automatic grading.- Return to the assignment in Assignments.
- Click Actions and select Upload Bubble Sheets.
- Upload the scanned images. Pear Assessment grades each sheet against the answer key and adds scores to the gradebook.
- Use a flat, well-lit surface.
- Scan at 300 DPI or higher.
- Avoid shadows, wrinkles, or partial bubbles — these can reduce accuracy.
Review Results
After upload, student results appear in the gradebook alongside any digitally submitted work. You can review individual responses and manually adjust scores for any sheet that did not process correctly.Resources
Print Assessments
Print blank test copies, student results, or report cards.
Troubleshoot Bubble Sheet Generation, Scanning, and Uploads
Fix missing questions, assignment status errors, scan failures, and upload problems with bubble sheets.