

Create a Trigger
- Go to Triggers in GoGuardian Admin.
- Click Add New Trigger.
-
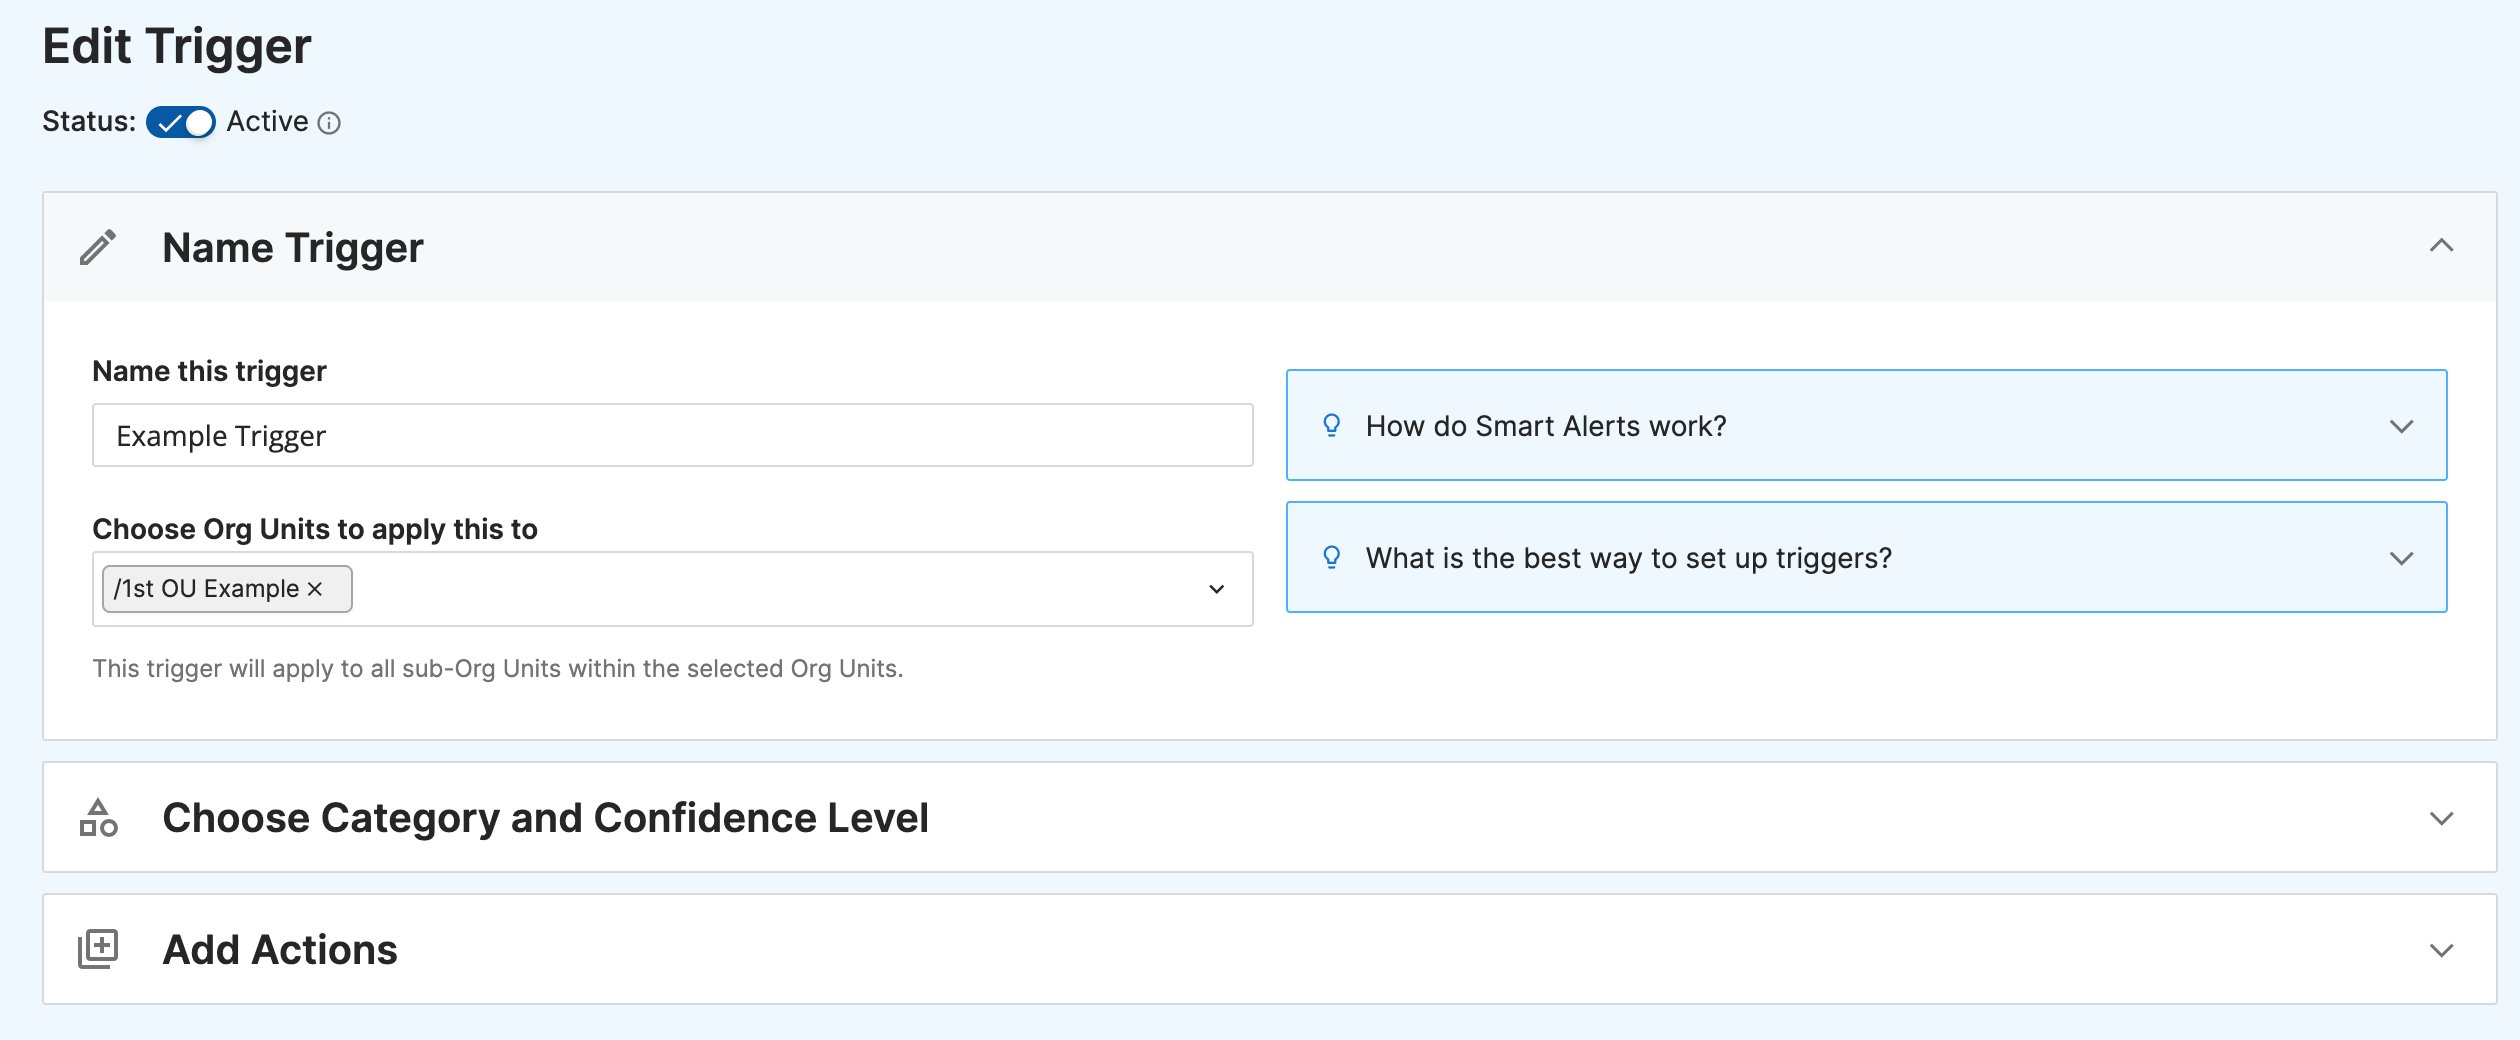
Enter a name for the Trigger. Choose one or more OUs to apply it to.
OU coverage cascades to child OUs. A Trigger applied to a parent OU (such as “Middle School”) also covers all child OUs beneath it, such as 6th Grade, 7th Grade, and 8th Grade. To apply a Trigger to all users in your organization, select the root OU, displayed as ”/”.
-
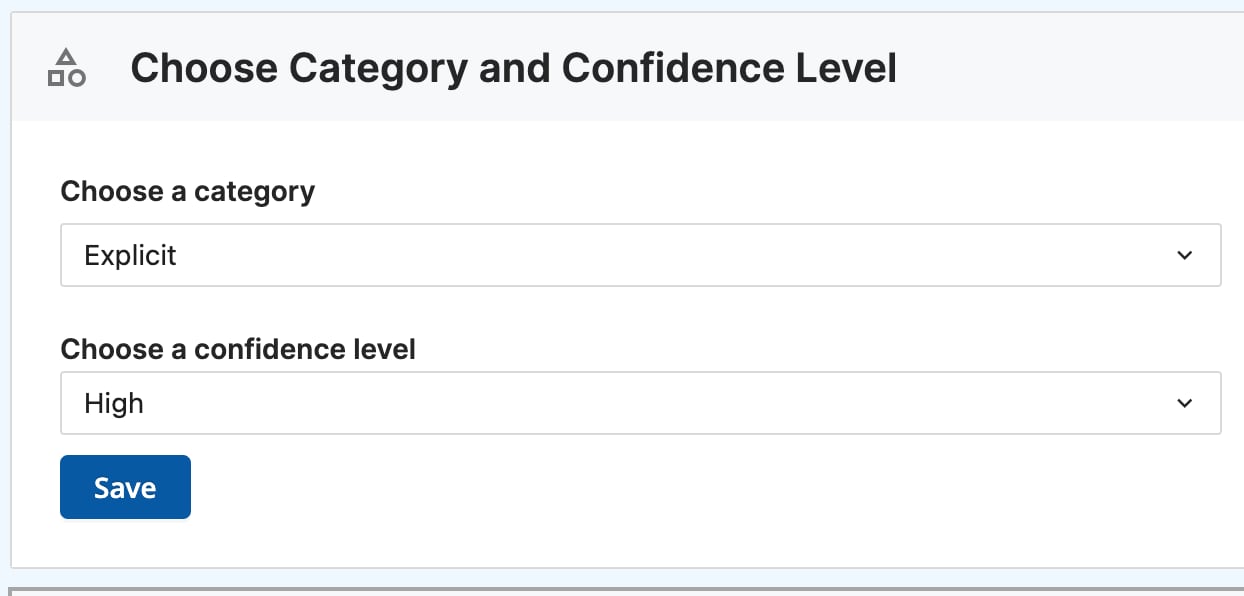
Choose a category: Explicit, Proxy, or Games. Smart Alerts use AI to analyze content and context across a page. Choose the category that describes the content you want to identify. The Games category identifies pages associated with non-educational games. See Block Gaming Sites with Smart Alerts for Games-specific setup and alert review.
Each Trigger supports one category. Create a separate Trigger for each category you want to cover.
Proxy services route student traffic through the proxy’s own URL instead of the destination site’s URL. Because GoGuardian sees only the proxy’s URL, blocked destination sites may remain accessible through the proxy. The Proxy category identifies this behavior so you can act on it directly.
-
Choose the confidence threshold for the Trigger:
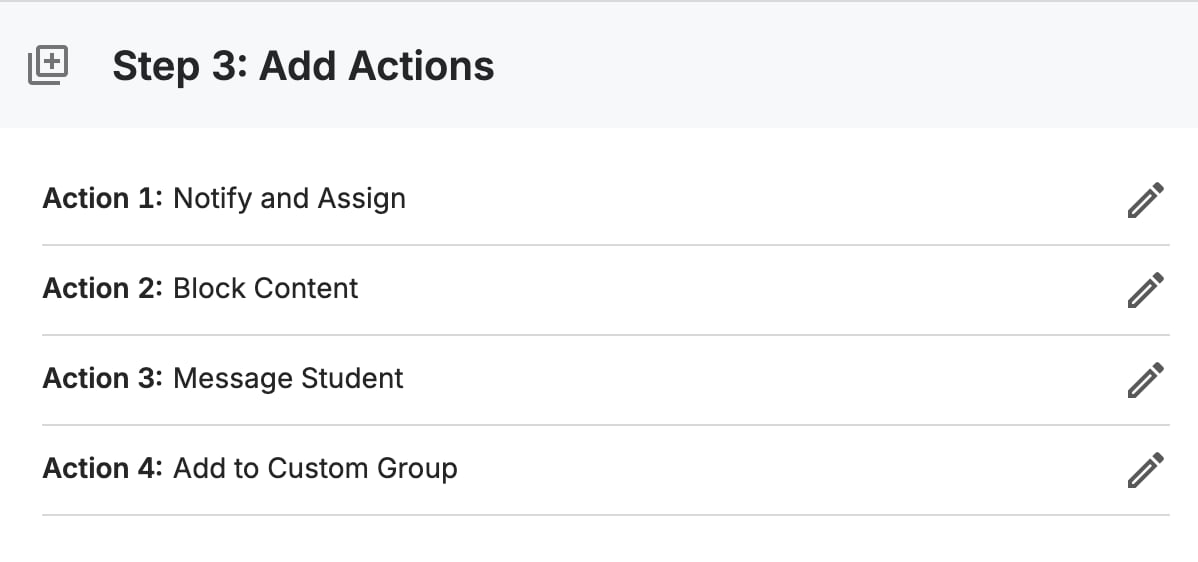
- Select one or more Actions to fire when a Smart Alert meets the Trigger conditions. Actions can be combined in any configuration. See Understand Trigger Actions below for a description of each option.
- Click Save to activate the Trigger.
- The new Trigger appears in your Triggers list with its assigned OUs, category, and confidence level. Confirm that the correct OUs and confidence level are displayed. The Trigger is now active and will fire its Actions when a matching Smart Alert is generated.
Understand Trigger Actions
Each Action is available for Explicit, Proxy, and Games Triggers. Actions fire automatically when a Smart Alert meets the Trigger’s conditions. Select one or more Actions when configuring a Trigger.Administrators receiving Notify and assign notifications must have an active GoGuardian Admin account registered at manage.goguardian.com with Admin access enabled.
Each student may only be in one Custom Group at a time. Students already in a different Custom Group are not added when the Add to Custom Group Action fires.
Enable Image Filtering
Image filtering extends Smart Alerts’ Explicit category to scan images containing sexually explicit content on pages students visit. When a matching image is detected, it is blurred rather than the full page being blocked, unless a Block page Action is also configured.Image filtering requires a Trigger assigned to the student’s OU with the Explicit category selected. GoGuardian Admin does not scan images on sites it categorizes as Appropriate or Educational (including Google, Wikipedia, and YouTube). Images may take a few seconds to process after a page loads.
- In GoGuardian Admin, go to the Triggers page and select Edit on the Trigger you want to update. The Trigger must use the Explicit category.
- Under Choose Category and Confidence Level, turn on the Include images toggle.
- For Triggers with the Block page Action, you can set a separate block page message for images. Enter the message in the image-specific text field. The default message applies if you leave this blank.
- Click Save.
- The Trigger now scans images on pages visited by students in the assigned OUs. Matching images appear blurred with a GoGuardian padlock symbol. Clicking the blurred area shows the block message, the URL, and the name of the Trigger.
Resources
Manage Custom Groups
Review how Custom Groups work before using the Add to Custom Group Action.
Configure Block Pages
Customize the block page message students see when a Trigger blocks a site.