

Available Commands
Lock / Unlock Screen
The Lock Screen command mutes and disables all browser windows on a student’s device. The lock clears automatically at the end of the session in which the student was locked.If a locked student joins another teacher’s session before the first session ends, the lock carries over. Any teacher with an active session can unlock the student. A locked student’s tile always shows “You have locked this student’s screen” regardless of which teacher issued the lock.
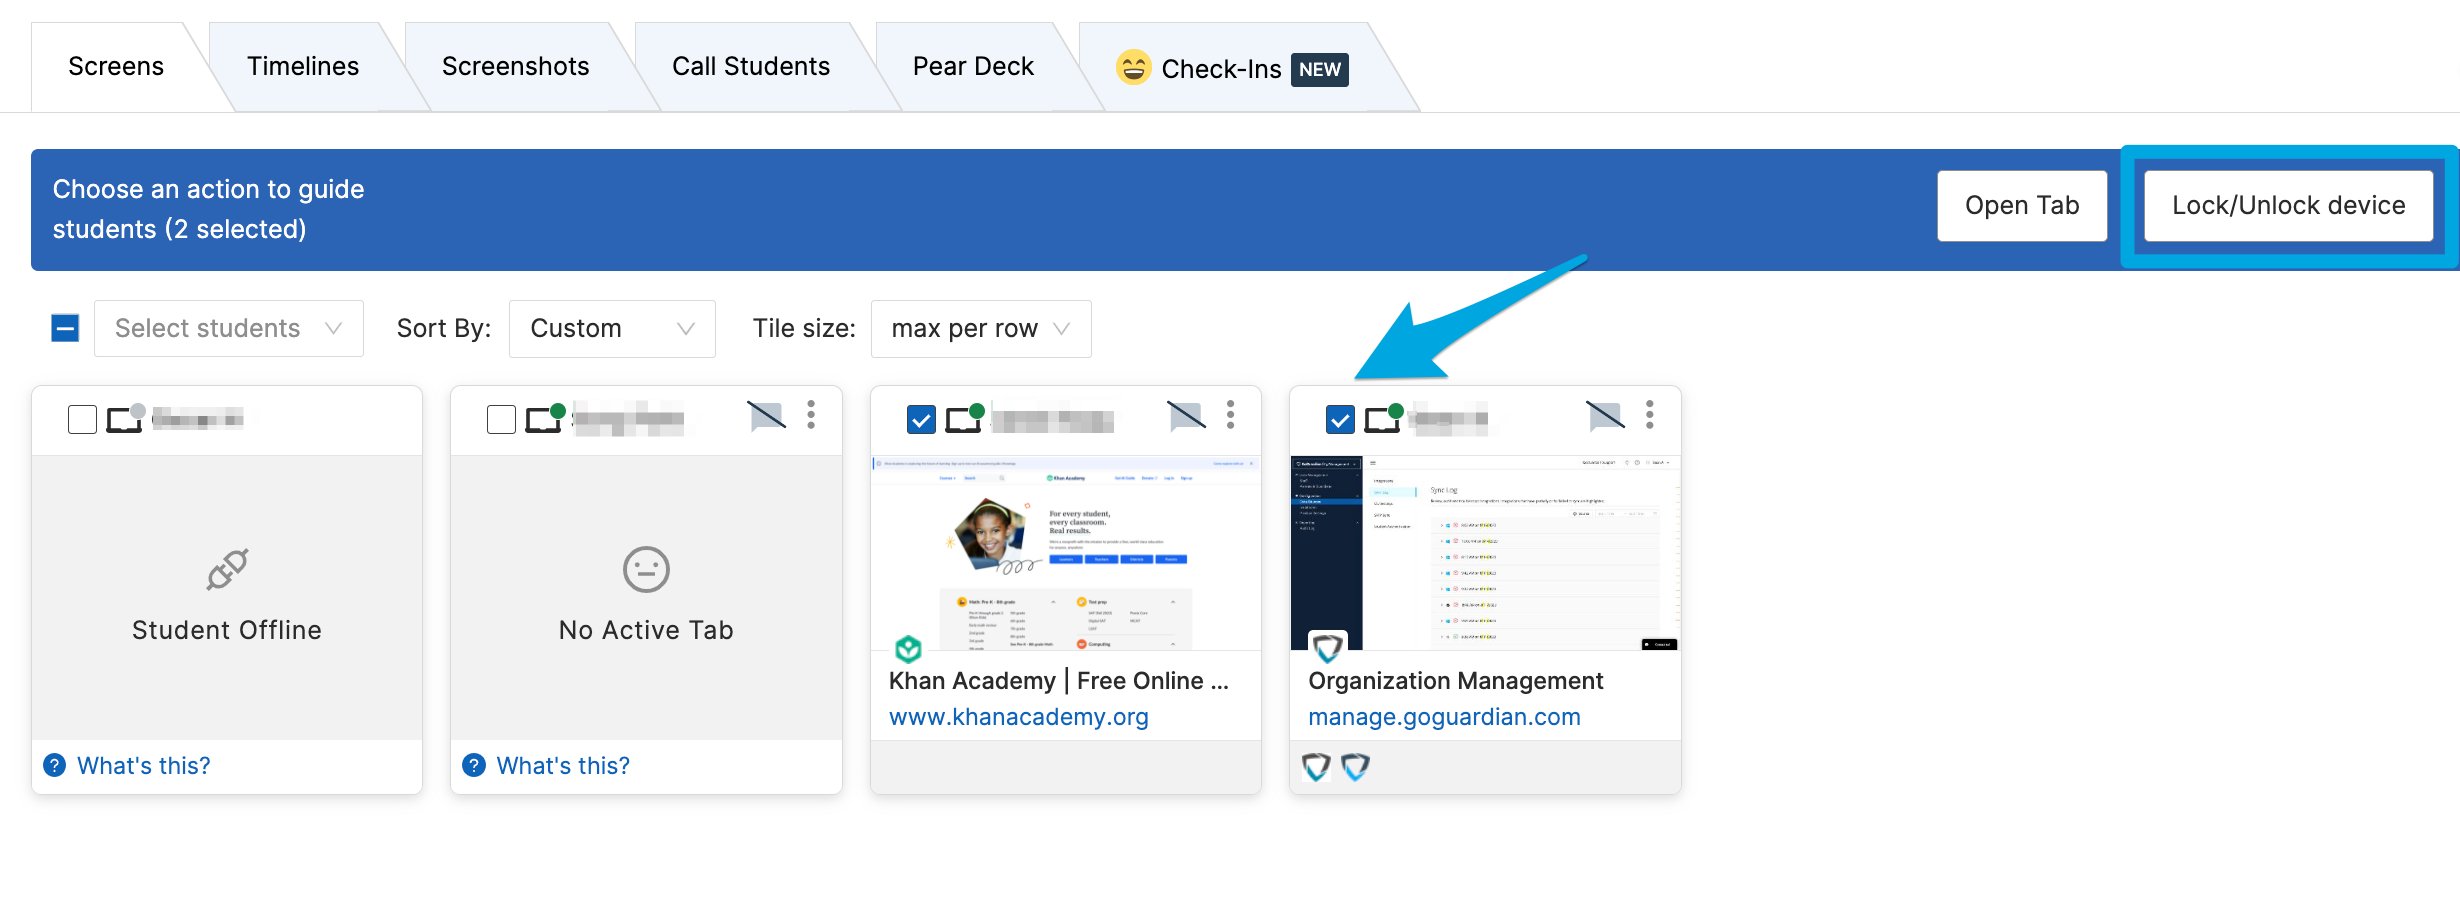
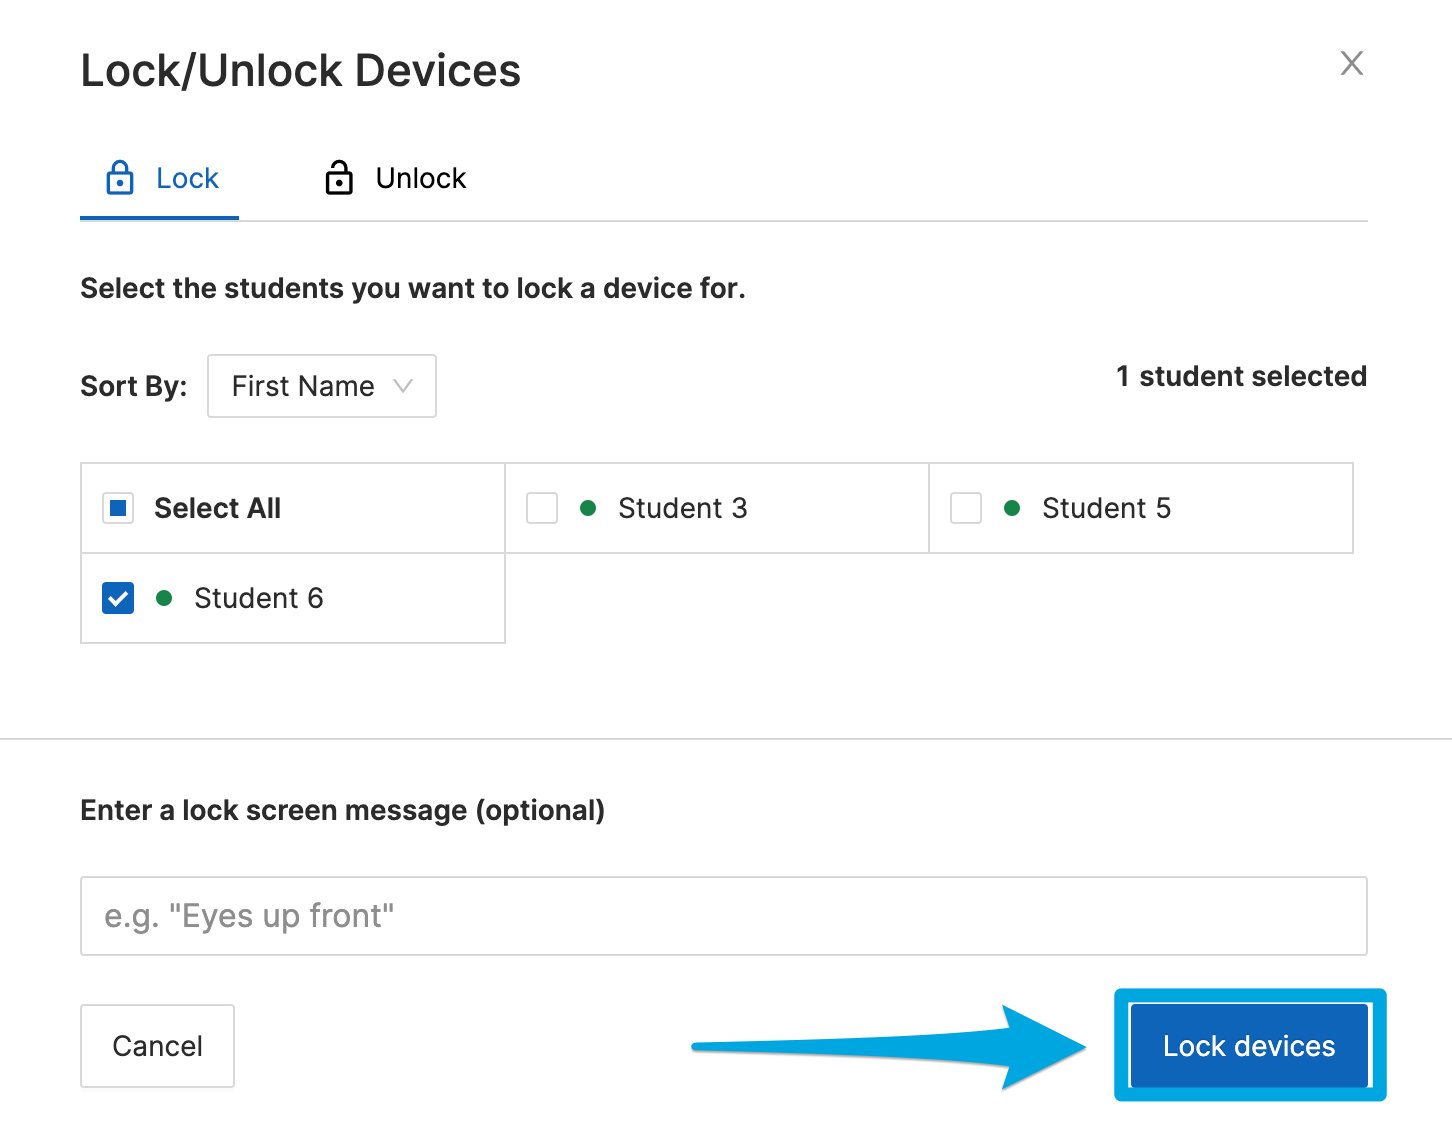
- Select students using the checkboxes next to their names.
- Click Lock / Unlock device.
- Optionally enter a custom message for the locked screen.
- Click Lock devices to confirm.
- Select the locked students.
- Click Lock / Unlock device.
- Click Unlock, then confirm by clicking Unlock devices.
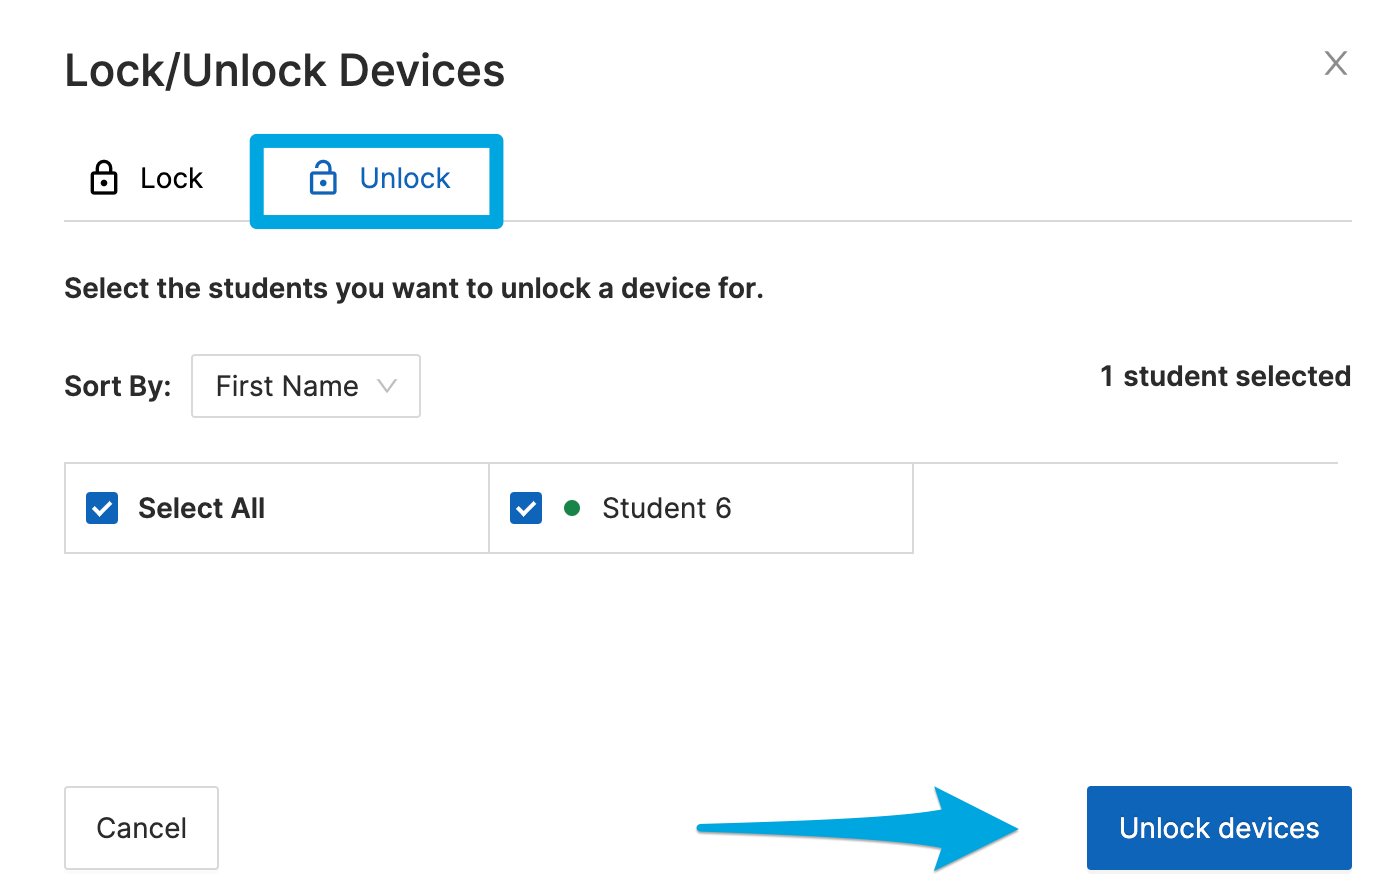
Lock Screen only disables browser windows. Applications running outside of the browser are not affected by this command.
Open Tab
The Open Tab command opens a specified URL in a new tab on selected students’ devices. Open a tab for multiple students:- Click Open Tab.
- Select All or choose specific students, then click Next.
- Enter a URL and click Open Tab.
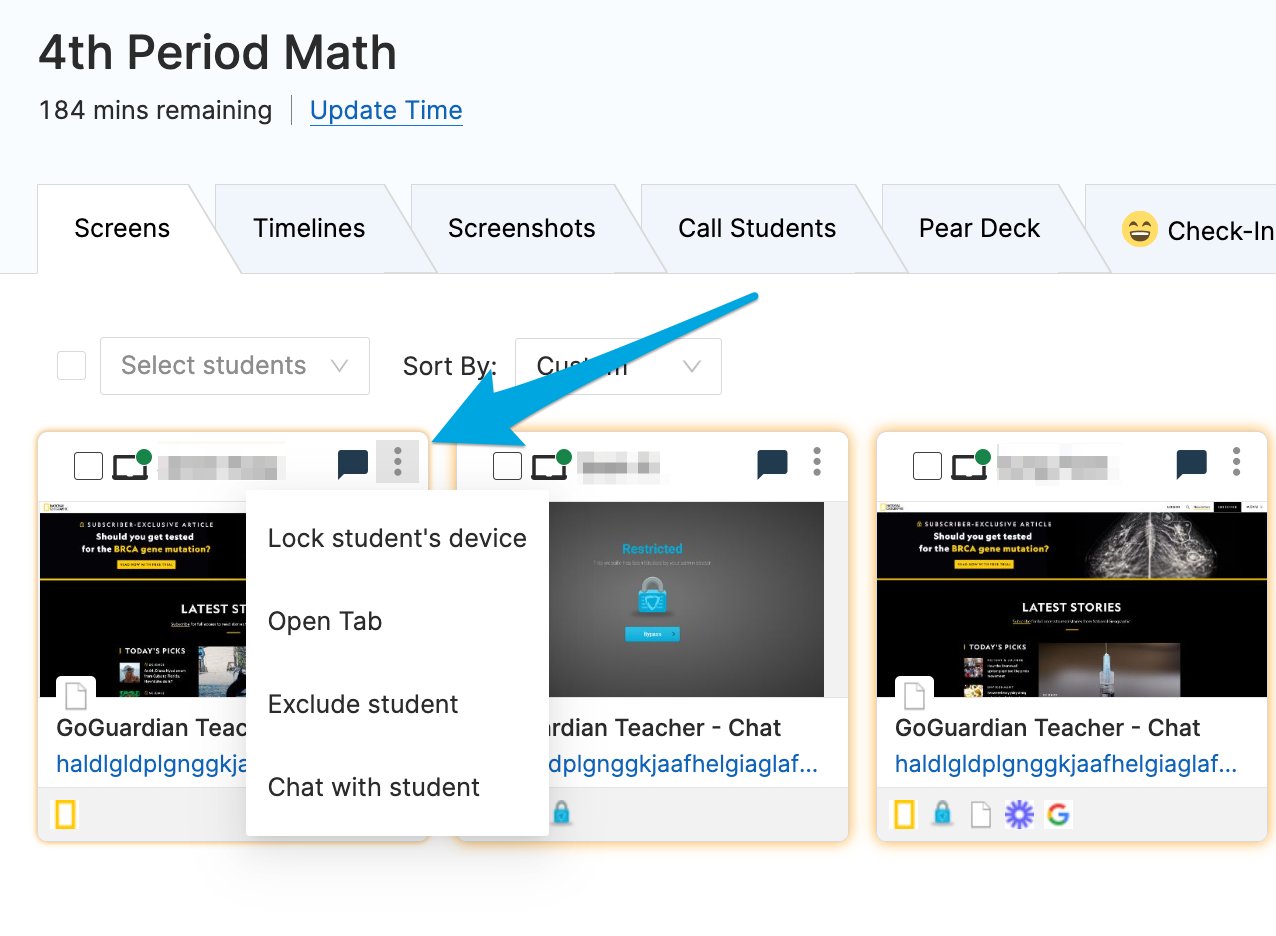
- Click the 3-dot menu on a student’s tile.
- Select Open Tab.
- Enter a URL and click Open Tab.
The Open Tab command requires students to have a Chrome window open. If a student shows “no active tab,” ask them to open Chrome first, then issue the command.
Close Tab
- Click the student’s tile to open their screen view.
- Find the tab you want to close.
- Click Close to the right of the URL.
Depending on network speed, it can take up to 10 seconds for a closed tab to disappear from the Teacher dashboard.

Screenshot
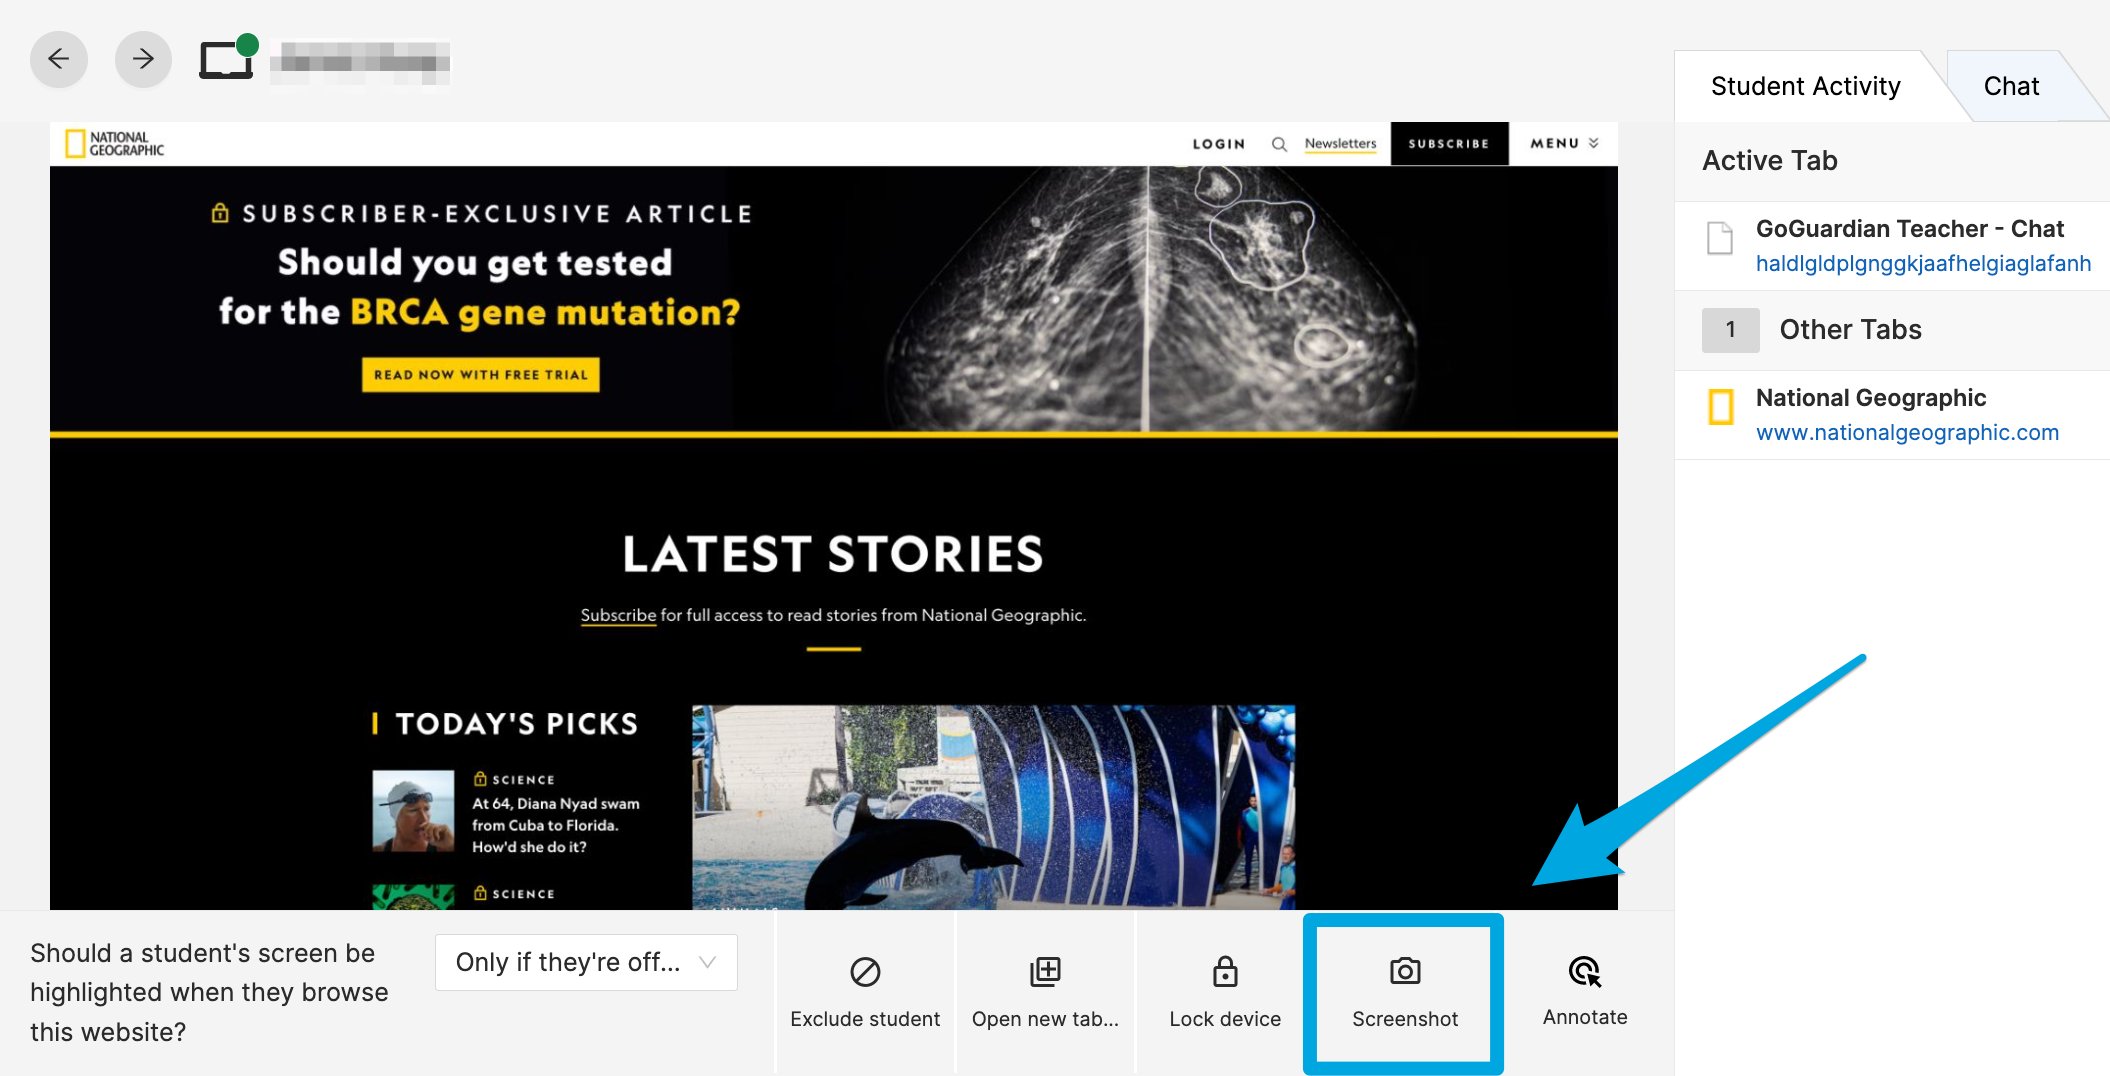
- Click a student’s tile to open their screen view.
- Click the camera icon in the bottom-right corner.
Exclude / Include Student
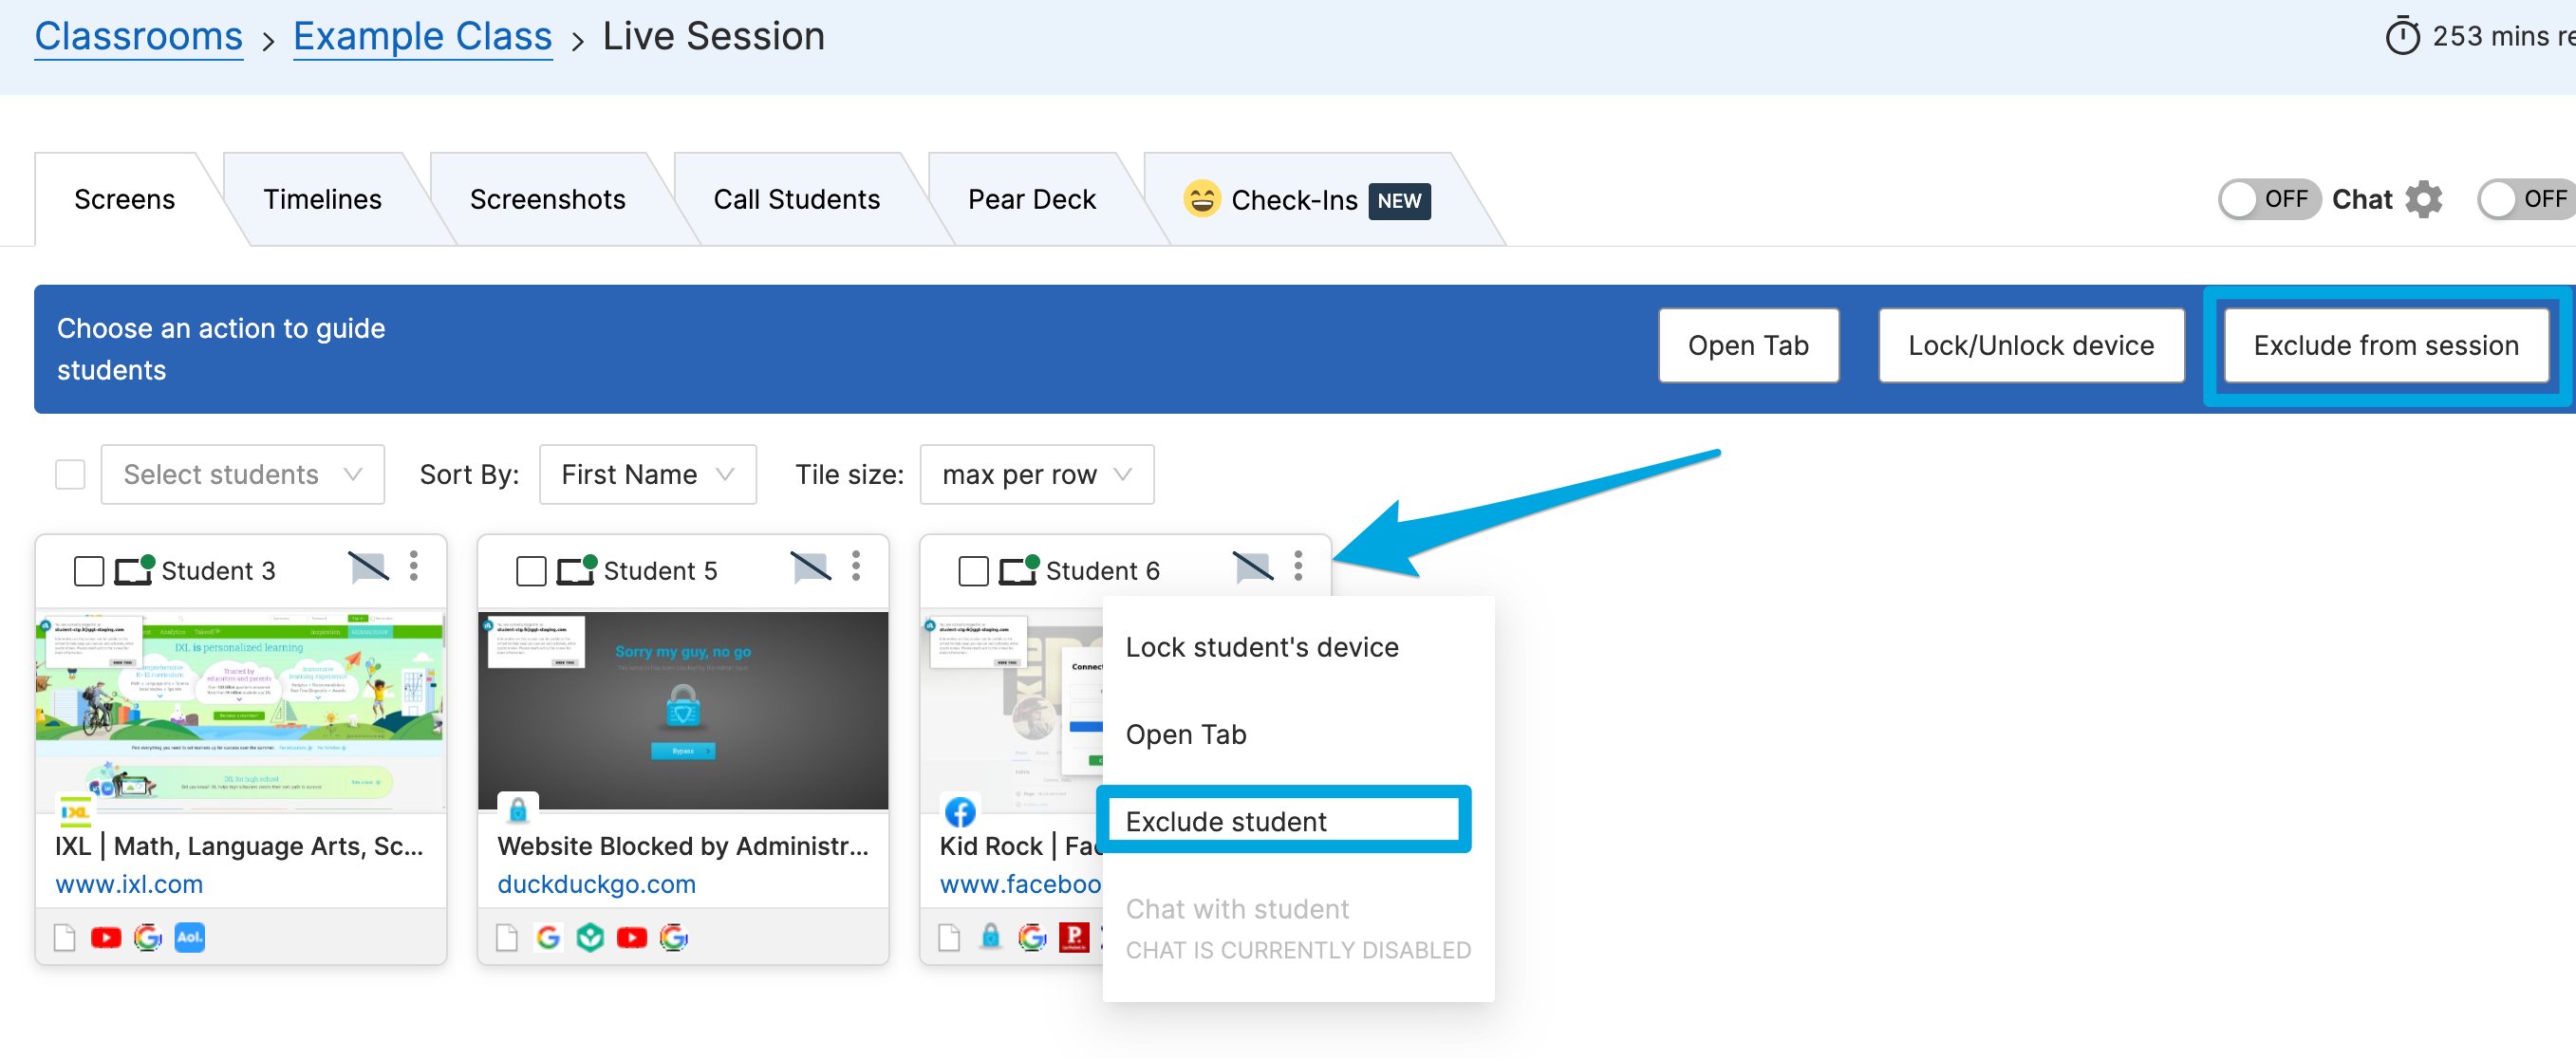
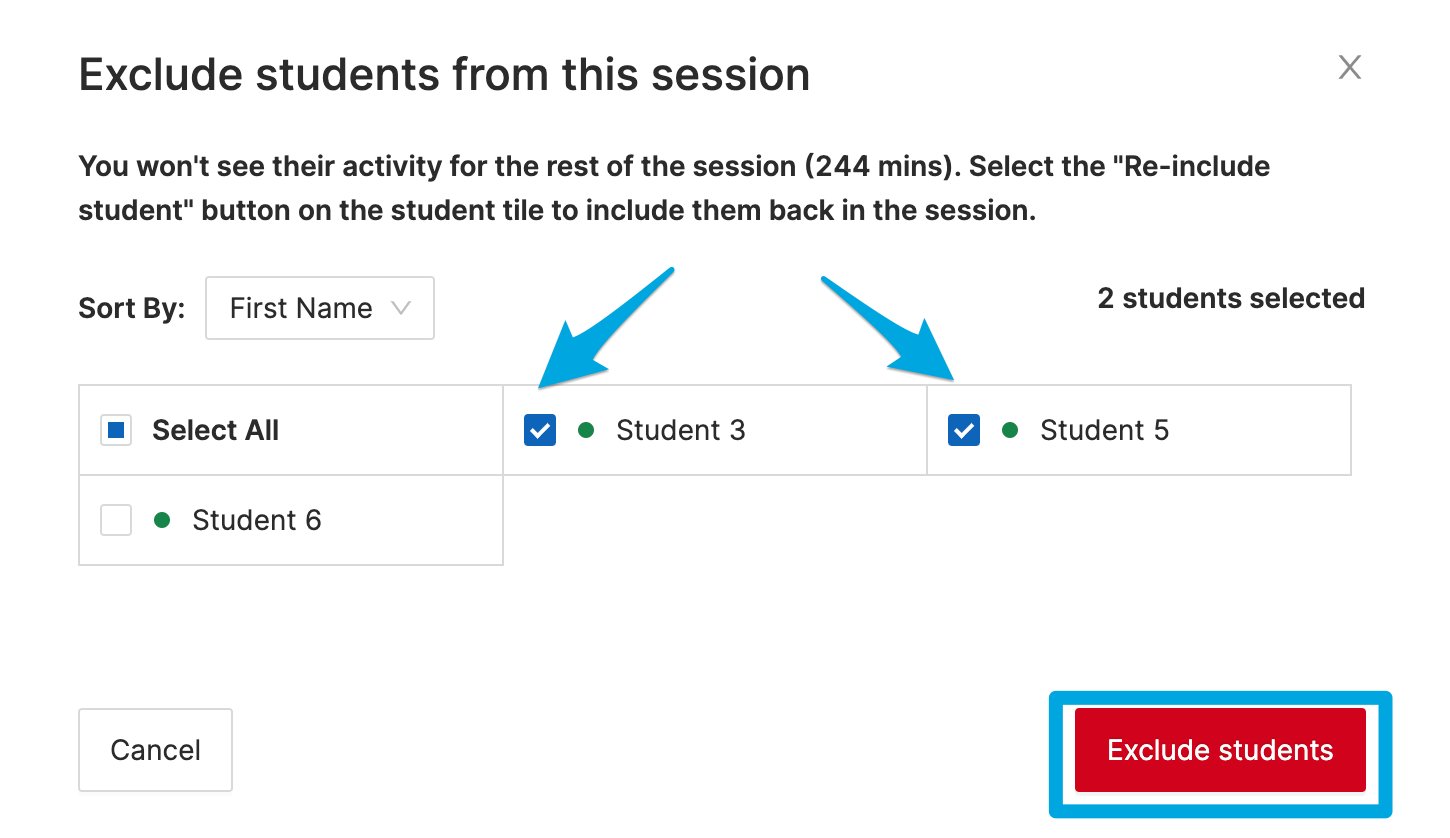
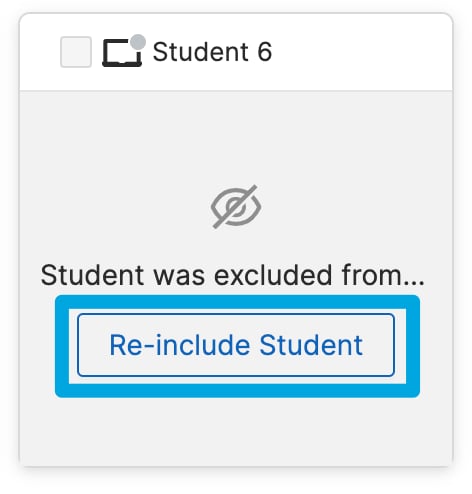
Excluding a student hides them from Screens and Timeline views. It does not remove them from the roster. Exclude one student: Click the 3-dot menu on their tile and select Exclude student. Exclude multiple students:- Click Exclude from session.
- Select All or specific students.
- Click Exclude students to confirm.
Annotate
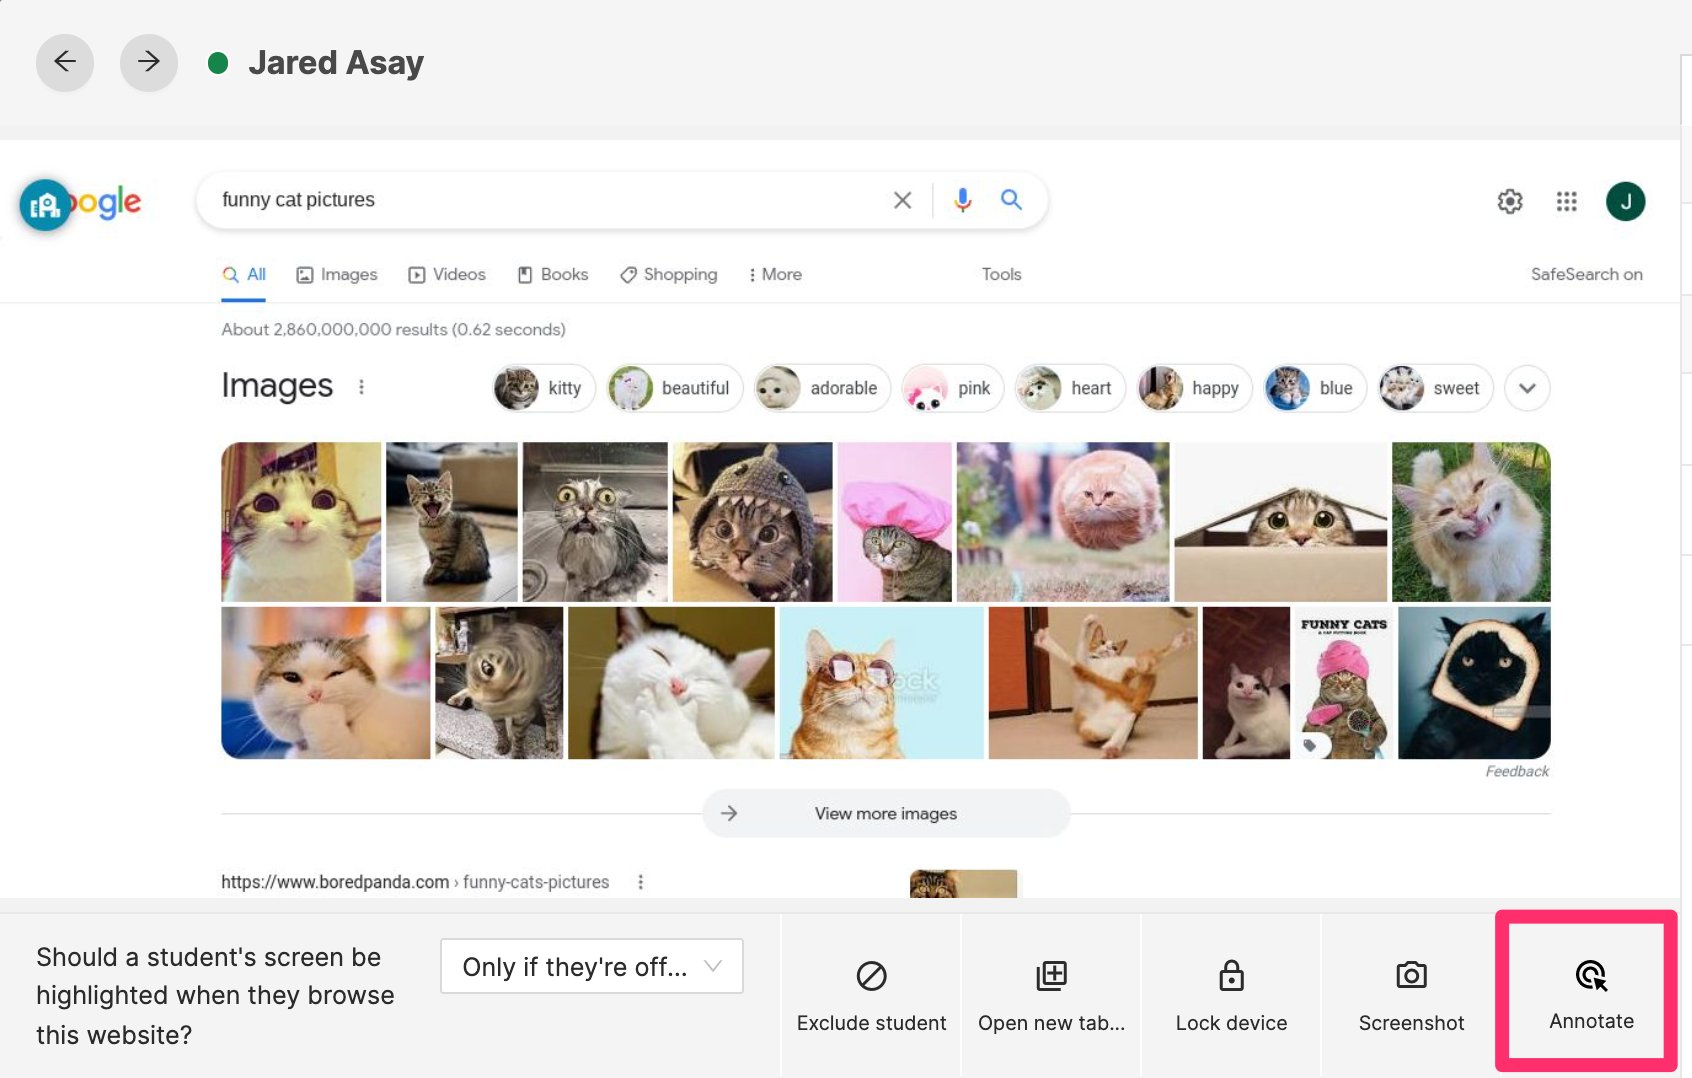
The Annotate command places a colored circle on a student’s screen. The circle is visible to the student for approximately 10 seconds, then disappears automatically. You can change the circle’s color and size using the Pointer Color and Pointer Size options.Annotate requires GoGuardian App 26.2.0 or later on the student’s device, or the GoGuardian browser extension. Annotate is not supported on iPadOS. GoGuardian extensions support annotations only within the student’s browser.
Close App (Windows Only)
The Close App command closes any application running on a Windows student device. It’s supported on Windows devices running either Windows Legacy (the GoGuardian browser extension and native host application) or The GoGuardian App.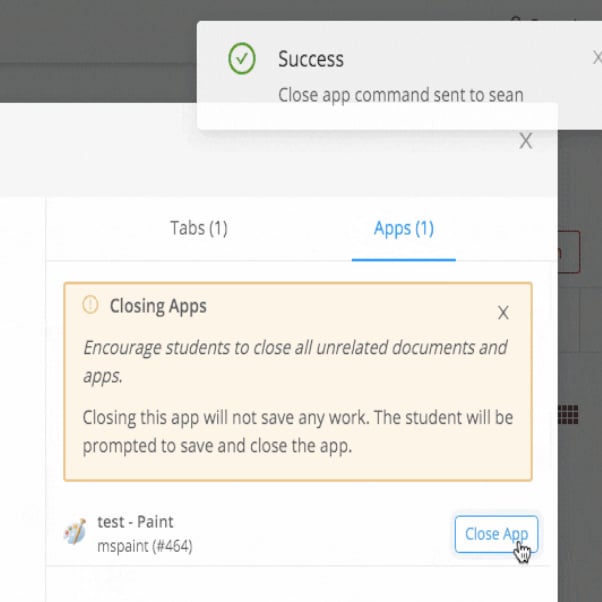
Issue Commands to One Student From Their Tile
From the 3-dot menu in the top-right corner of any student’s tile, you can issue these commands directly to that student:- Lock / Unlock Screen
- Open Tab
- Exclude Student
- Start a Chat (when Chat is enabled for the session)


Resources
Lock Screen
Detailed steps and troubleshooting for the Lock Screen command.
Take a Screenshot
Capture and access screenshots of student screens.
Active Screens View
Review the full Screens view layout and controls.
Use Teacher Chat
Send messages to individual students or broadcast to the class.