

- Creating a student group from the Classrooms menu, class settings, or an active session
- Setting a default student group for a classroom
- Editing and deleting existing groups
- Using the student group dropdown options
- Sending a command to a group
Create Student Group from Classroom Menu
- Go to the Classrooms tab in the navigation menu.
- Find the class where you want to set a default student group.
- Click Actions > Set Default Groups or Scene.
-
Click Student Groups.
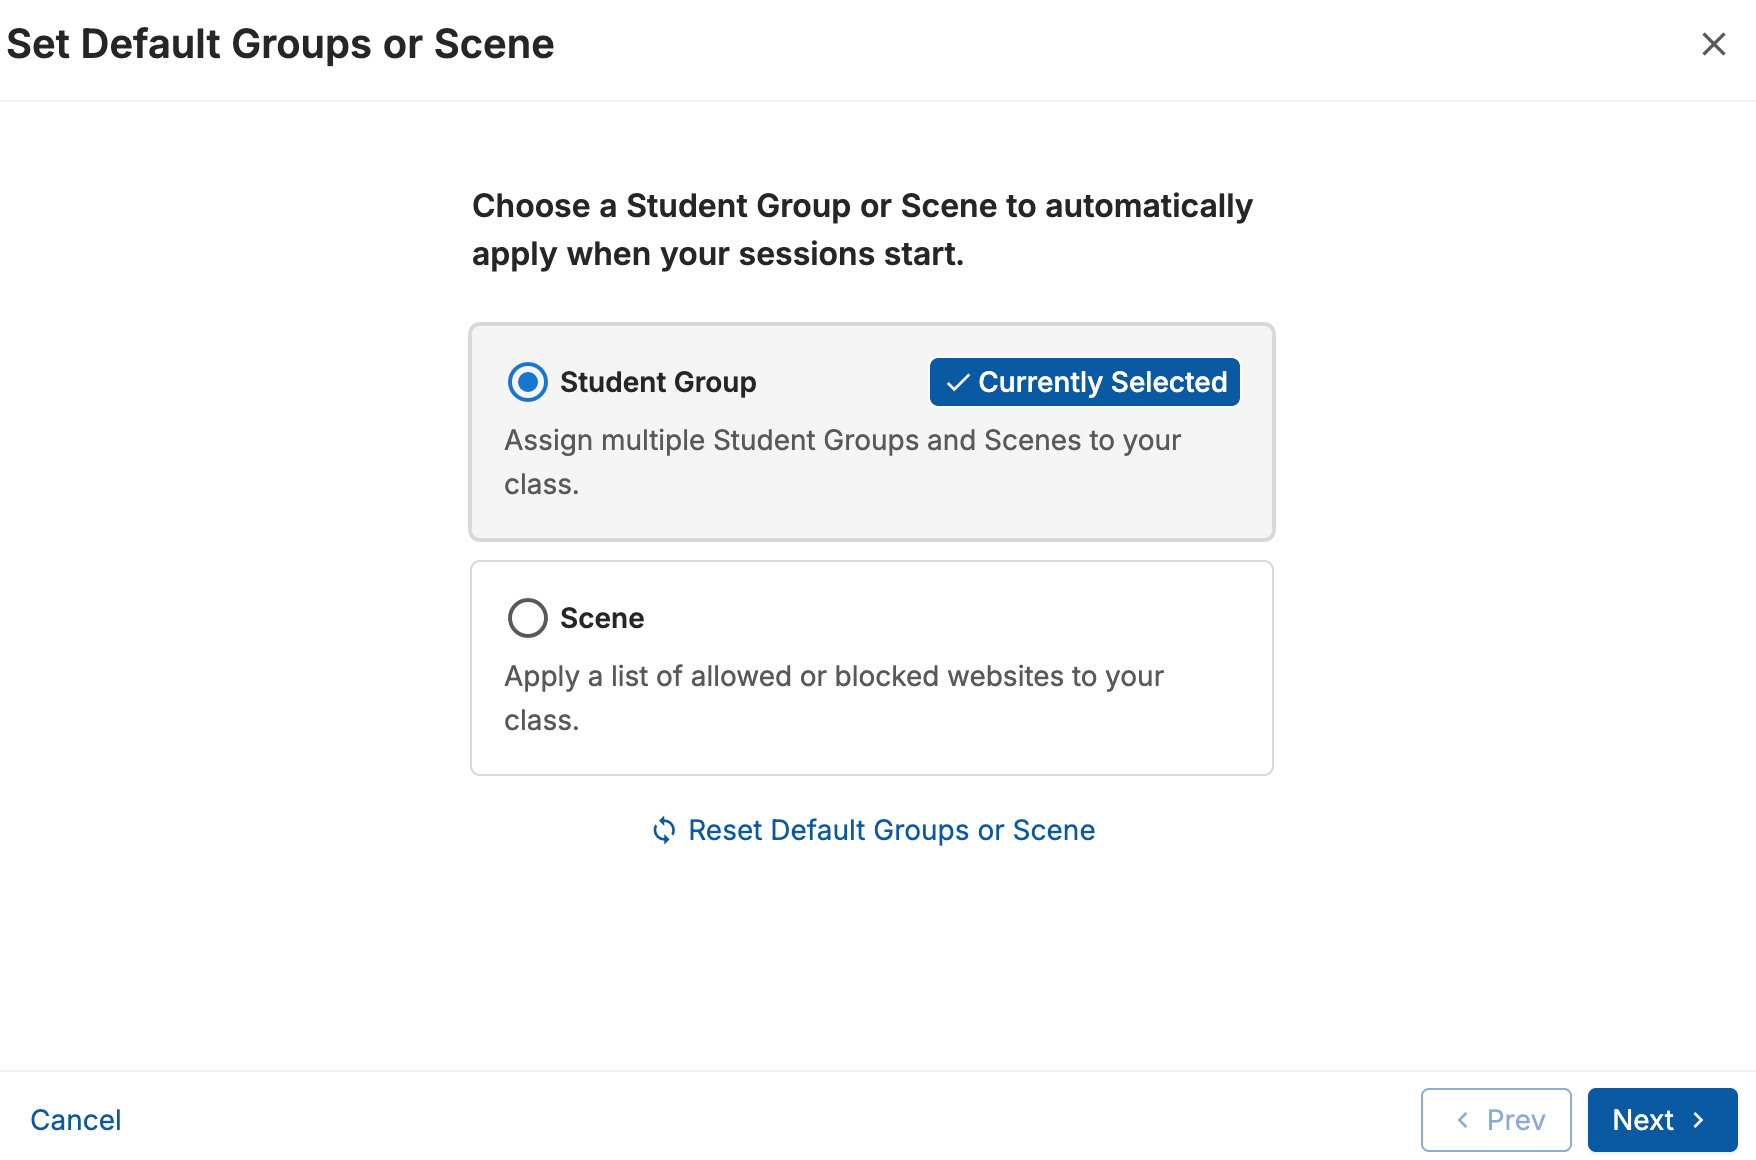
- Click Next.
-
Click Create Student Groups.
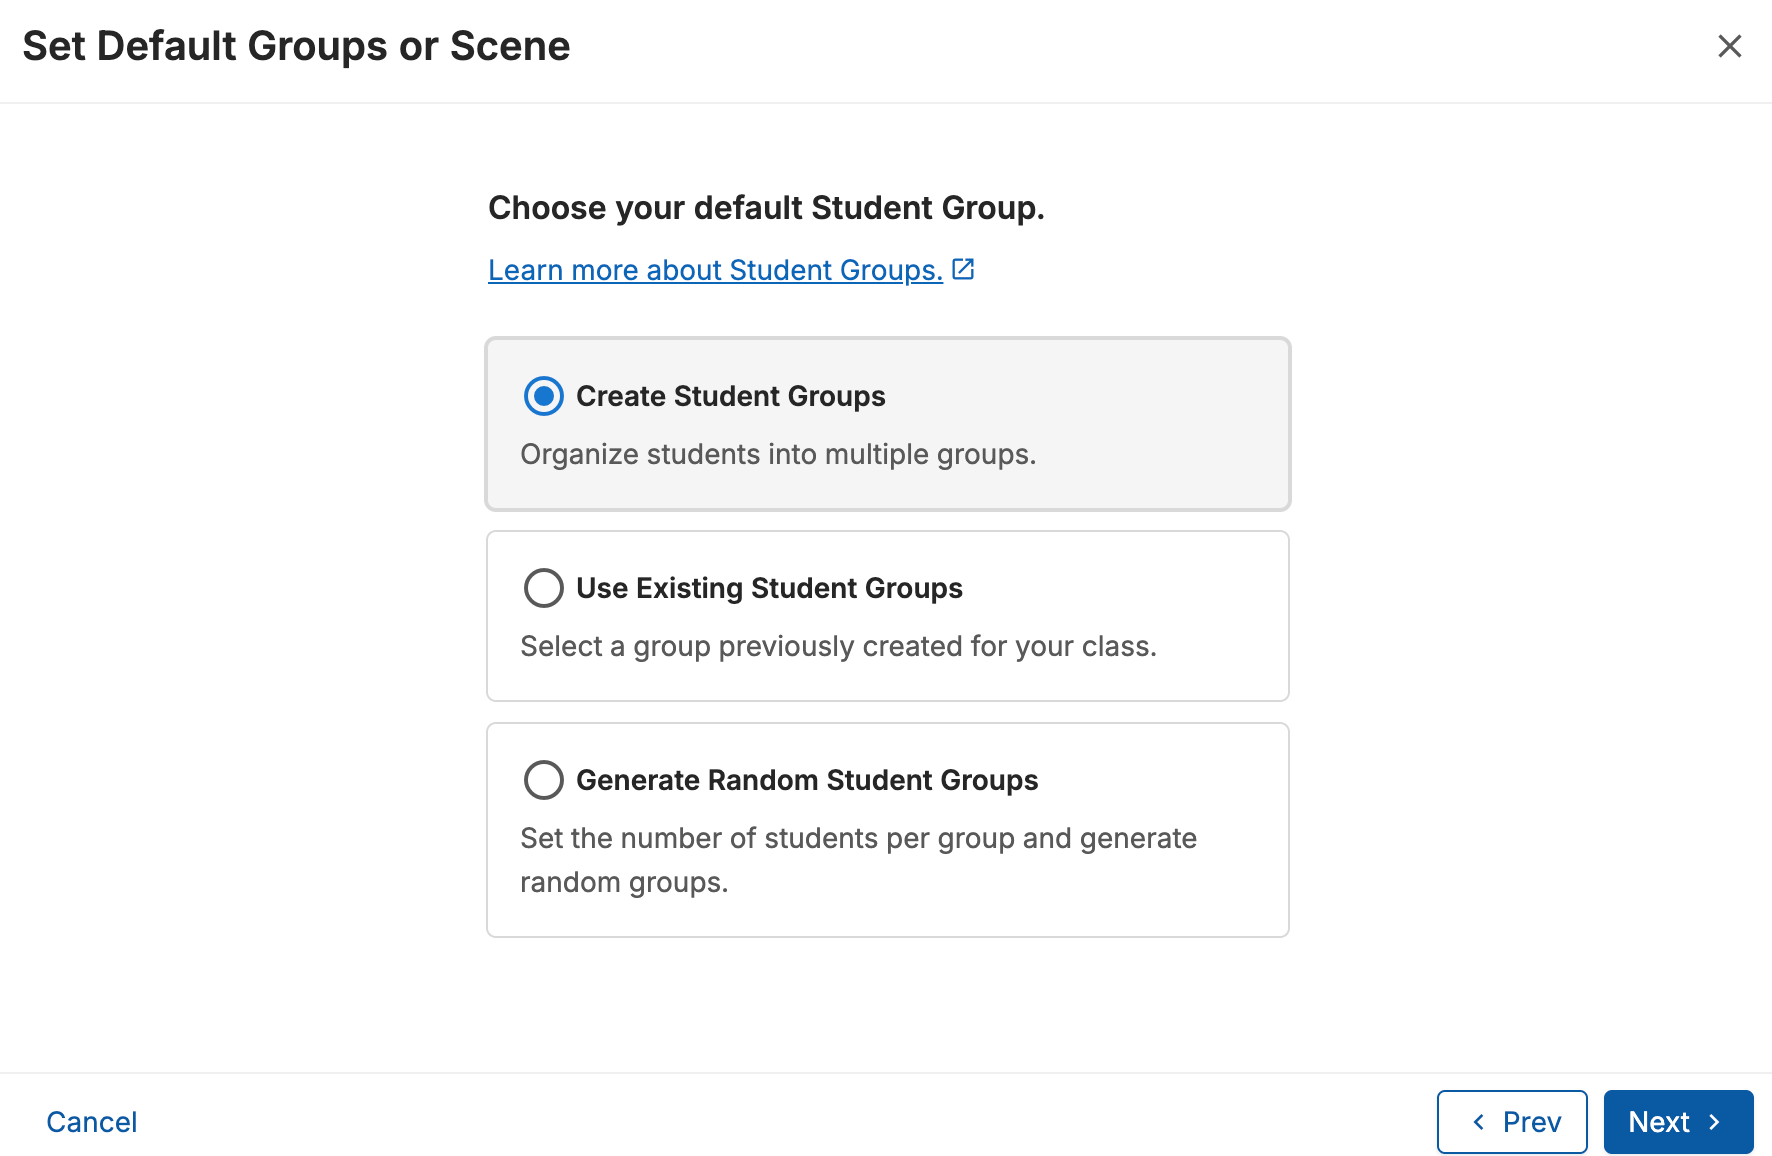
- Click Next.
-
Name the new student groups, which will consist of multiple groups in one larger group.
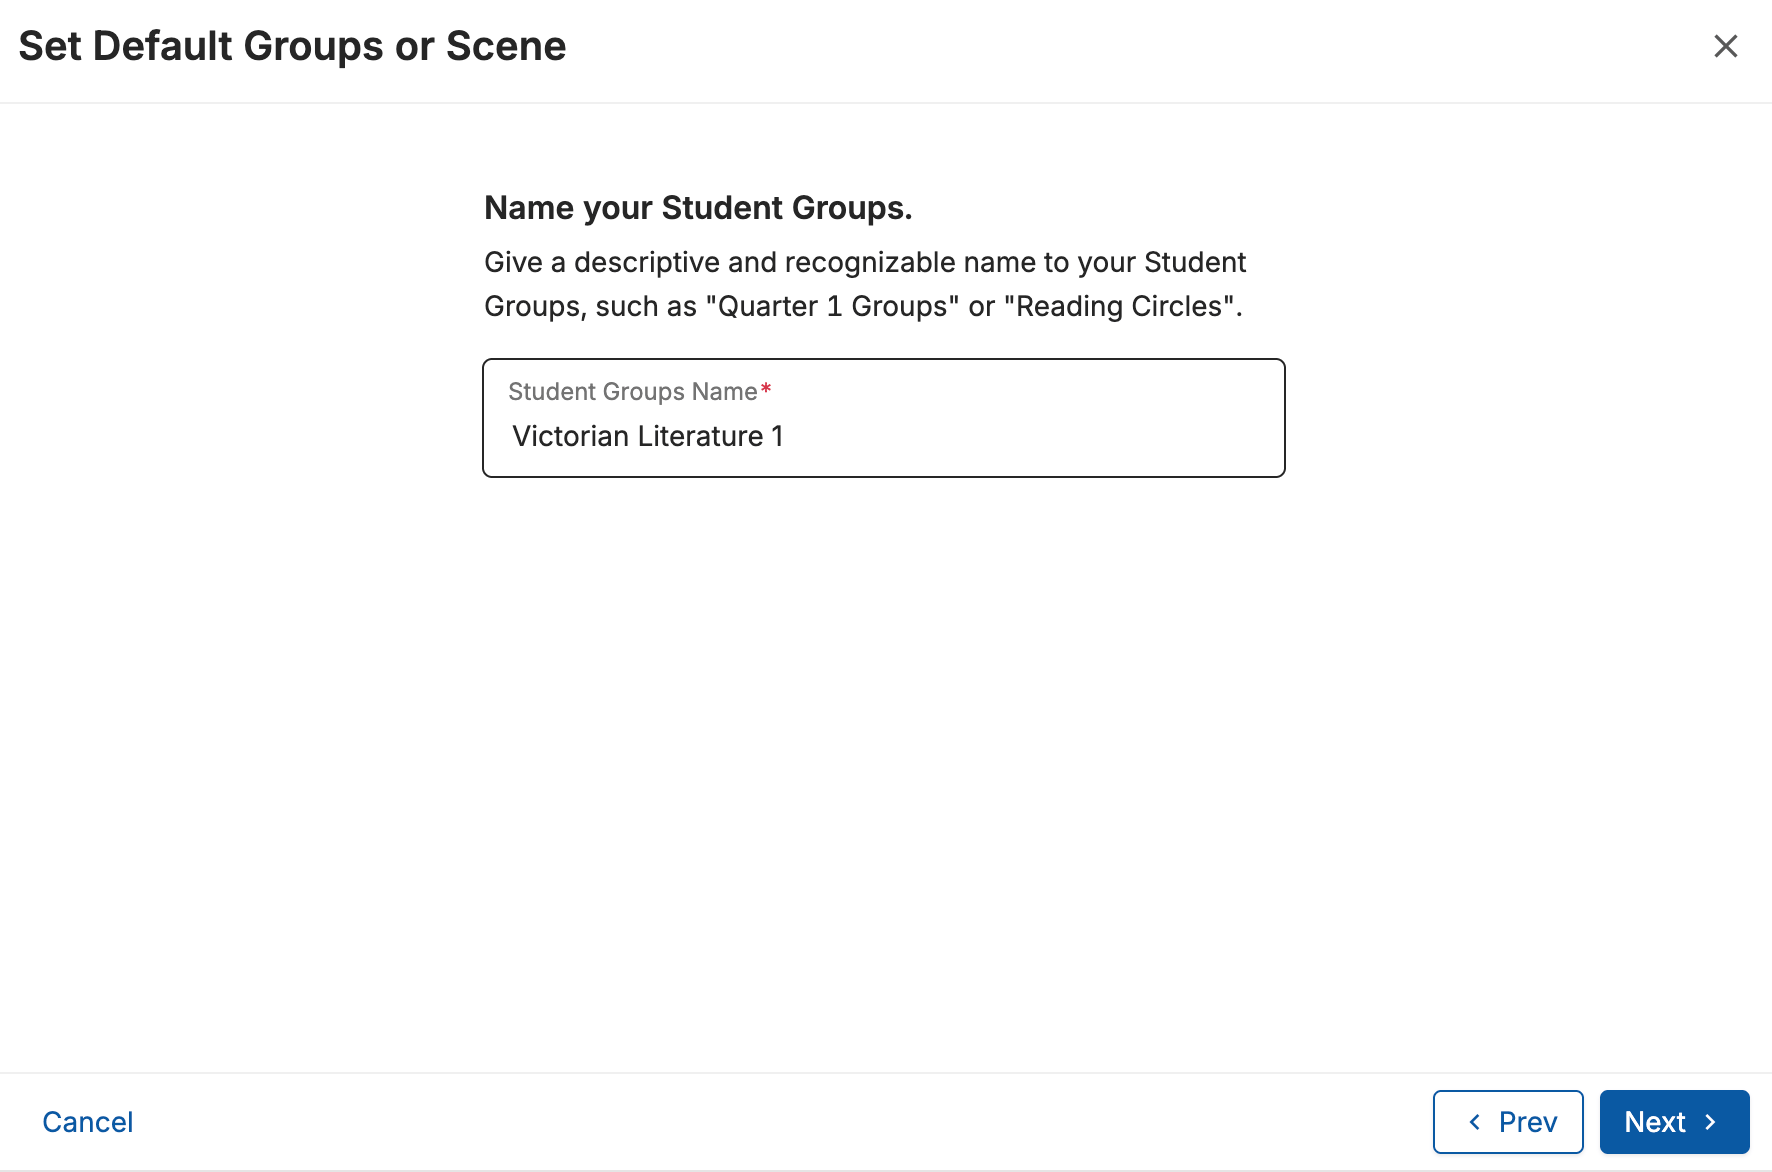
- Click Next.
- Click + Create Group.
- Name the student group.
-
Add students to your new group by clicking the plus (+) next to their names or by clicking Add All Students.
All students must be in a group.
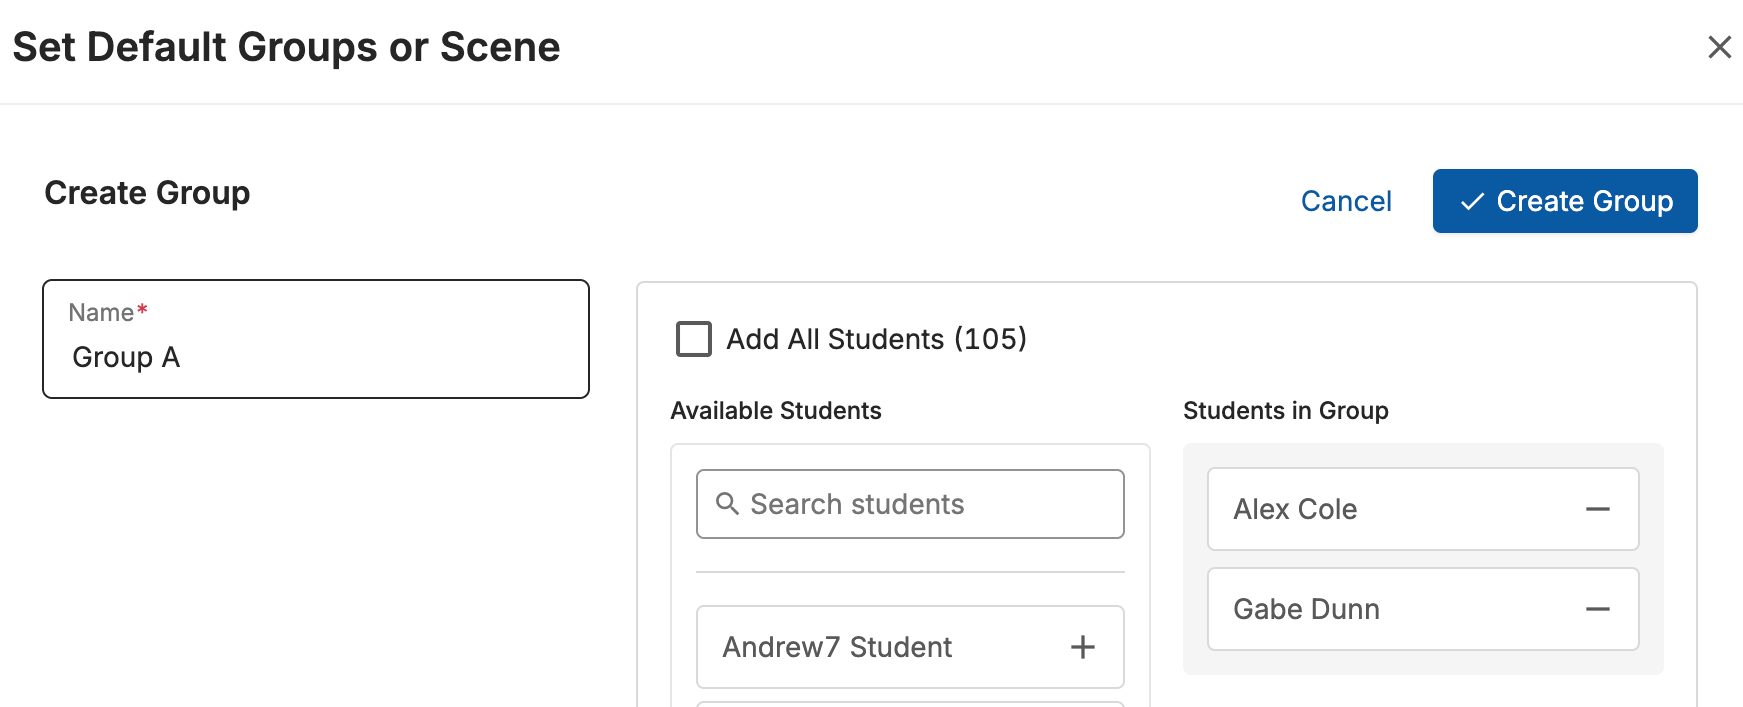
- Click Create Group to add another group to your collection, or click Next.
- Optionally set up default Scenes for your classroom.
- Click Next > Apply Default Student Groups.
Create Student Group from Class Settings
- Go to the Classrooms tab in the navigation menu.
- Find the class where you want to set a default student group.
- Click Actions > Edit Class.
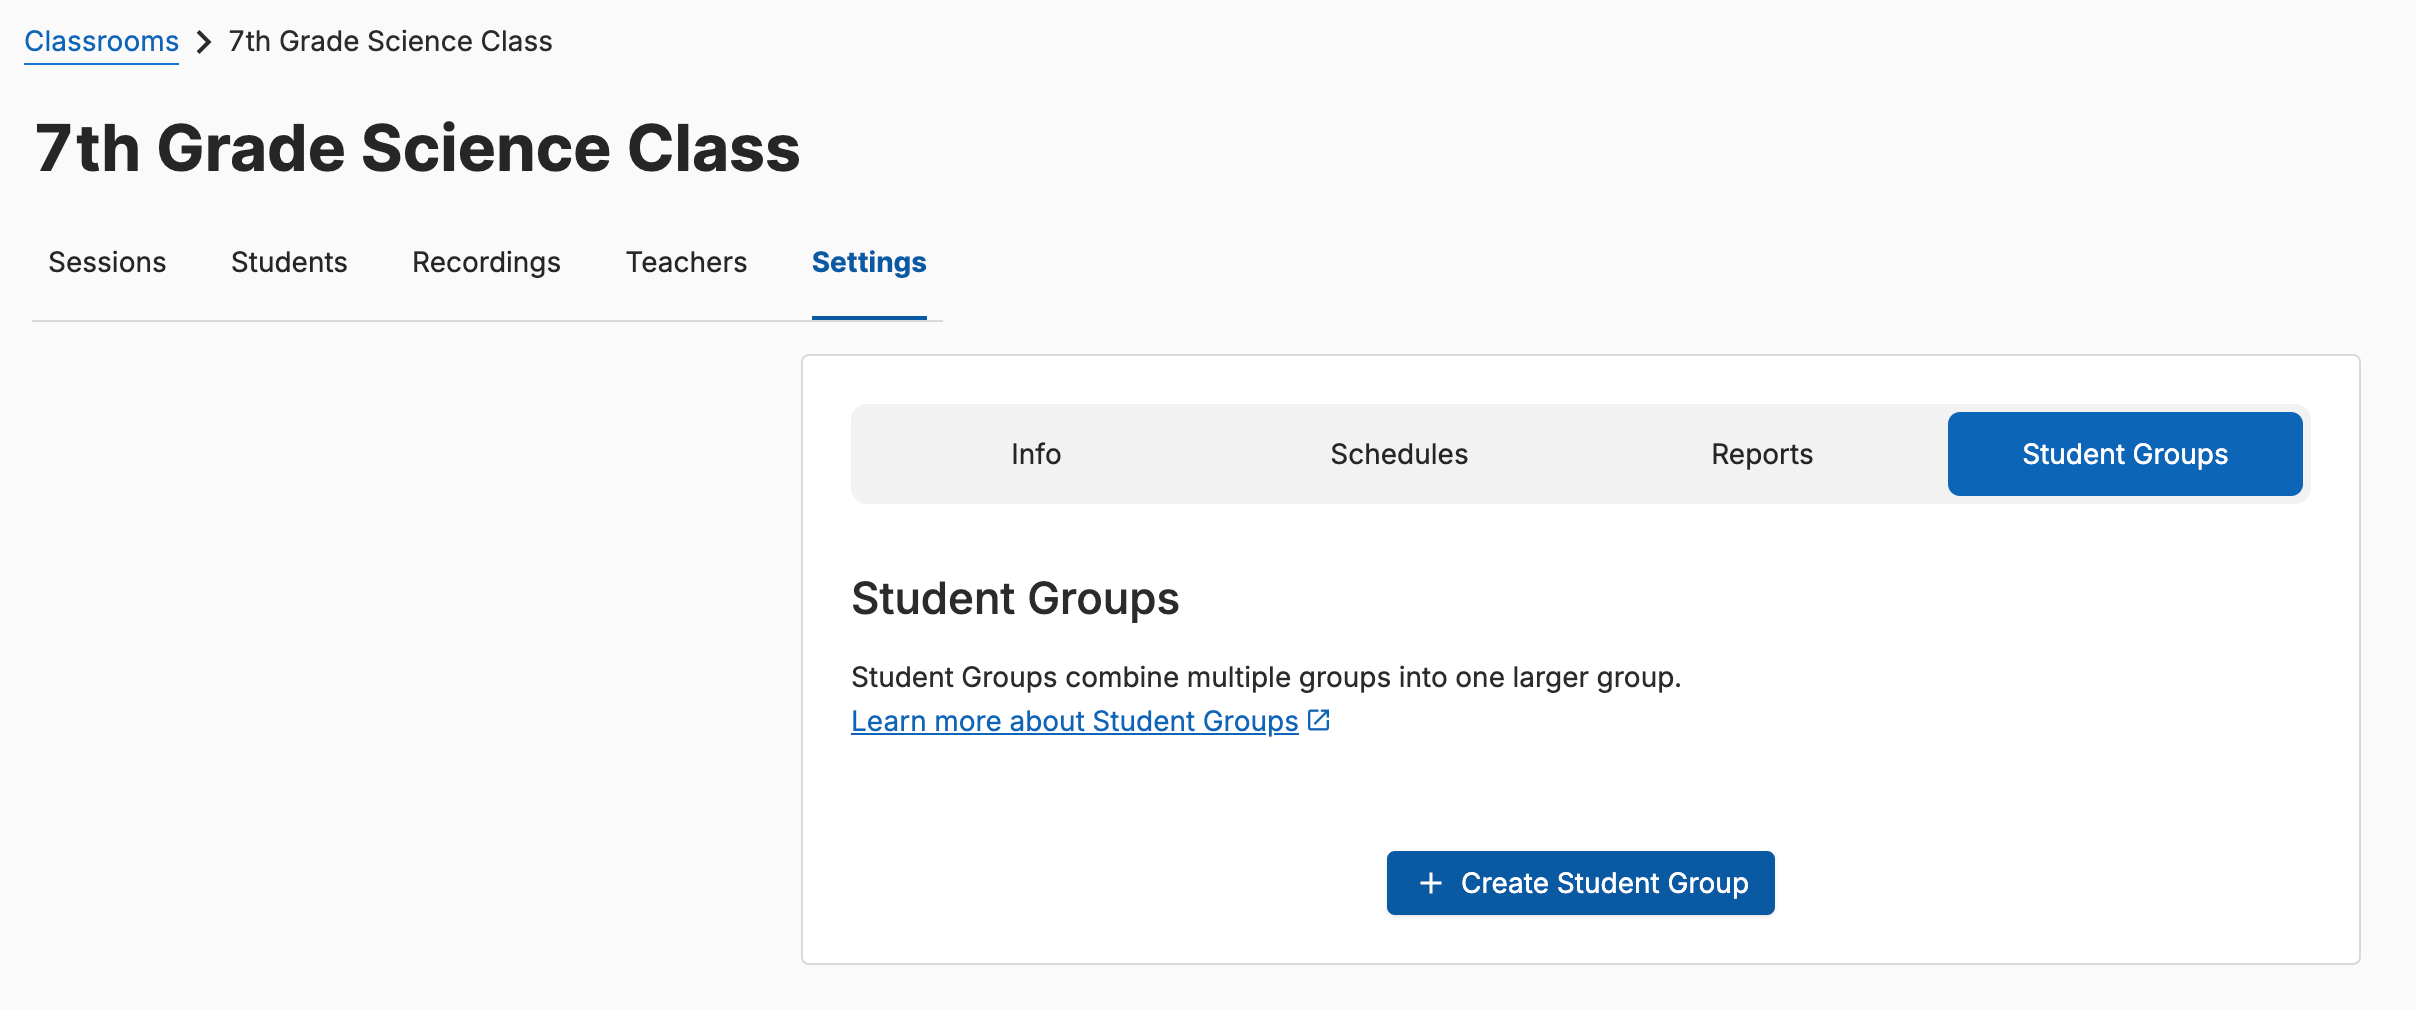
- Click Student Groups.
-
Click Create Student Group.
-
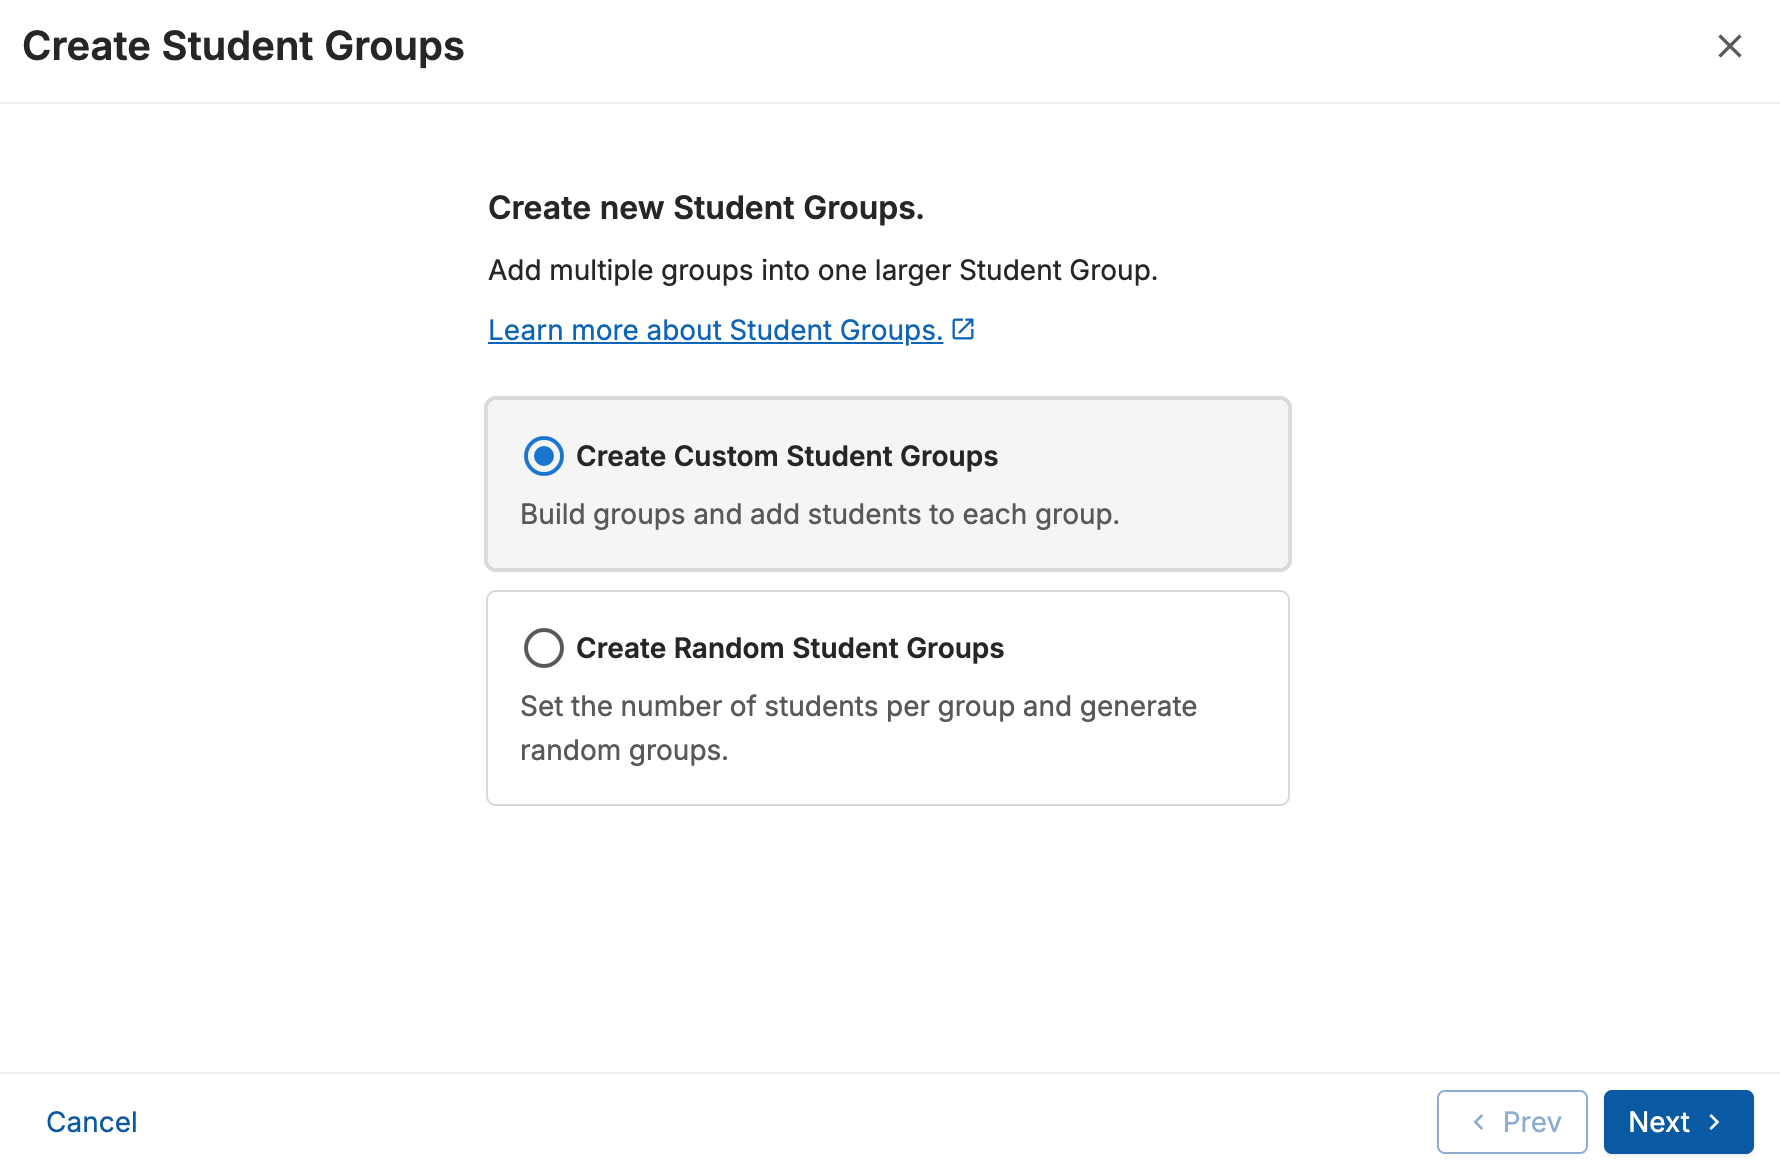
Choose Custom Student Groups or Random Student Groups.
- For Custom Groups, name the group and select the checkbox next to each student you want to include.
- For Random Groups, select the number of groups or the number of students per group.
- Click Create Groups.
Build a Student Group in an Active Session
- Go to an active GoGuardian Teacher classroom session.
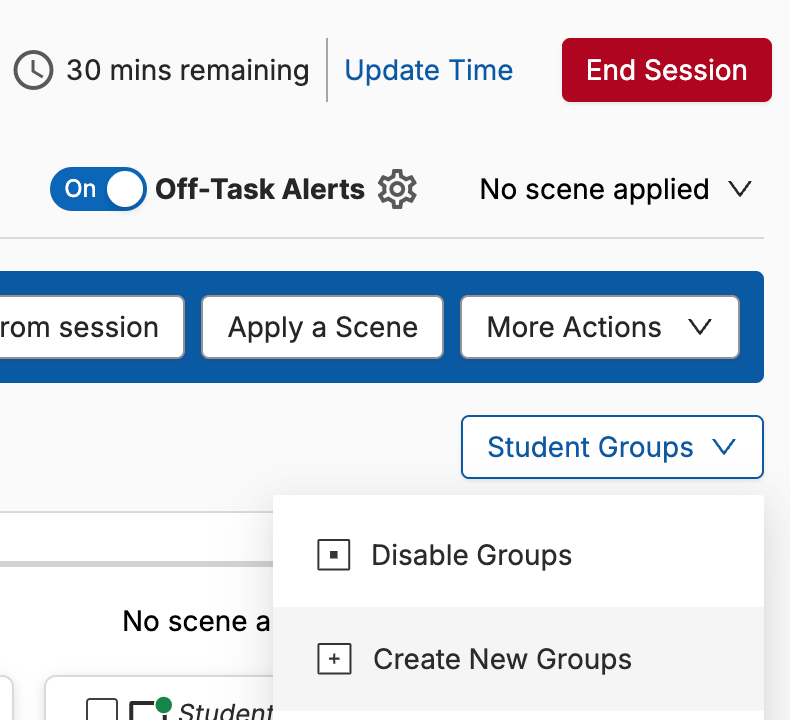
- In the Screens tab, click Student Groups below the toolbar.
-
Click Create New Groups from the dropdown menu.
-
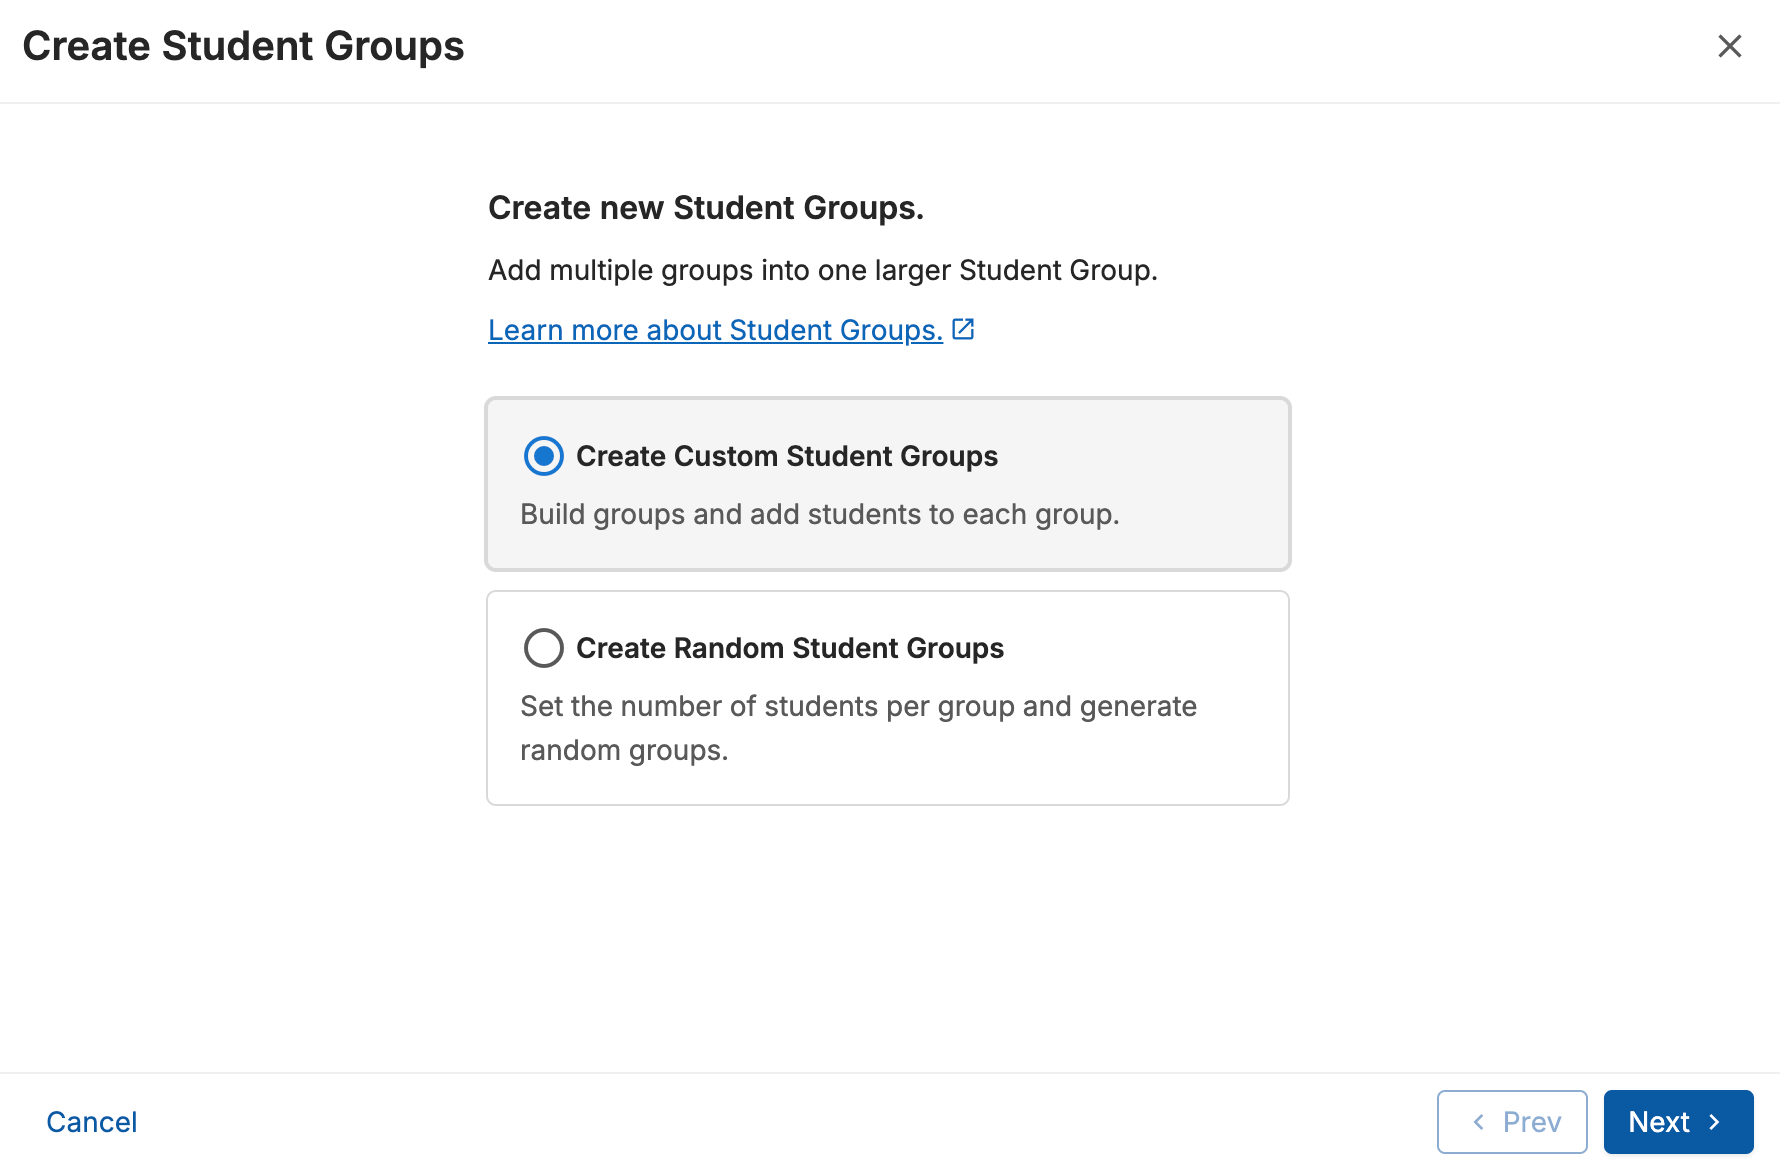
Choose Custom Student Groups or Random Student Groups.
- For Custom Groups, name the group and select the checkbox next to each student you want to include.
- For Random Groups, select the number of groups or the number of students per group.
- Click Create Groups.
Set Default Student Group for Classroom
A default student group can be assigned to your classroom, ensuring that your session starts with the group automatically applied.- Go to the Classrooms tab in the navigation menu.
- Find the class where you want to set a default student group.
- Click Actions > Set Default Groups or Scene.
-
Click Student Group.
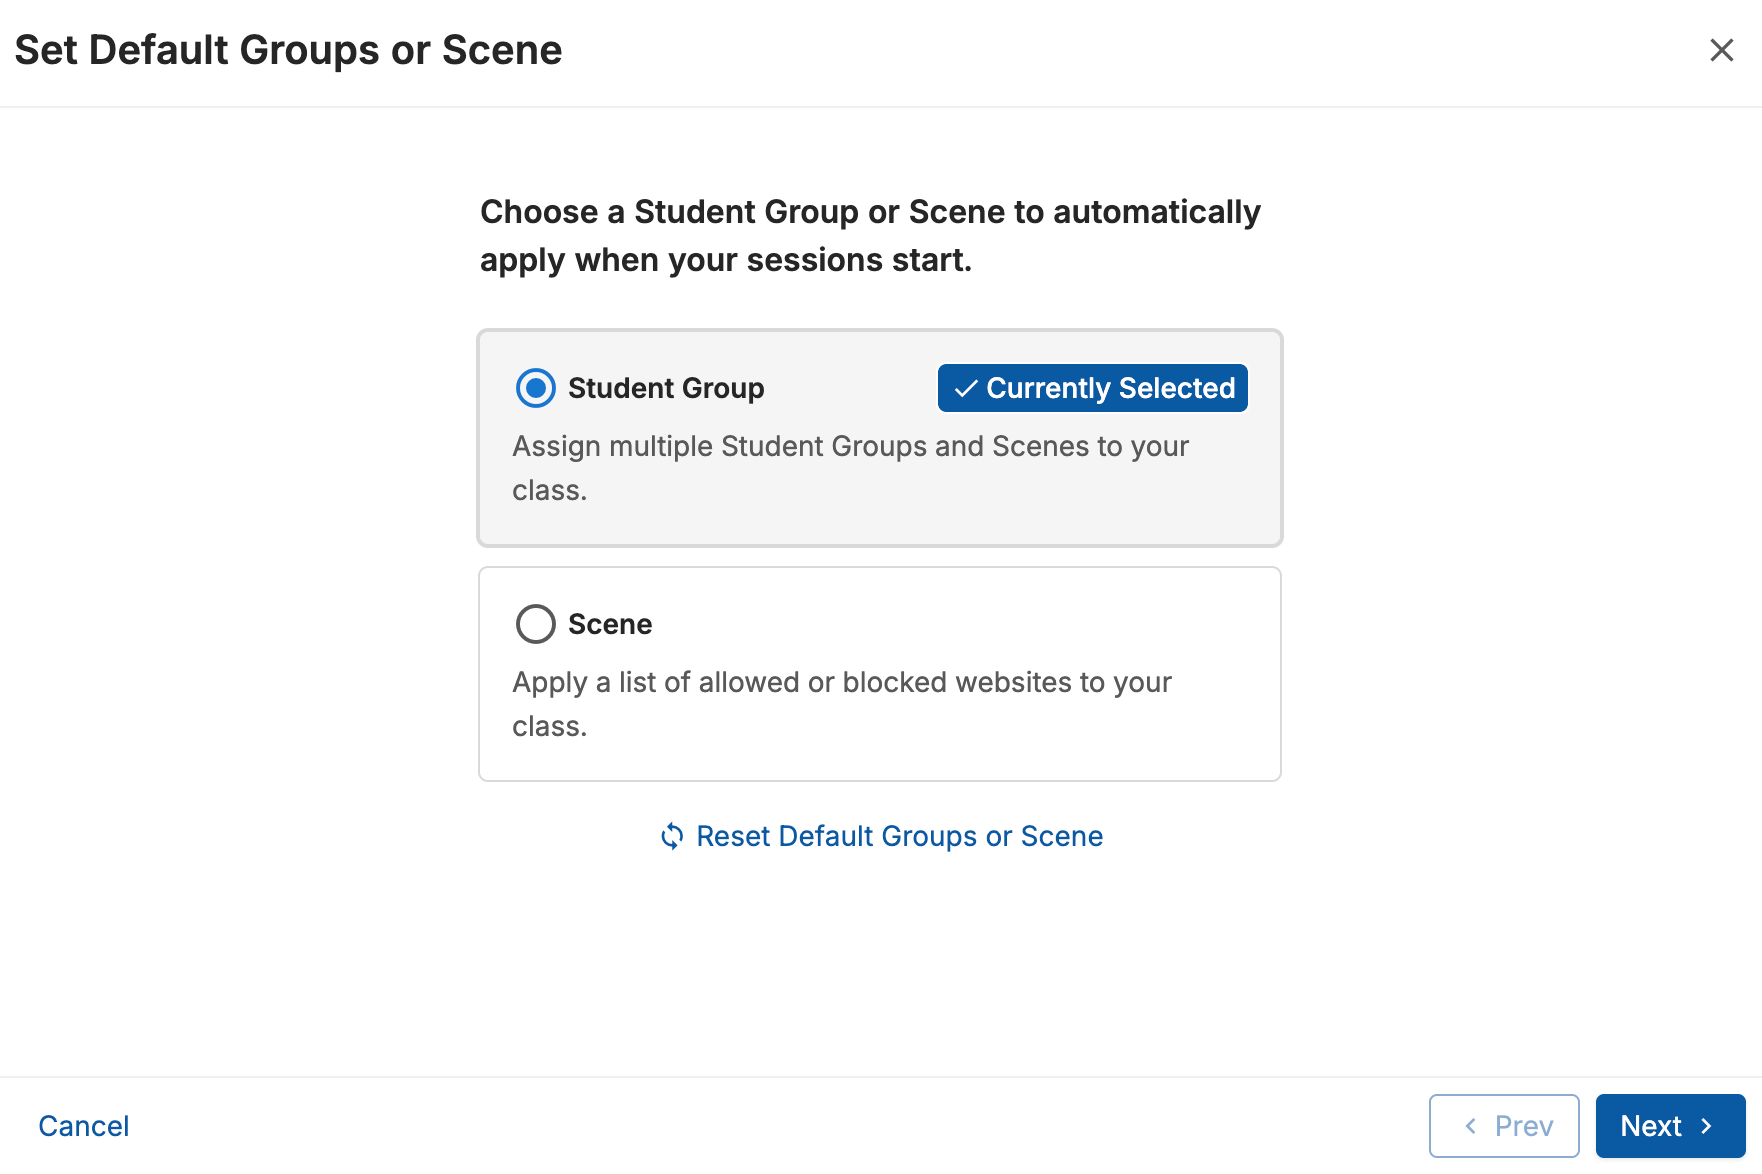
- Click Next.
- Click Use Existing Student Groups.
- Click Next.
- Select an existing group from the dropdown menu.
- Click Next.
- Optionally set up default Scenes for your classroom.
-
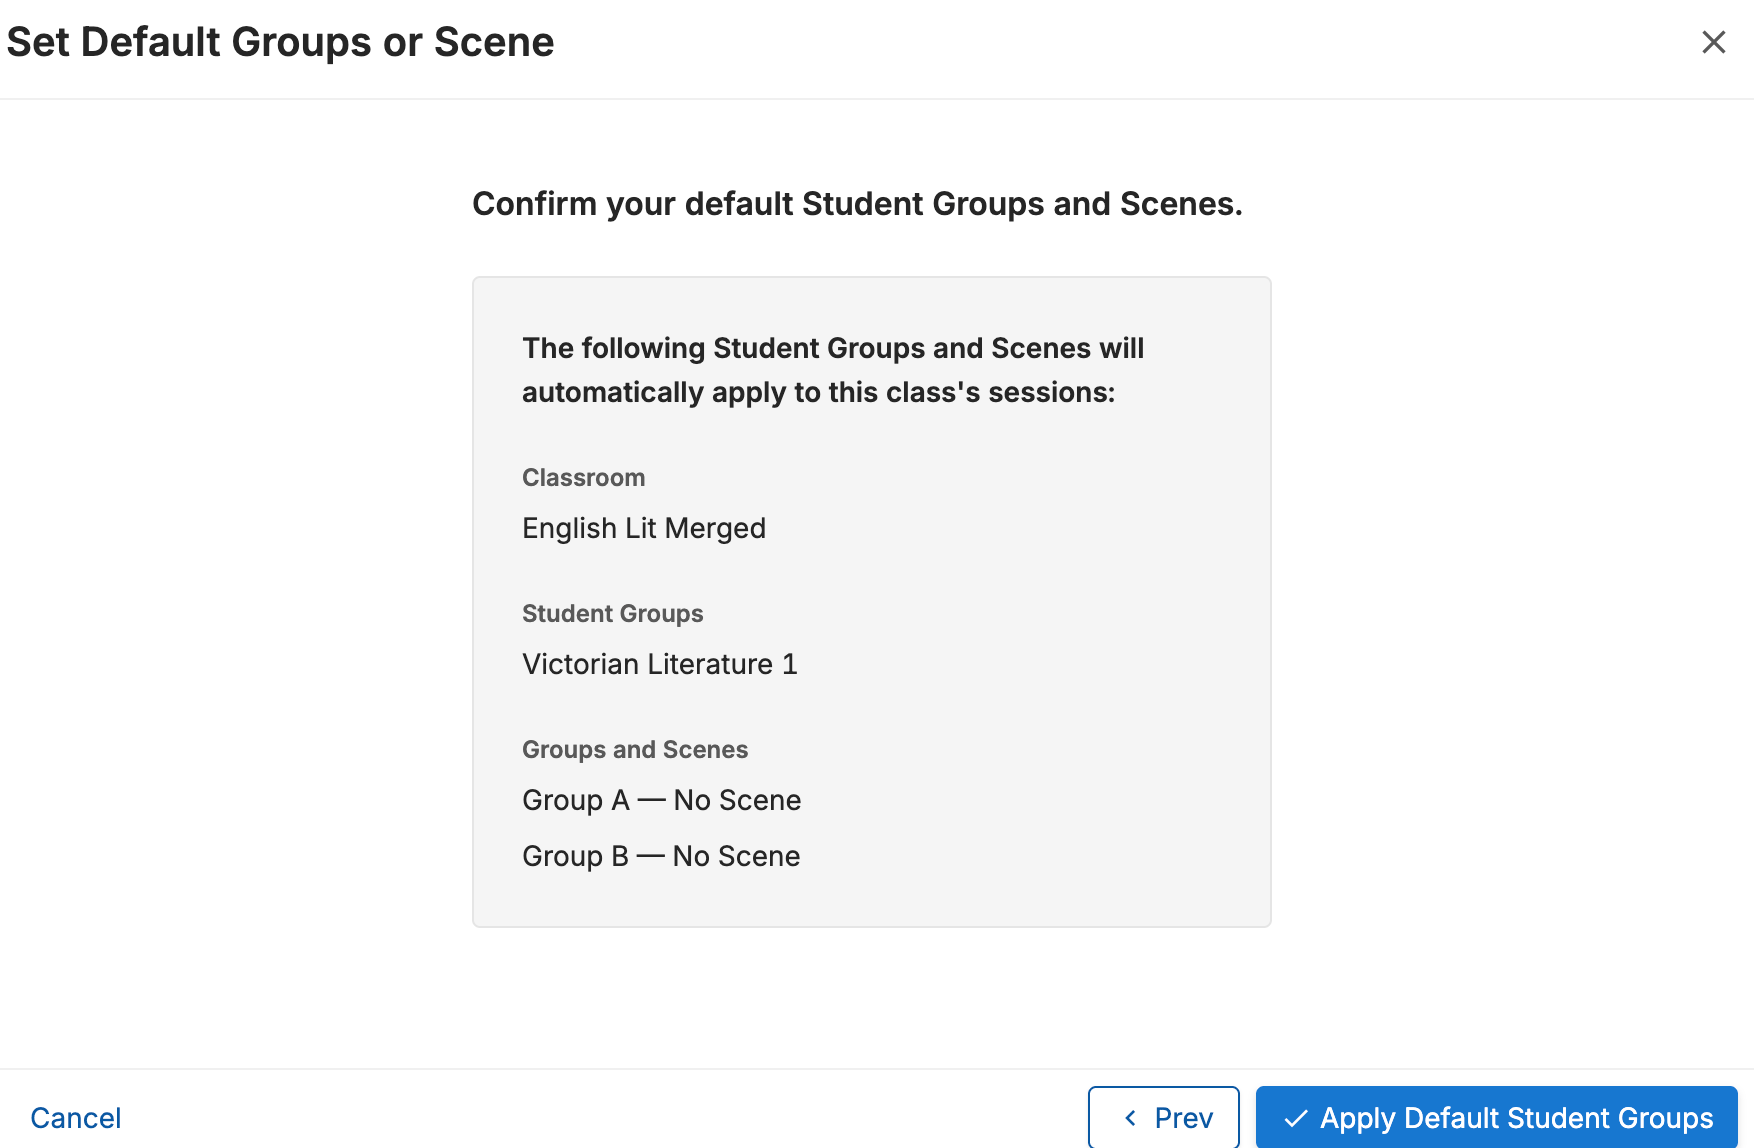
Click Next > Apply Default Student Groups.
Edit Existing Student Group
- Click Student Groups.
-
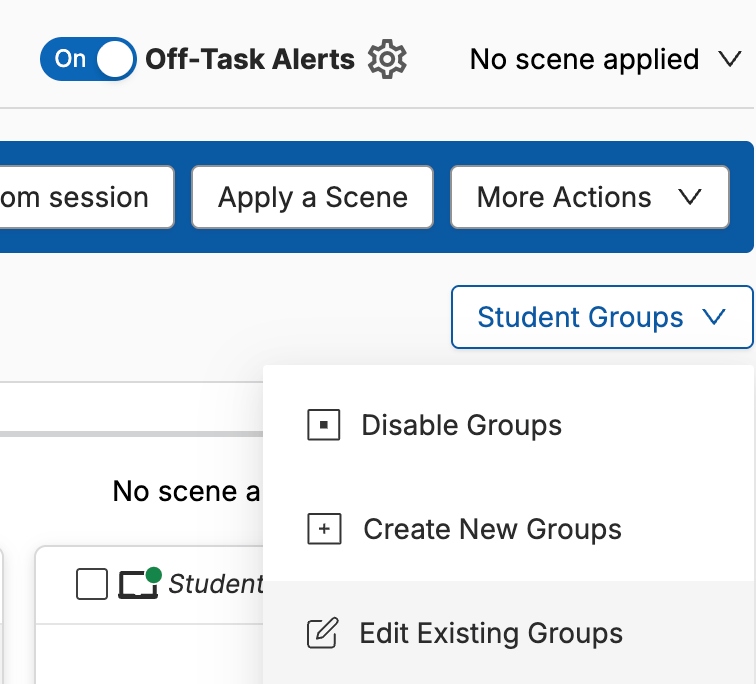
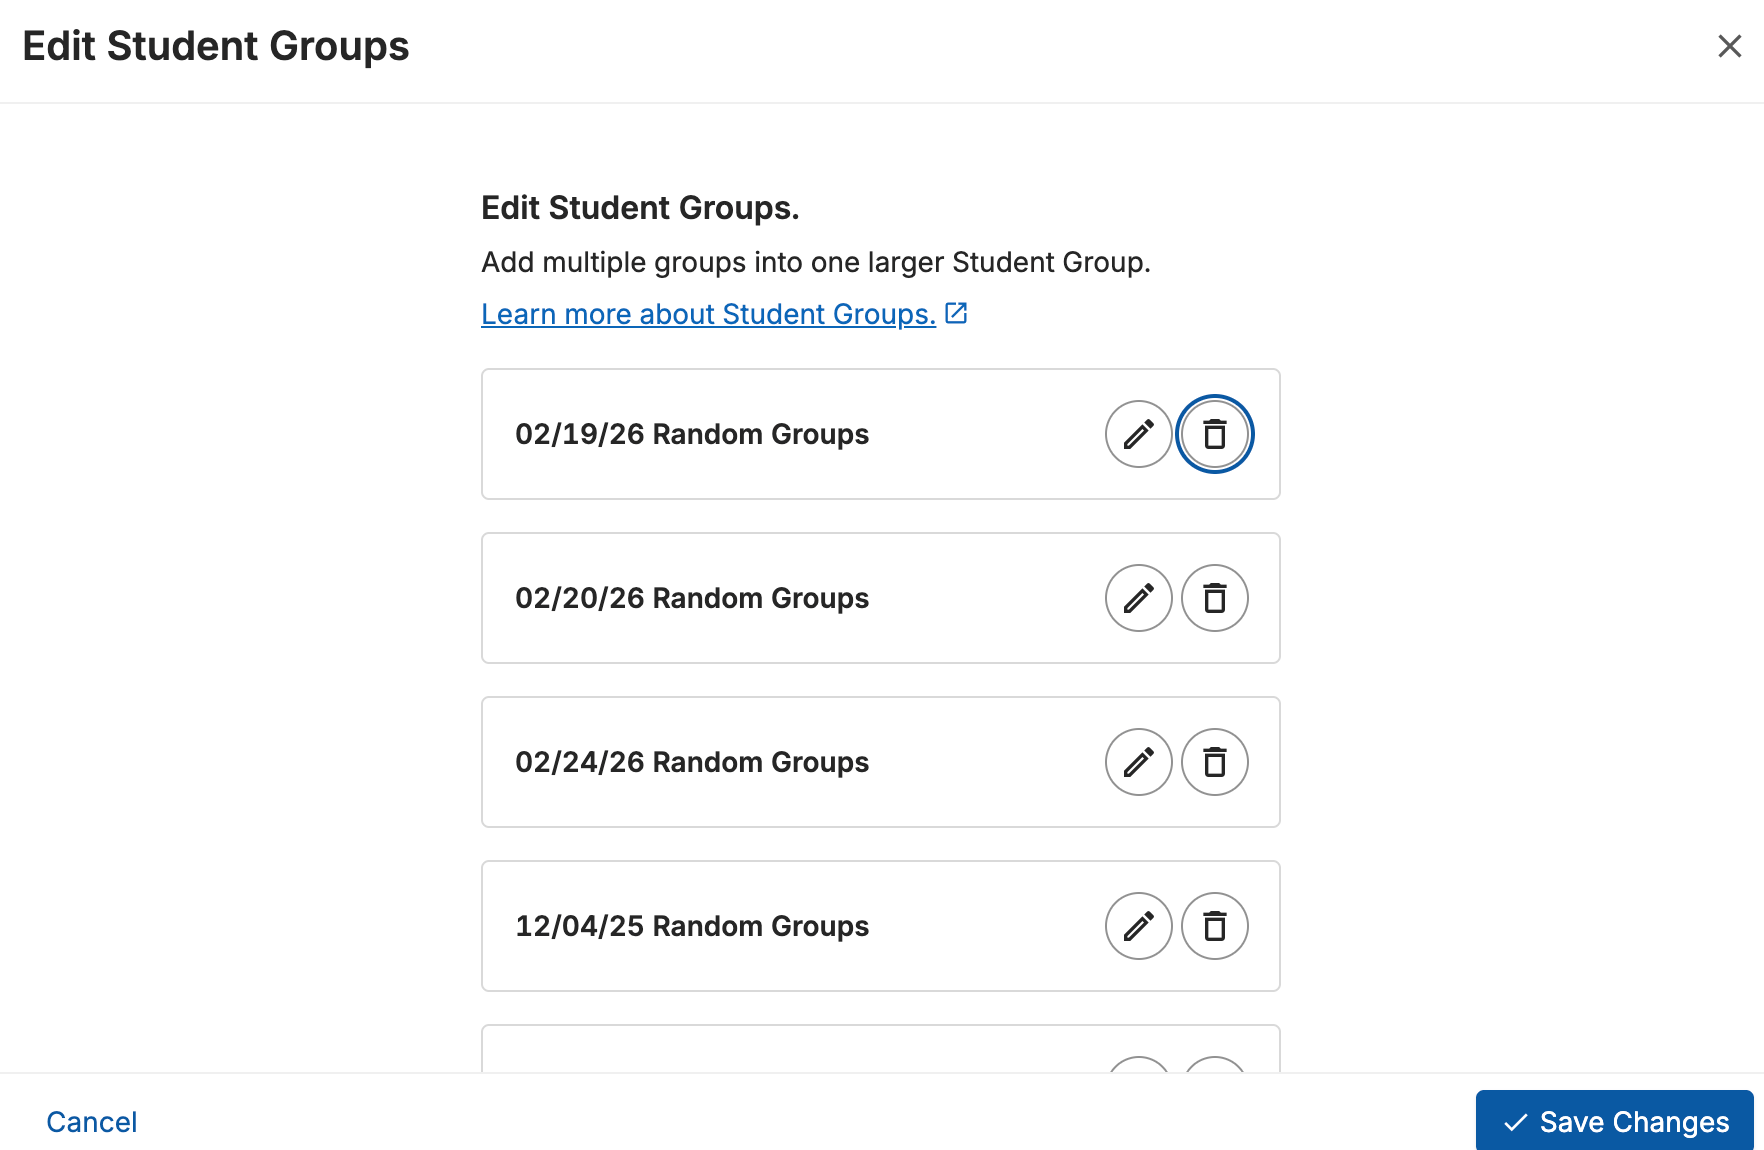
Select Edit Existing Groups from the menu.
-
Click the pencil button next to a group name to edit its collection of groups.
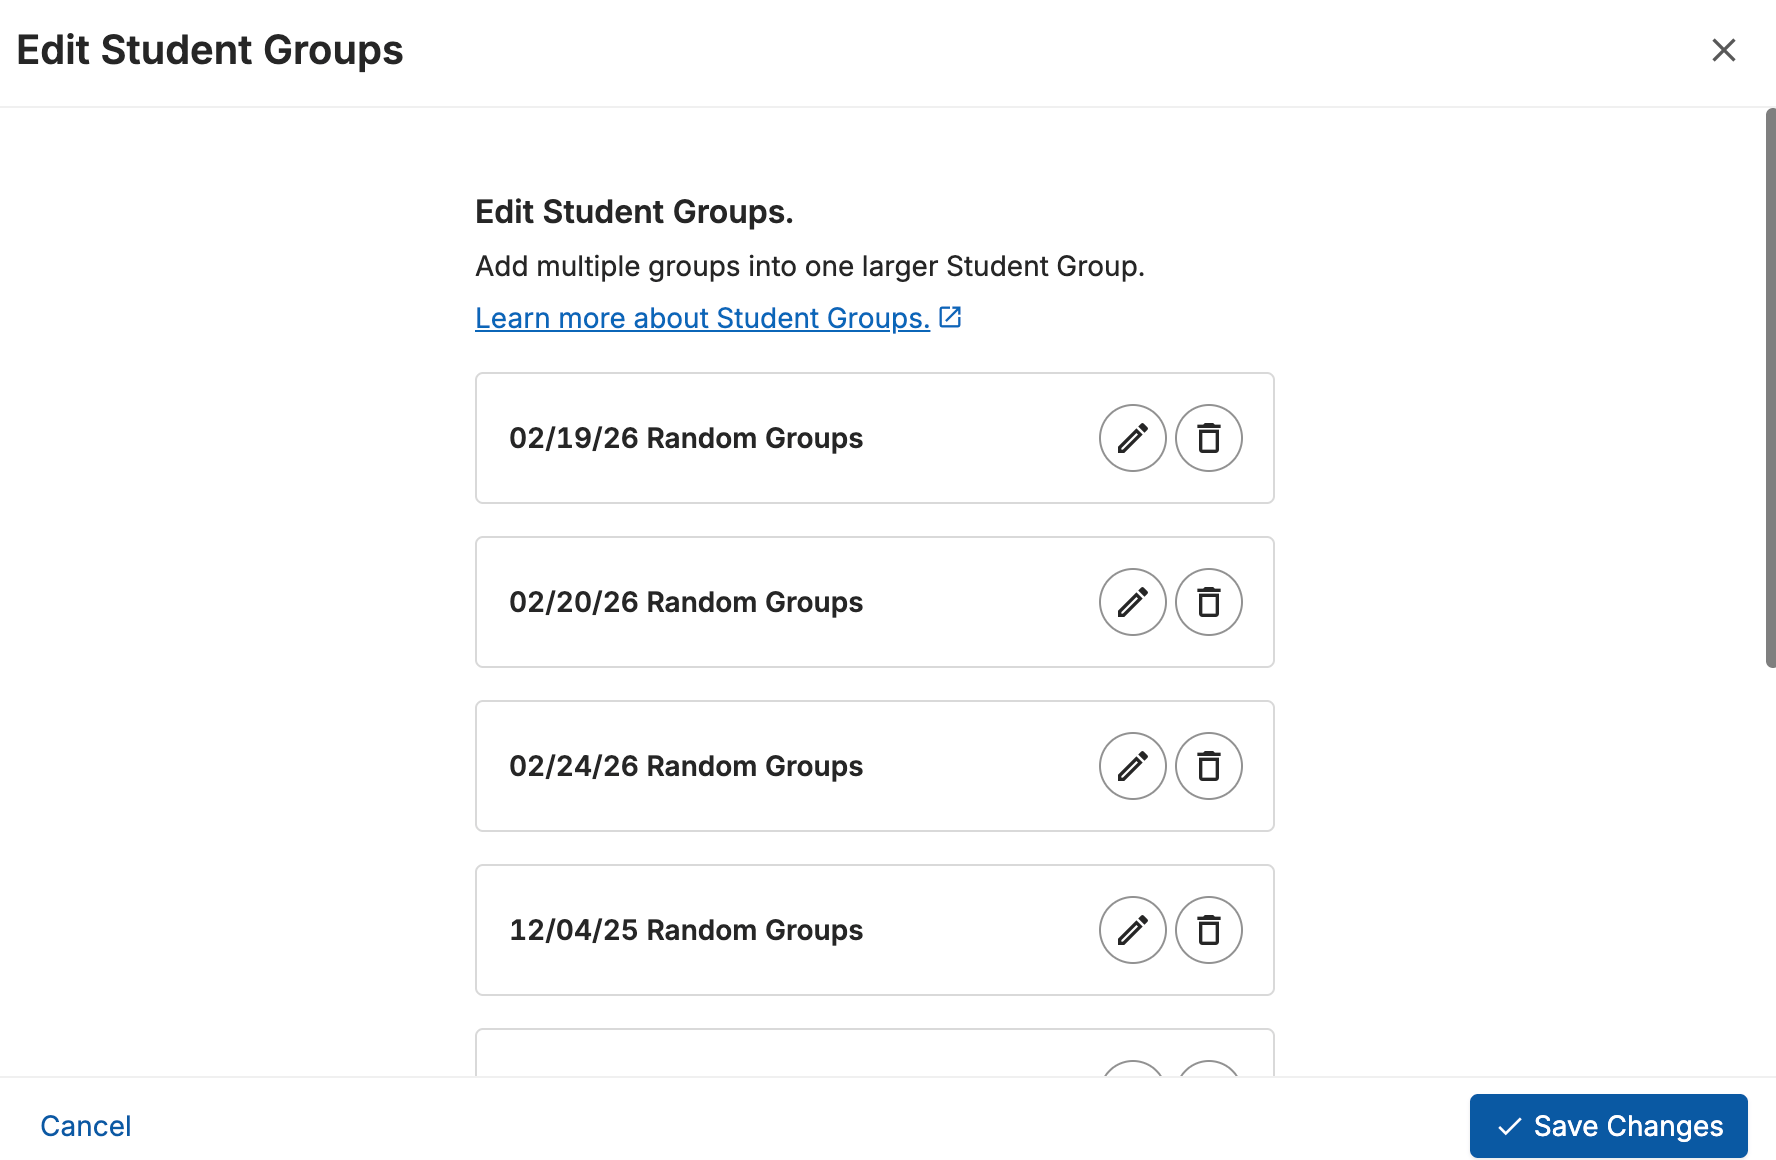
- Click the pencil button next to the group.
- Edit the group’s name or change the students in it.
- Click Update Group.
- Click Save Changes.
Use Student Group Dropdown Options
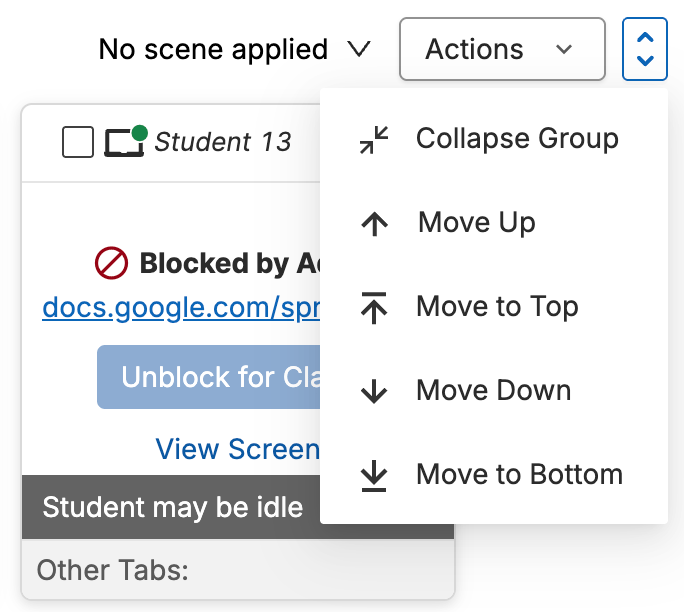
- Click the Arrows icon in the top-right corner of a specific group section.
-
Choose from the following options to organize your view:
- Collapse Group — Hide the student screens in that group.
- Move Up — Shift the group up 1 position.
- Move to Top — Move the group to the start of the list.
- Move Down — Shift the group down 1 position.
- Move to Bottom — Move the group to the end of the list.
Delete Existing Group
- Click Student Groups.
- Select Edit Existing Groups.
-
Click the trash can button icon next to the name of the group you want to remove.
- Click Save Changes.
Send Command to Group
- Find the group you want to manage in the Screens view.
- Click the Actions menu.
-
Click one of the following command buttons located at the top of the group:
- Edit Group
- Call Group
- Open Tab for Group
- Make Announcement for Group
- Exclude Group
Video conferencing access is included with GoGuardian Teacher at no additional cost and is automatically provisioned for your organization. A Super User must turn on group calls before teachers can use Call Group. If the command is unavailable, contact your GoGuardian administrator.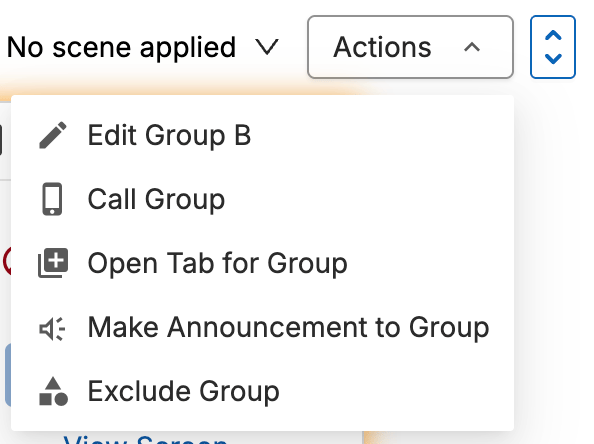
Resources
Commands Overview
Learn about all available commands you can issue during a classroom session.
Active Screens View
Understand the layout and features of the Screens view during an active session.
Start a Classroom Session
Steps for launching a GoGuardian Teacher classroom session.
Video Call Mode
Details on using video conferencing features with your class.