

Create Interactive Slides
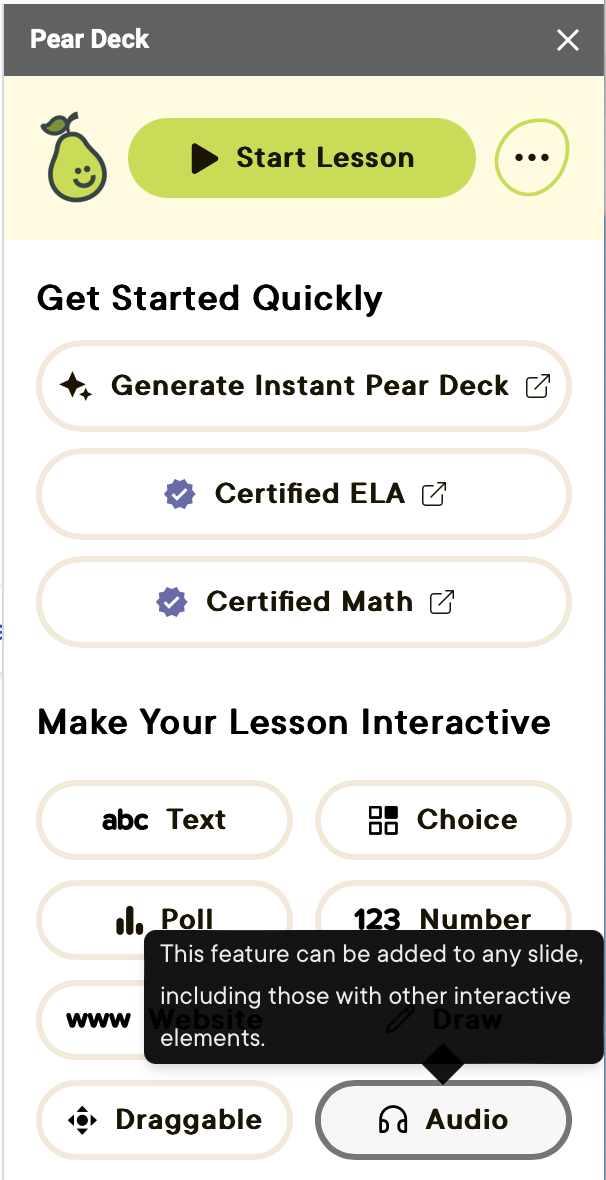
Use the editing tools in Google Slides or PowerPoint Online to add a question, prompt, equation, list, or image to your slide. Then use the interactive question types in the Pear Deck Sidebar to determine how students respond in Student View. The six question types are:- Draggable
- Drawing
- Text
- Number
- Choice
- Poll
- Audio: Embed audio in a slide for students to listen to on their screens.
- Website: Embed a website for students to explore on their screens. Students cannot insert a response the way they can with the six question types listed above. See Embed Websites and Activities in Your Pear Deck for more information.


Response Layout Guide
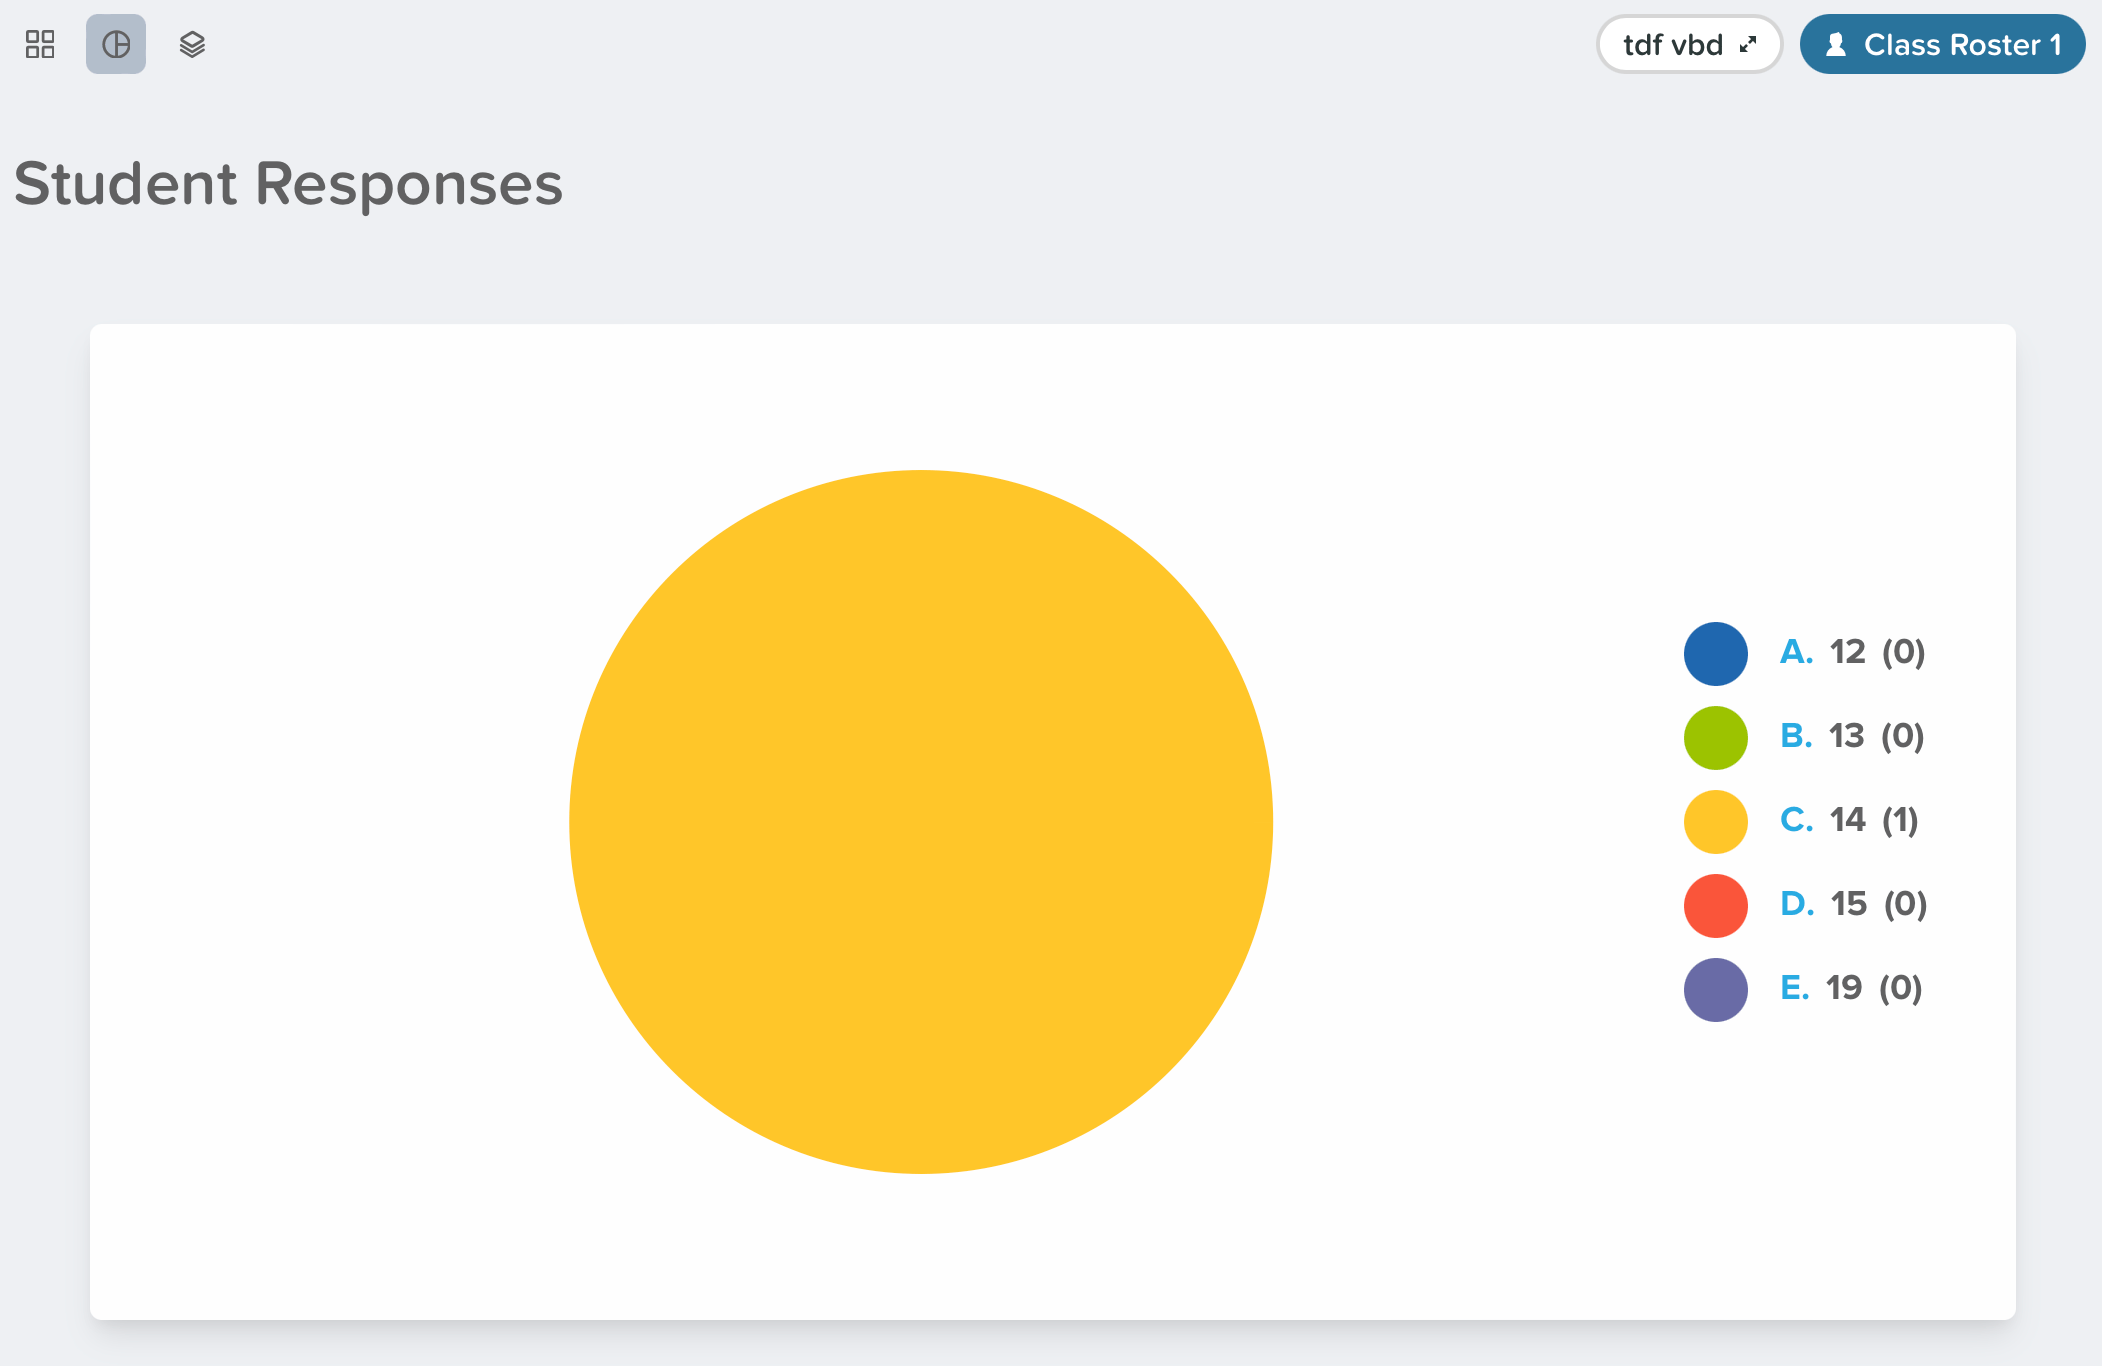
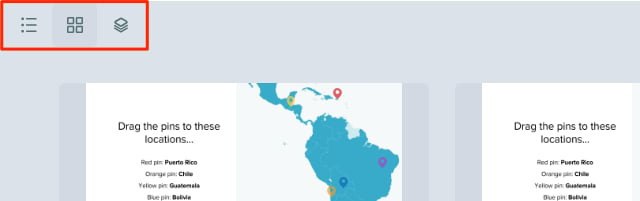
The interactive responses display on the Projector and Dashboard Views of a Pear Deck session. Click the Show responses button on the navigation bar. In the top left corner of the screen, change the response layout using the List, Grid, or Overlaid options.Users on the Schools and District plan can also change the response layout to a pie chart.
Draggable
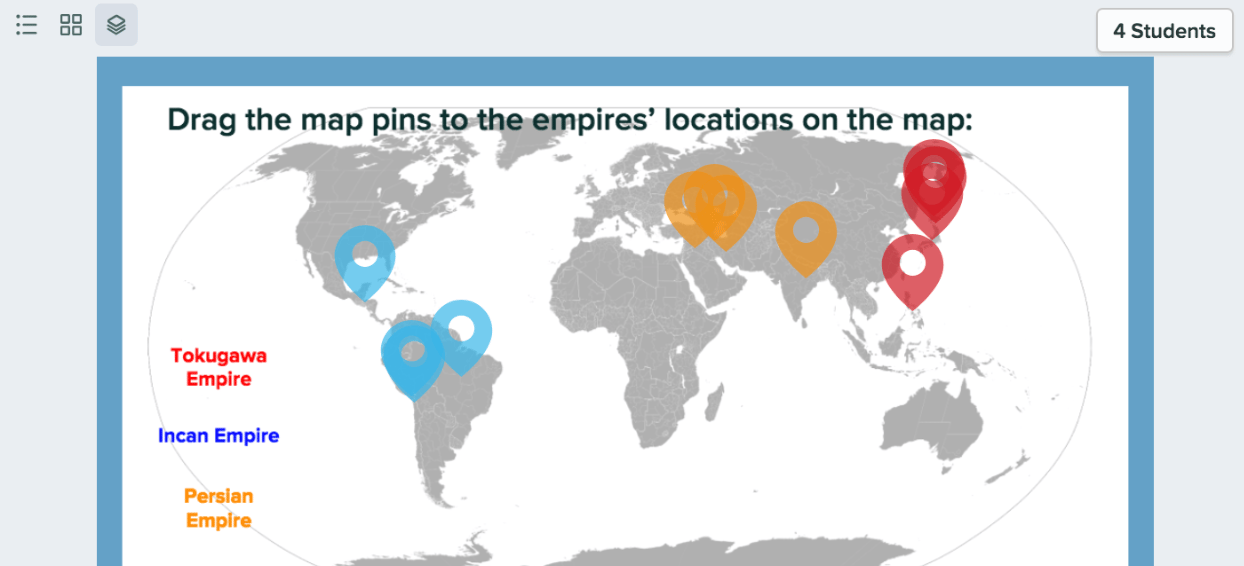
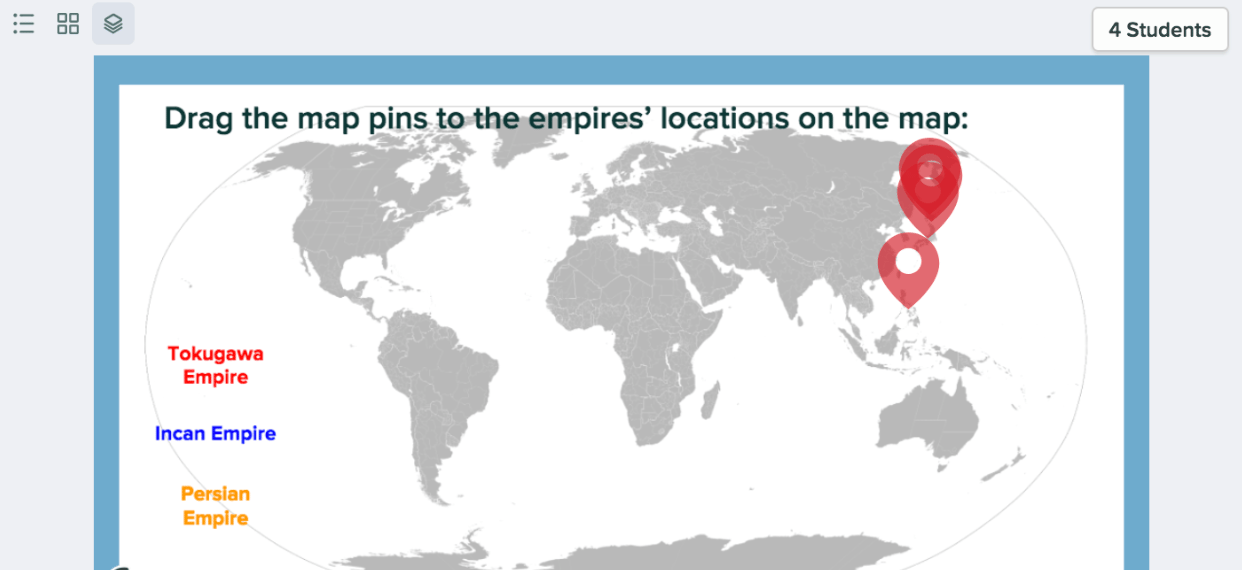
Students respond by dragging objects over the slide in an Instructor-Paced or Student-Paced presentation session. For example, you can have students drag pins over a map.- Add your question, instructions, or images to the slide.
- Open the Pear Deck for Google Slides Add-on or PowerPoint Online Add-in. In the sidebar, scroll down to the Make Your Lesson Interactive section and click Draggable.
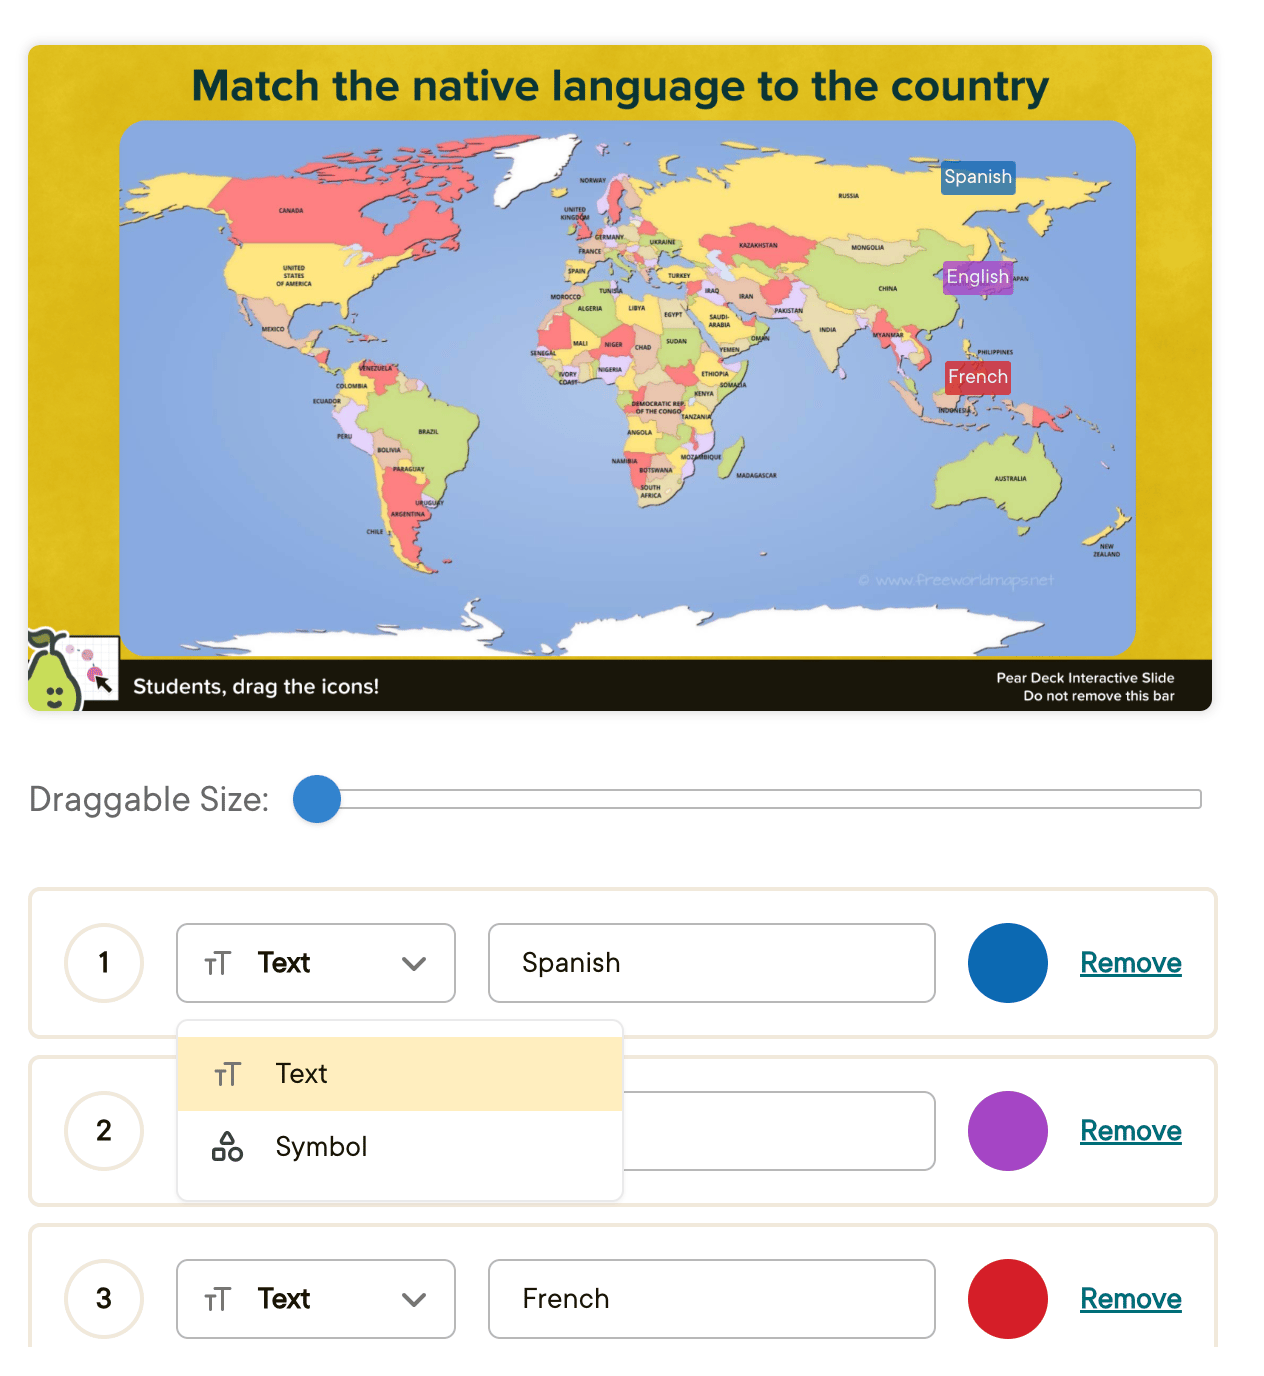
- In the pop-up menu, use the drop-down arrows to select the icons you want. Click the color boxes to change the colors, and move the slider to adjust the size of the draggable icons. When you are finished, click Add to Slide.
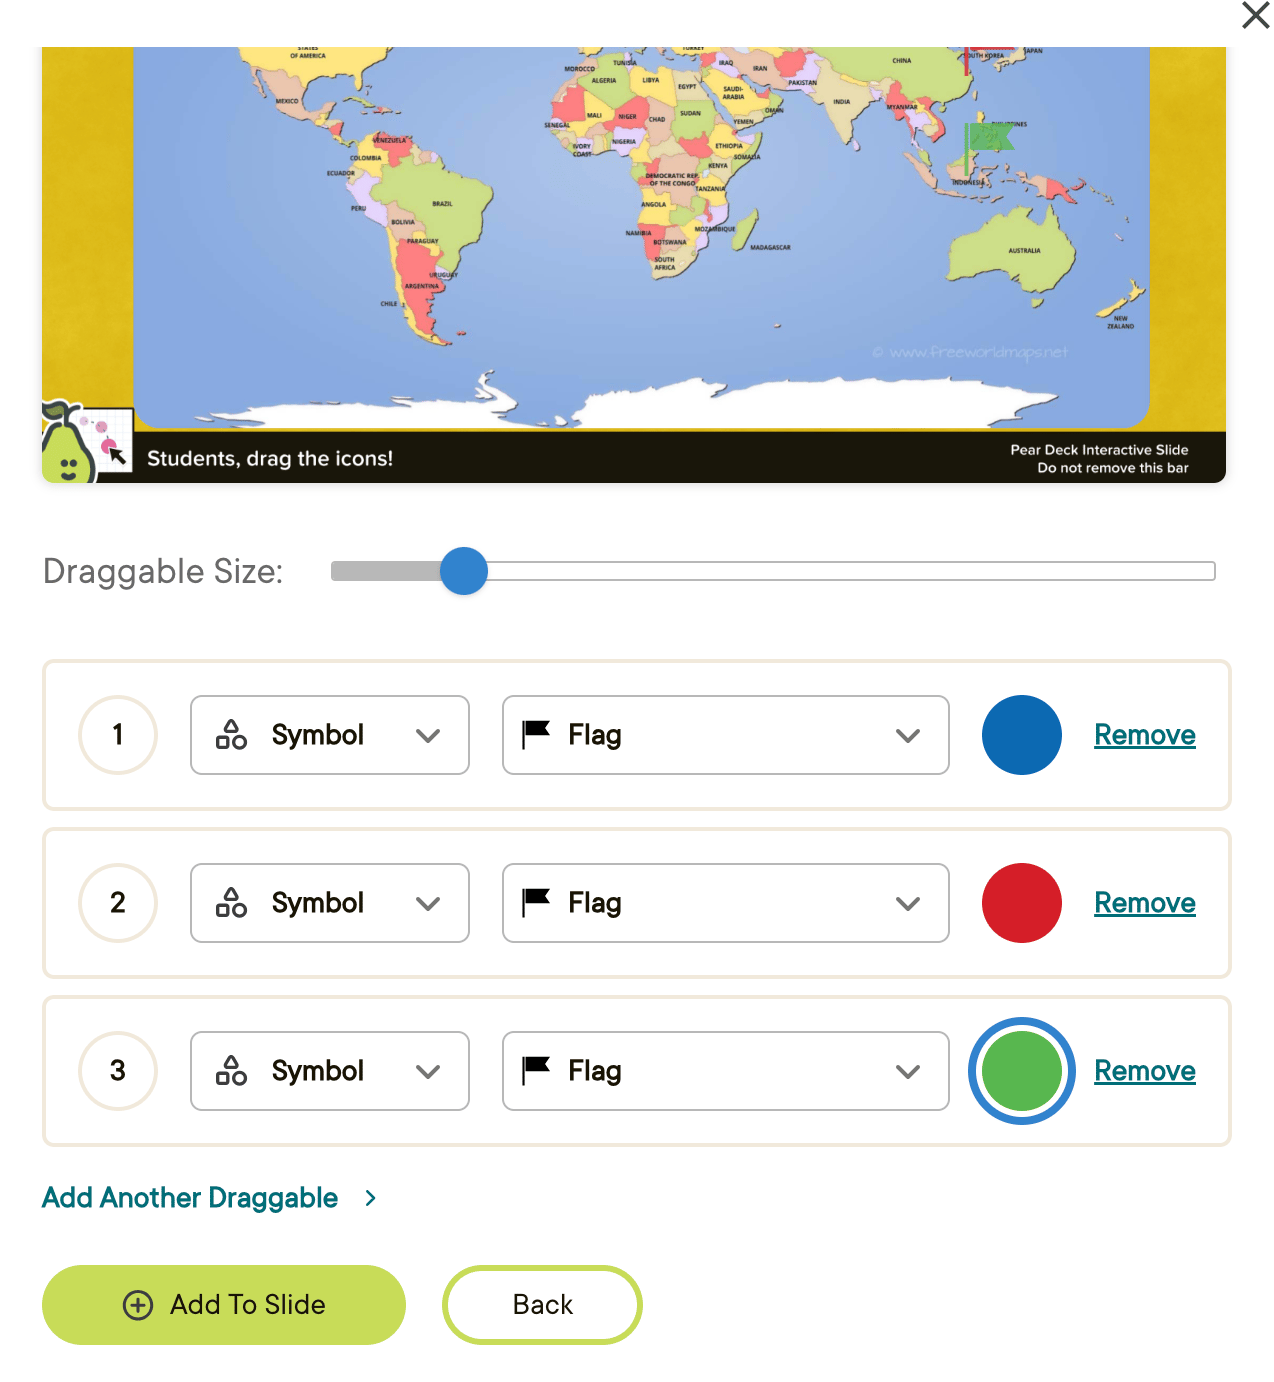
- School and District customers who use Google Slides can also add text and emojis as custom draggable objects by clicking the option arrow and selecting Text. Emojis can be pasted into text fields or entered using your operating system’s keyboard shortcuts after selecting the Text option from the dropdown.
During a Presentation Session
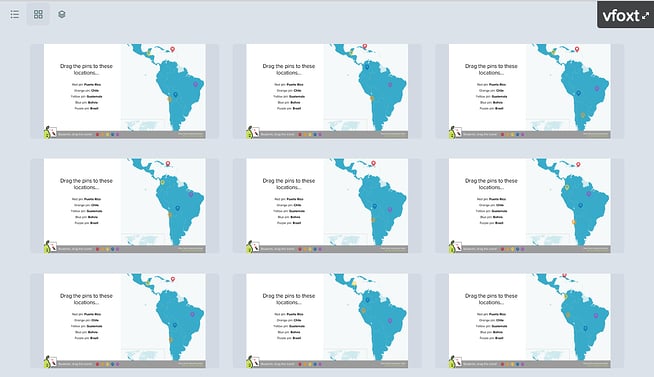
Click Start Lesson to present a session and have students join. When you reach a Draggable slide and click Show responses, the default display is the Overlaid Layout. You can also display responses individually by clicking List or Grid in the top left corner of the screen. Responses are always anonymous on the Projector View.- The Overlaid Layout shows all responses at once.
- The Grid Layout shows thumbnails of individual student responses.
- In the Teacher Dashboard, you can select which icon type to show on the Projector. For example, you can choose to display only red pins.
Drawing Response
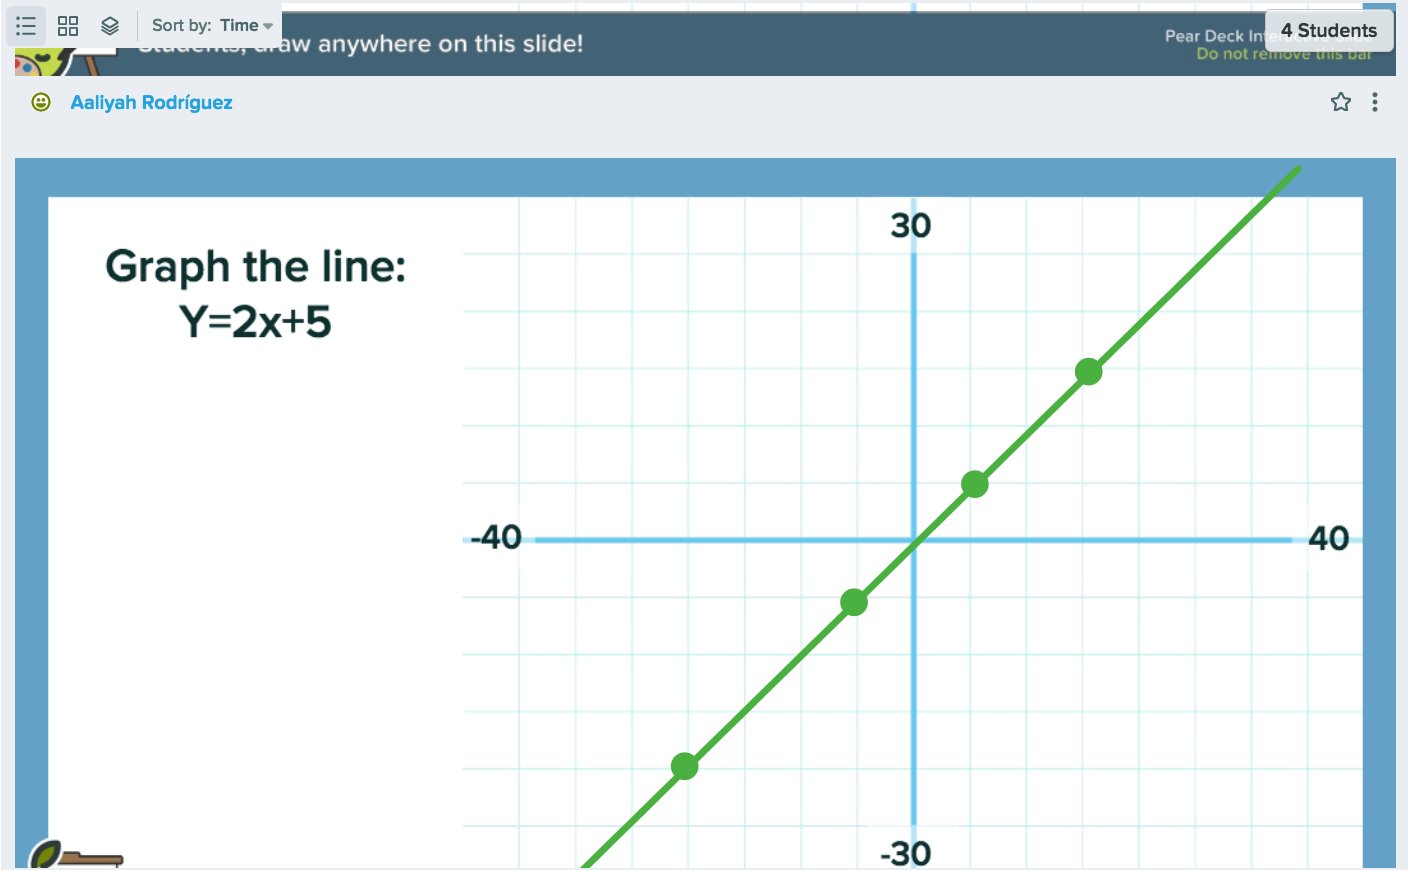
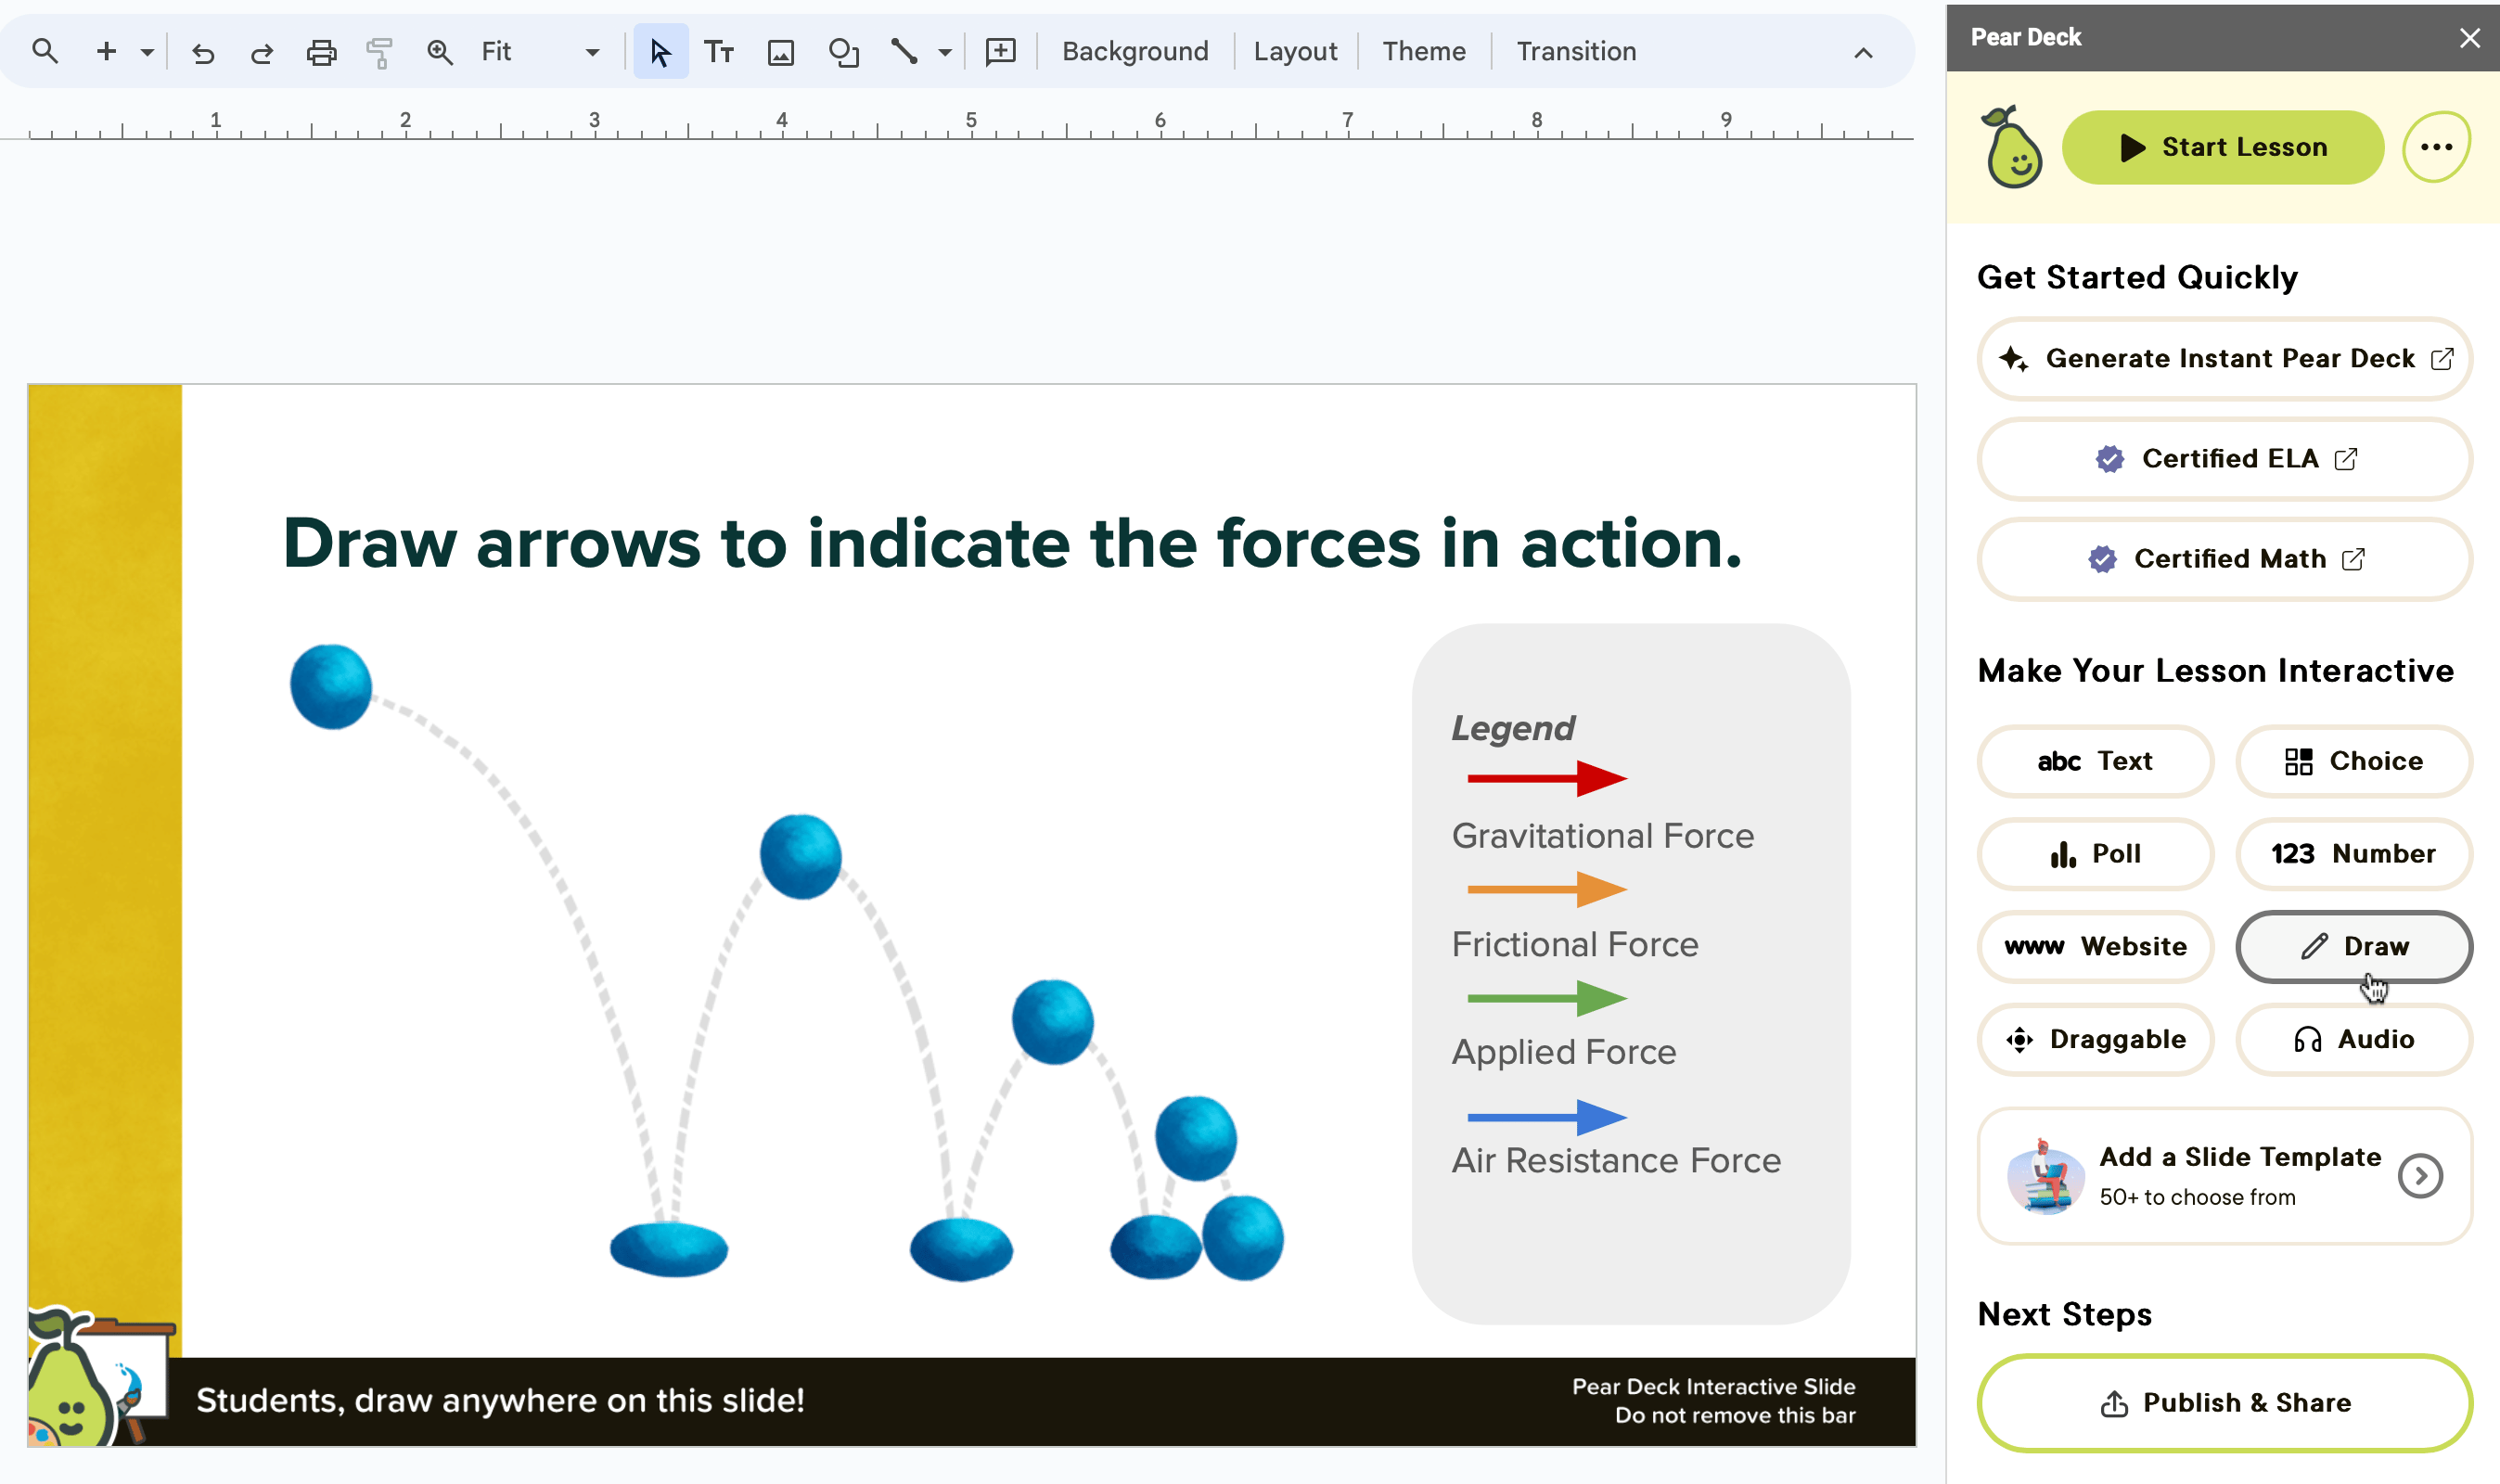
Students respond by drawing over the slide in an Instructor-Paced or Student-Paced presentation session. For example, they can graph a line.- Put your question, instructions, or images directly onto your slide.
- Open the Pear Deck for Google Slides Add-on or PowerPoint Online Add-in. In the sidebar, scroll down to the Make Your Lesson Interactive section and click Draw.
During a Presentation Session
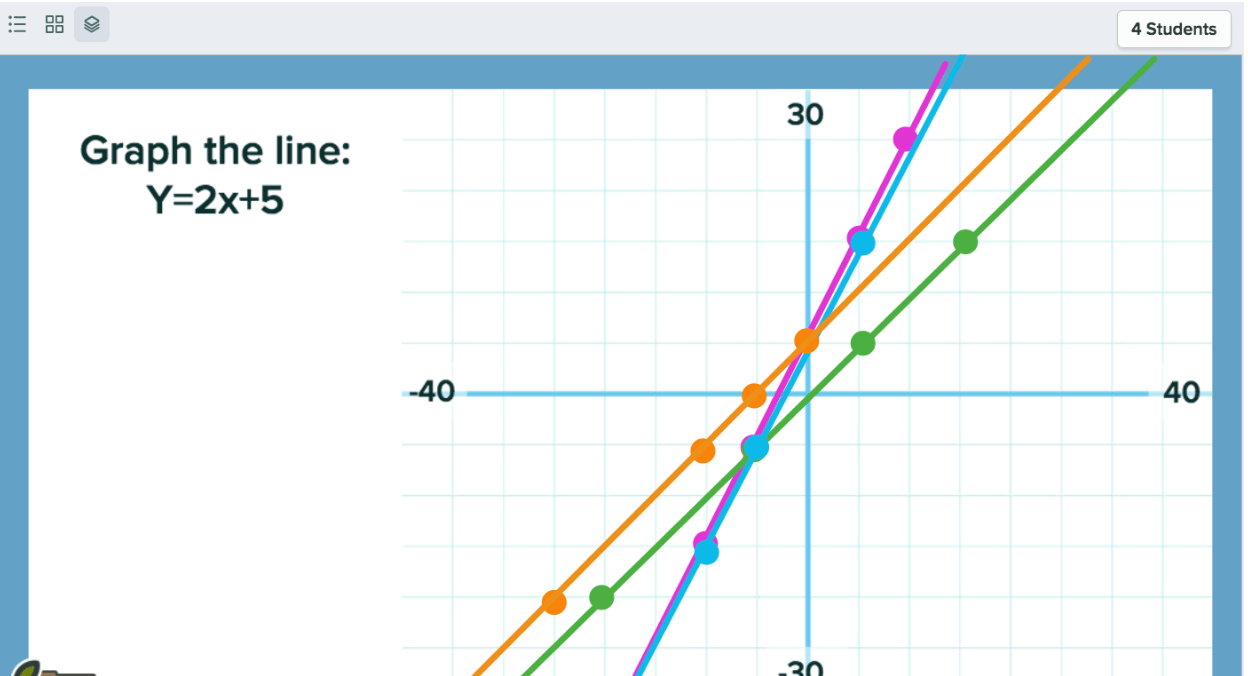
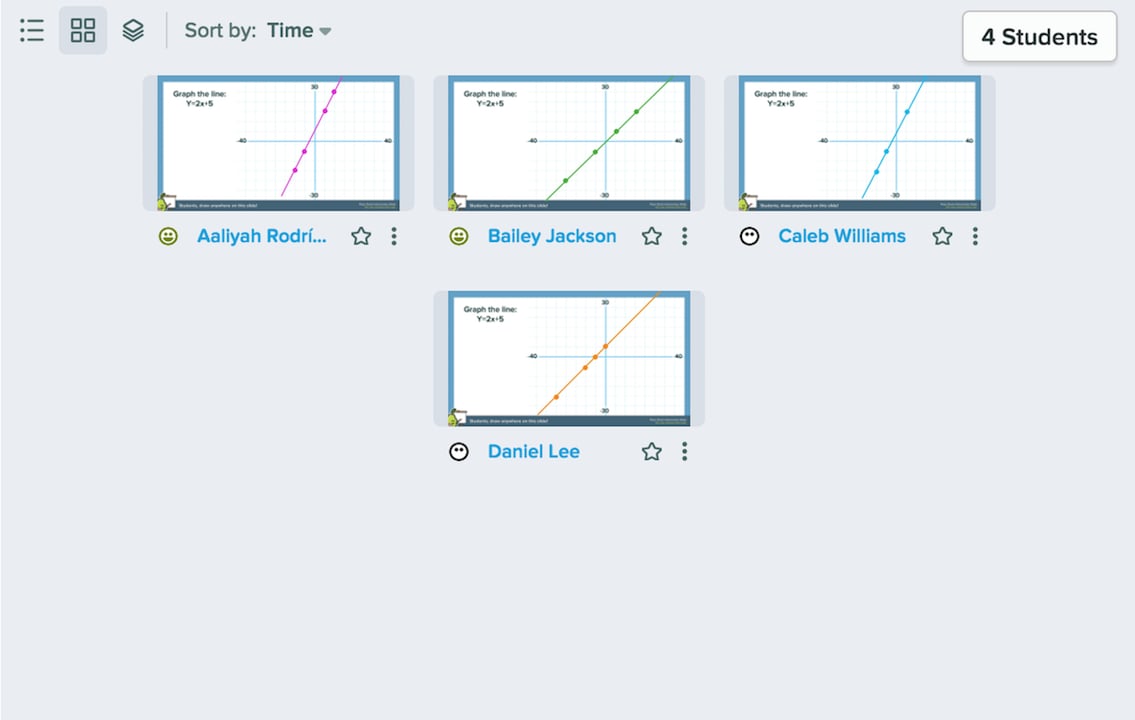
Click Start Lesson to present a session and have students join. When you reach a Drawing slide and click Show Responses, click List or Grid in the top left corner to display each student’s answer individually, or click Overlaid to display all answers on the same background.- The List Layout lets you see one student’s response at a time and scroll through them. In the private Dashboard View, you can see students’ names.
- The Overlaid Layout displays all student drawings on the same background.
- The Grid View shows thumbnails of each student’s drawing.
Free Response: Text
Students respond by typing text. For example, you can ask which character from To Kill a Mockingbird a quote belongs to.- Add your question, instructions, or images directly into your slide.
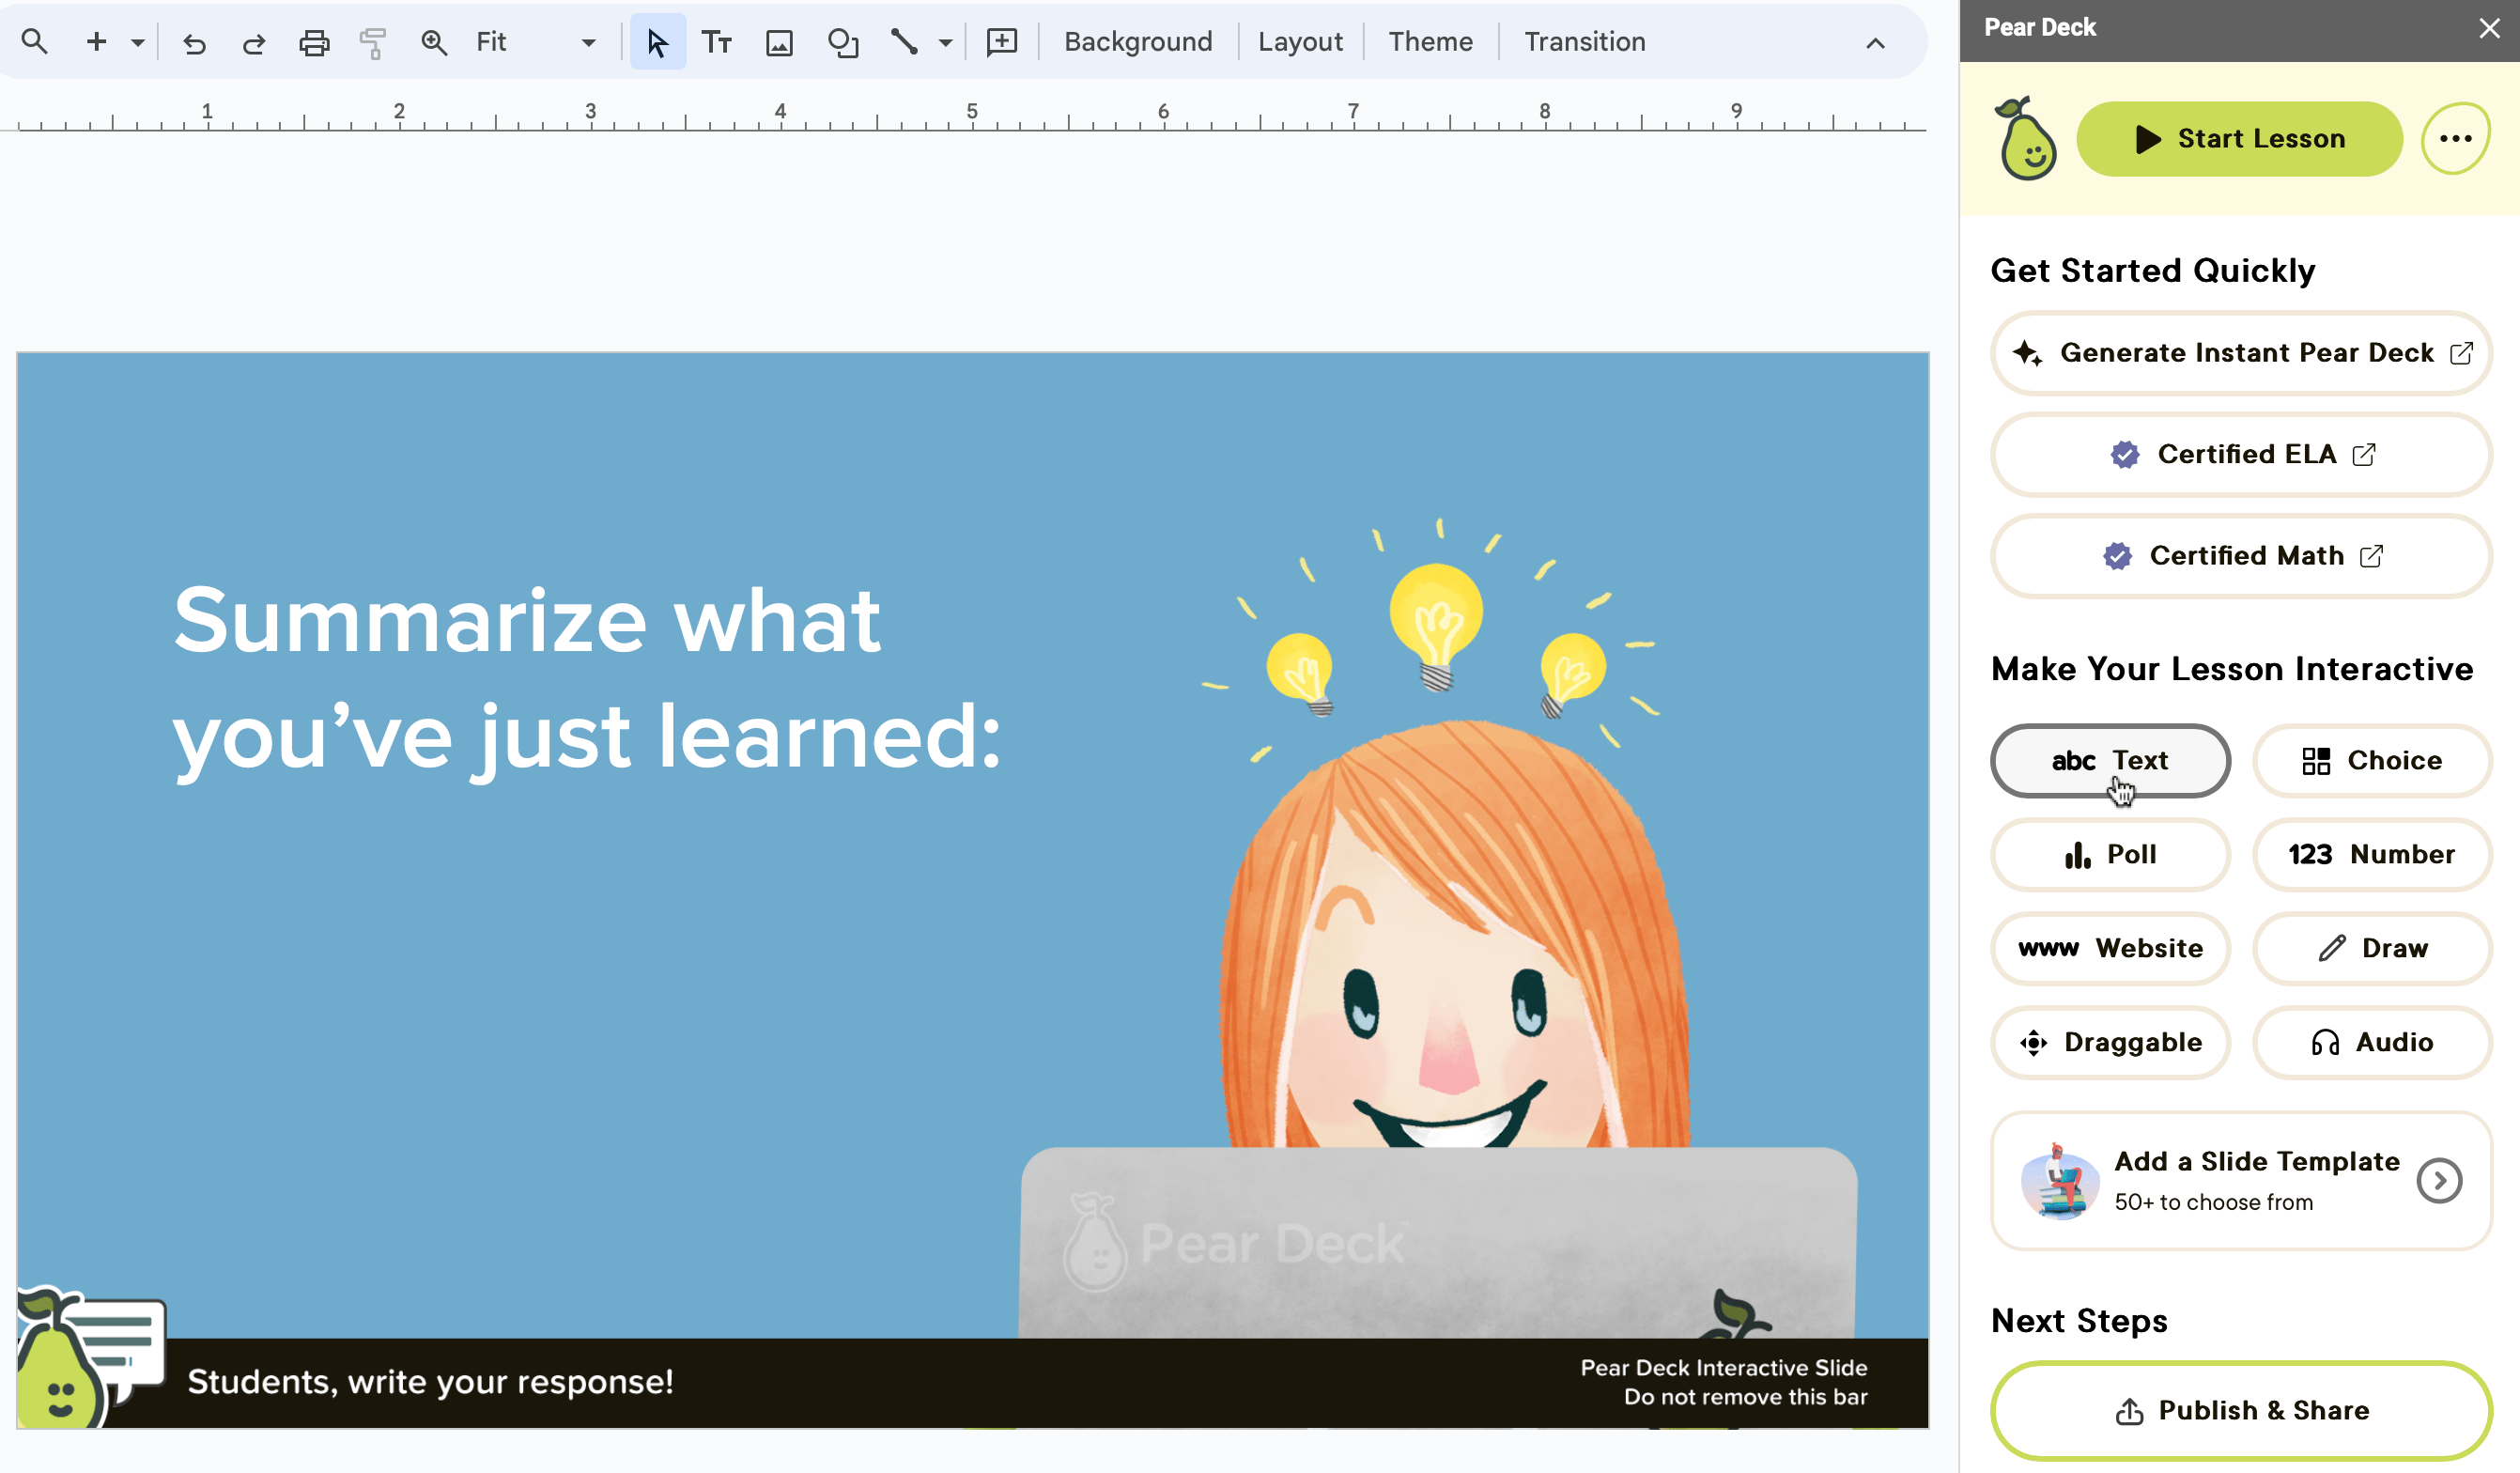
- Open the Pear Deck for Google Slides Add-on or PowerPoint Online Add-in. In the sidebar, scroll down to the Make Your Lesson Interactive section and click the Text option.
During a Presentation Session
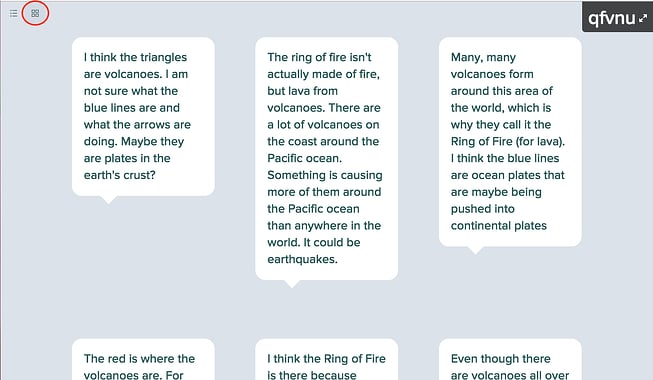
Click Start Lesson to present a session and have students join. When you reach a Text response slide and click Show Responses, students can type into a text field on the Student View. In the top left corner of the screen, click List Layout or Grid Layout.- List Layout
- Grid Layout
Free Response: Number
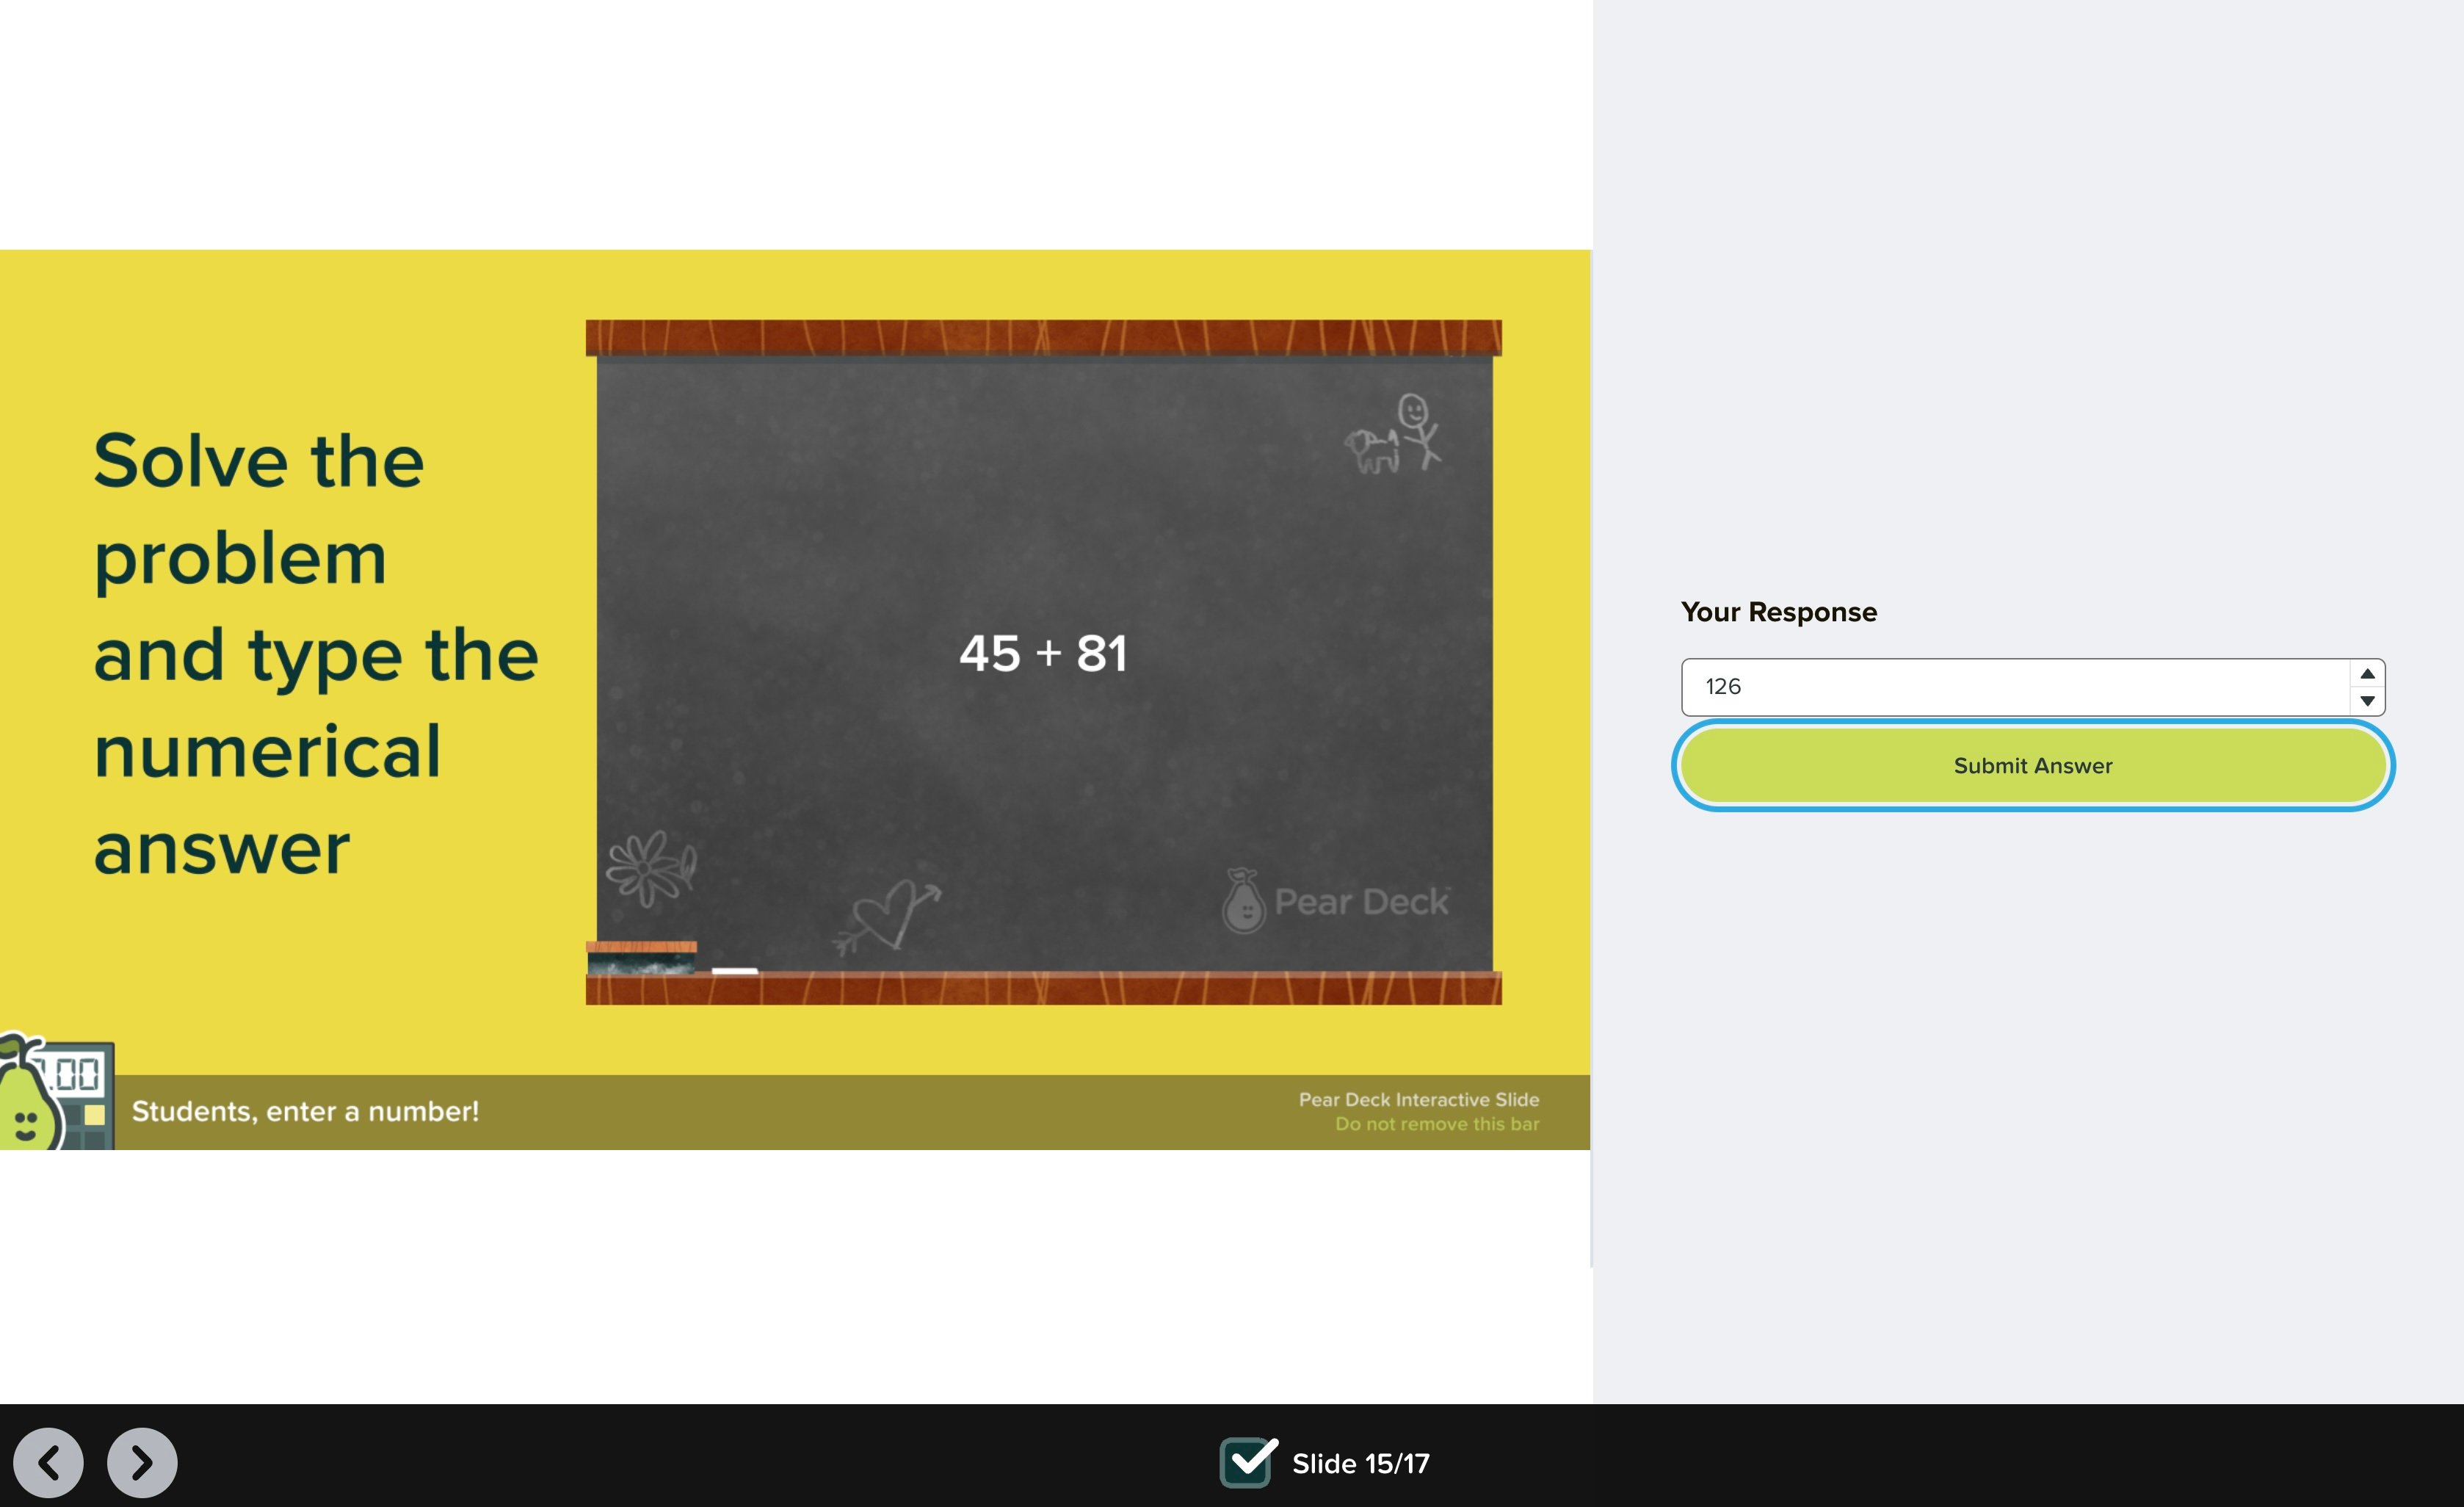
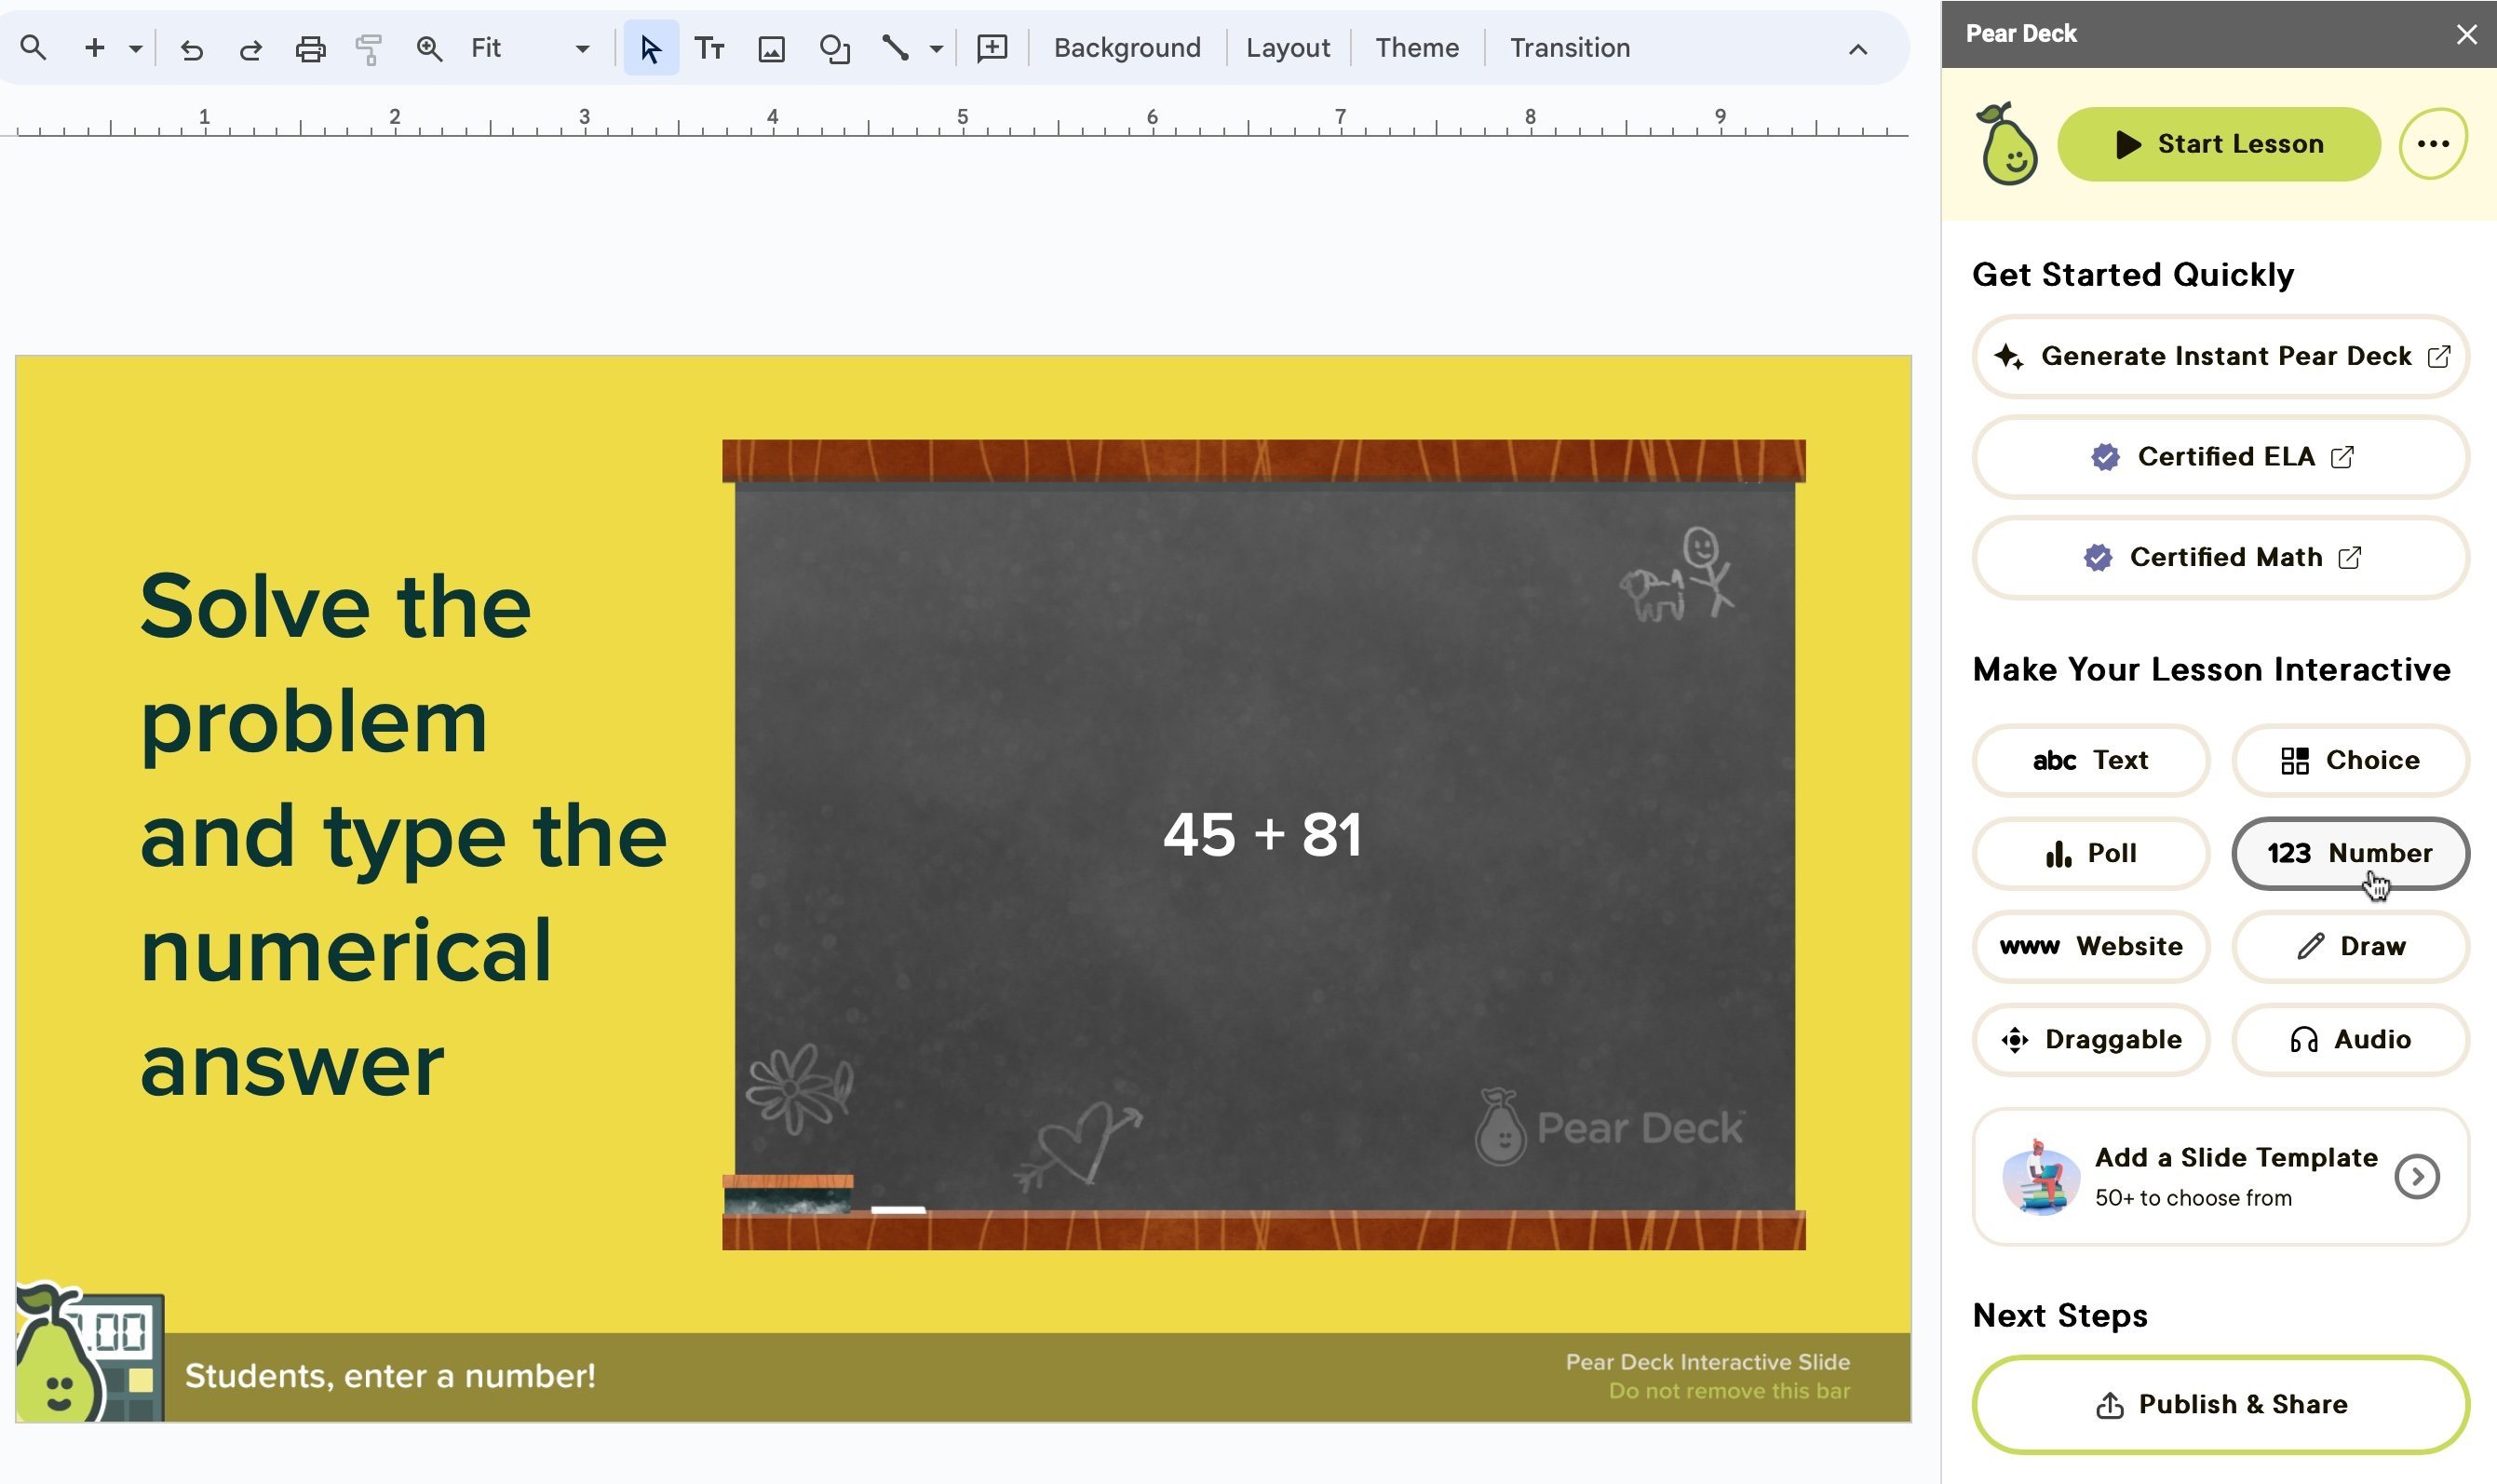
Students respond by typing in a number. For example, students can solve an equation and submit a numeric answer.- Put your question, example, or equation directly on the slide.
- Open the Pear Deck for Google Slides Add-on or the PowerPoint Online Add-in. In the sidebar, scroll down to the Make Your Lesson Interactive section and click the Number option.
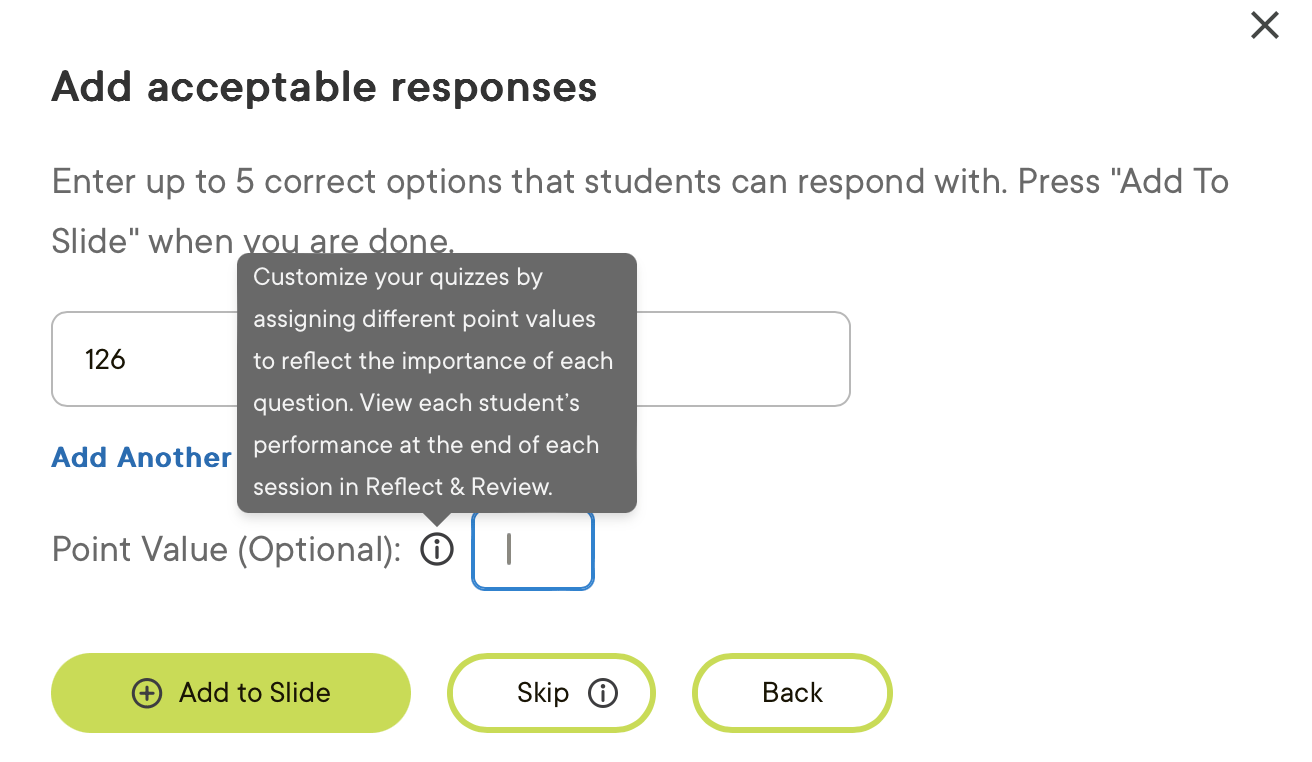
- When prompted, add acceptable answers for students to submit and optionally assign a point value. Acceptable answers and point values are part of the premium plan.
- Click Add to Slide.
During a Presentation Session
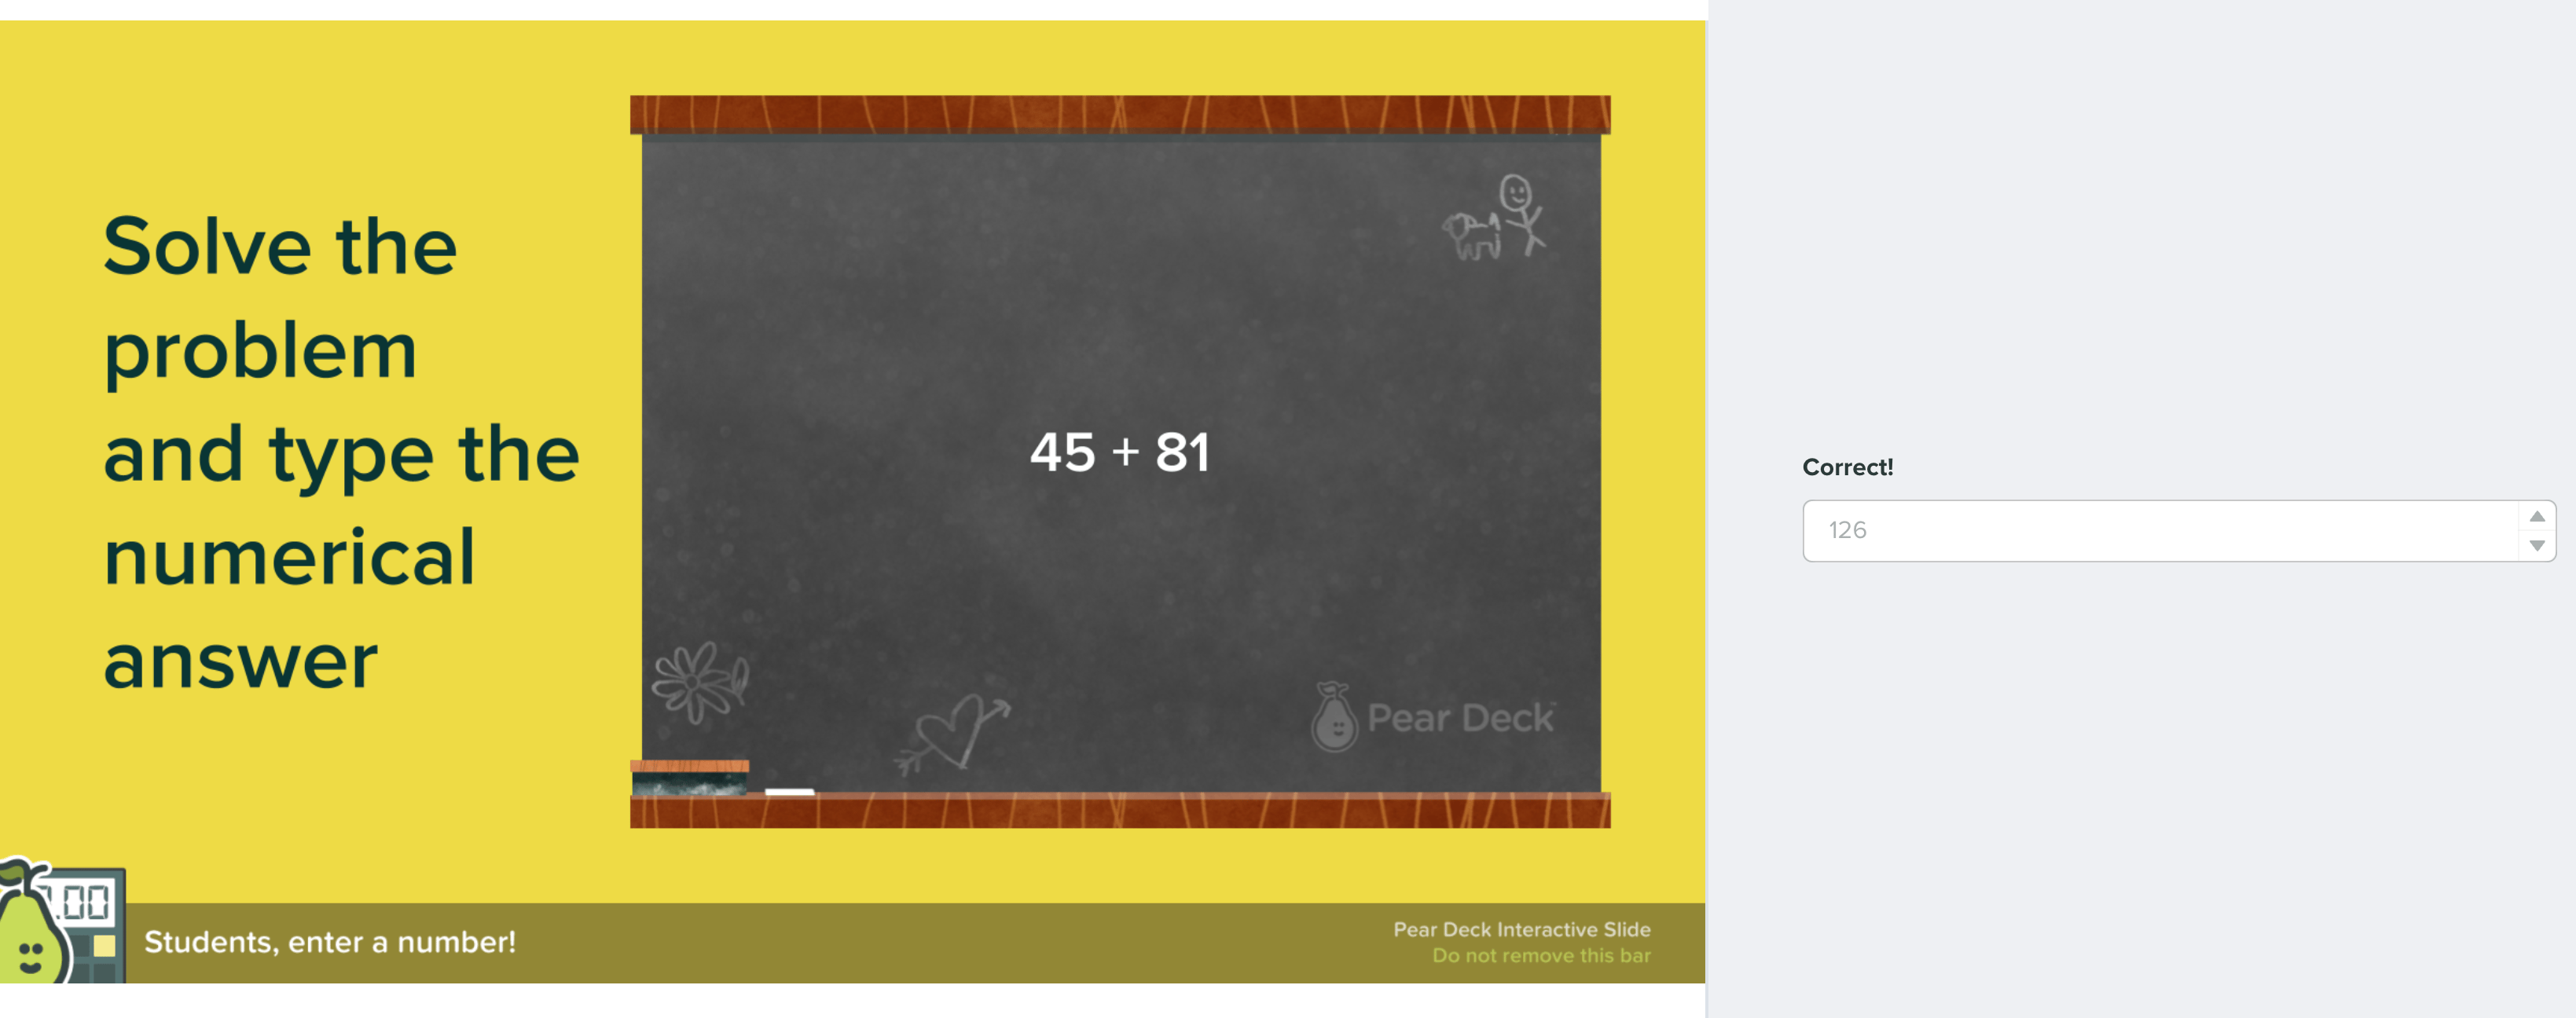
Click Start Lesson to present a session and have students join. When students reach a Number response slide, they can type a number into the Student View, submit their answer, and see whether the answer is correct in real time using Pear Deck’s auto-scoring.Auto-scoring and full access to Number response features require a premium plan.
- Grid Layout: shows all of the individual numbers students entered.
- Overlaid: displays answers as a box-and-whisker plot. The grey dotted line marks the median answer, and a grey box surrounds the middle half of answers. Thin black lines mark the high and low answers. For extreme outliers, use the magnifier tool to zoom in and exclude them.
- Pie: breaks down all student responses in a pie chart by the number submitted.
Choice (School and District Plans Only)
Choice lets you add multiple responses with one correct answer and an assigned point value. Depending on the question, supplying multiple defensible answers can make it more challenging and spark discussion.- Put your question, instructions, or images directly onto your slide.
- Open the Pear Deck for Google Slides Add-on or the PowerPoint Online Add-in. In the sidebar, scroll down to the Make Your Lesson Interactive section and click the Choice button.
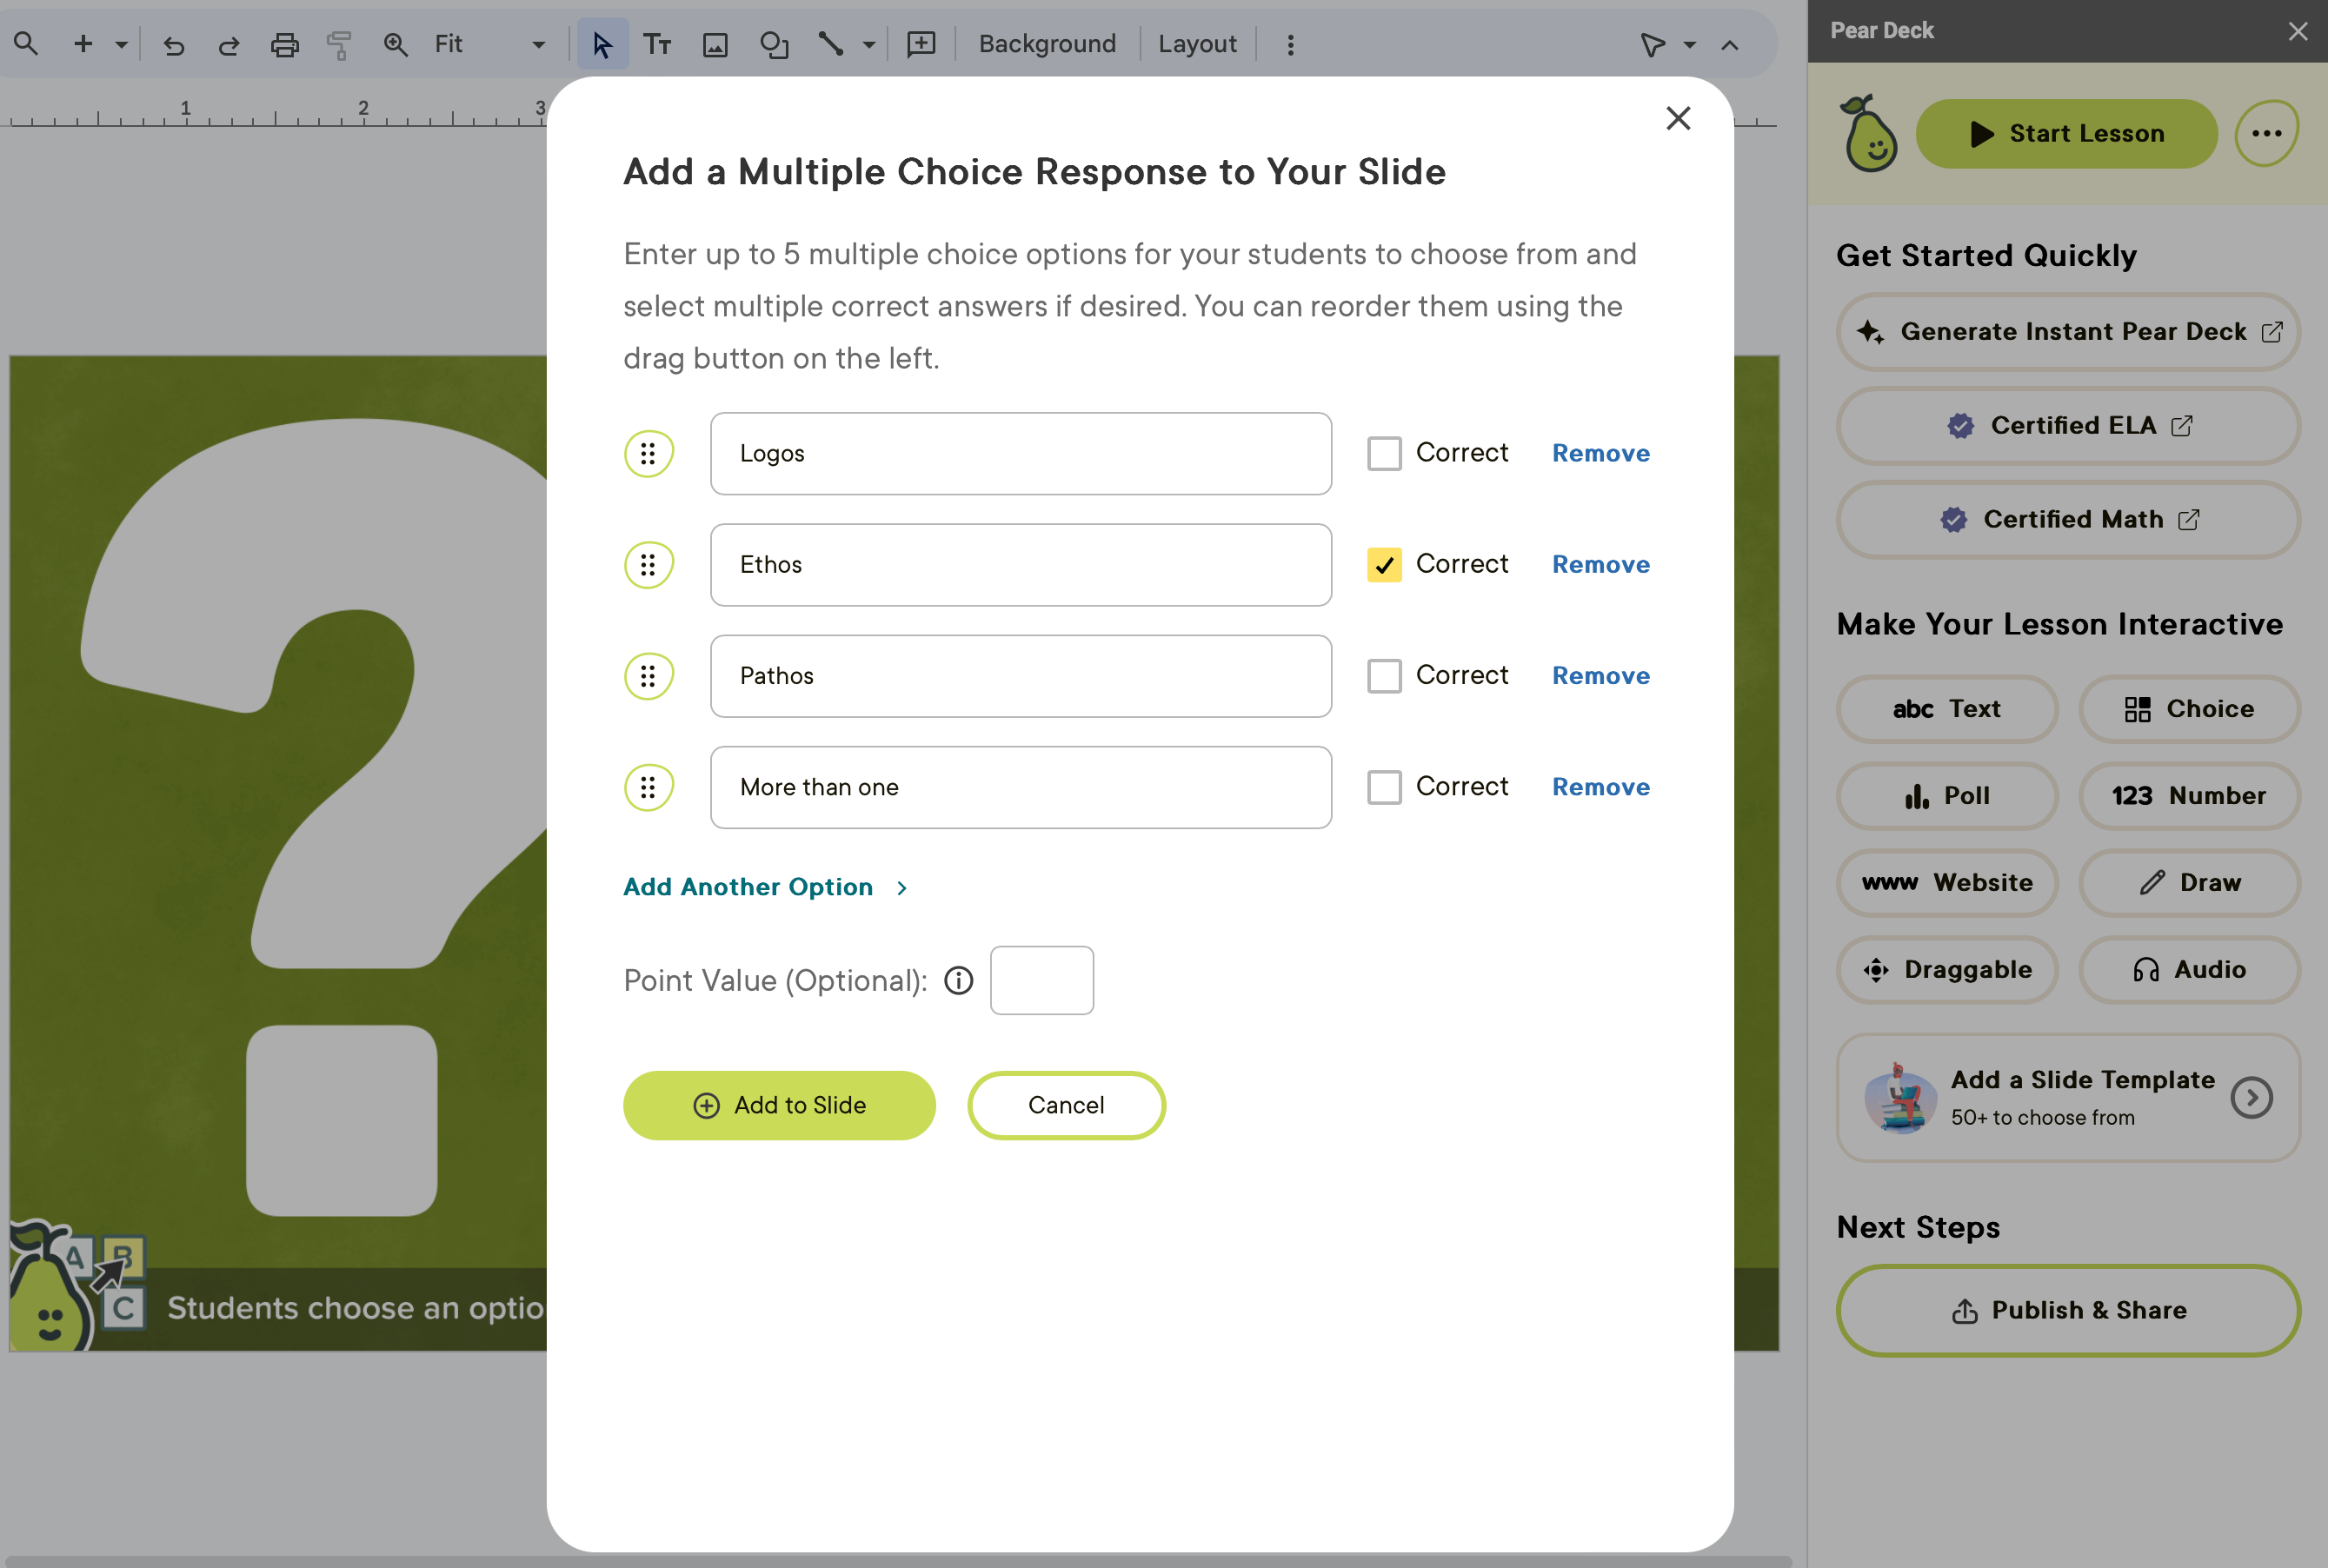
- Enter the response options students can choose from.
- Select Correct for the right answer.
- Set a point value for scoring (optional).
- Click Add to Slide.
During a Presentation Session
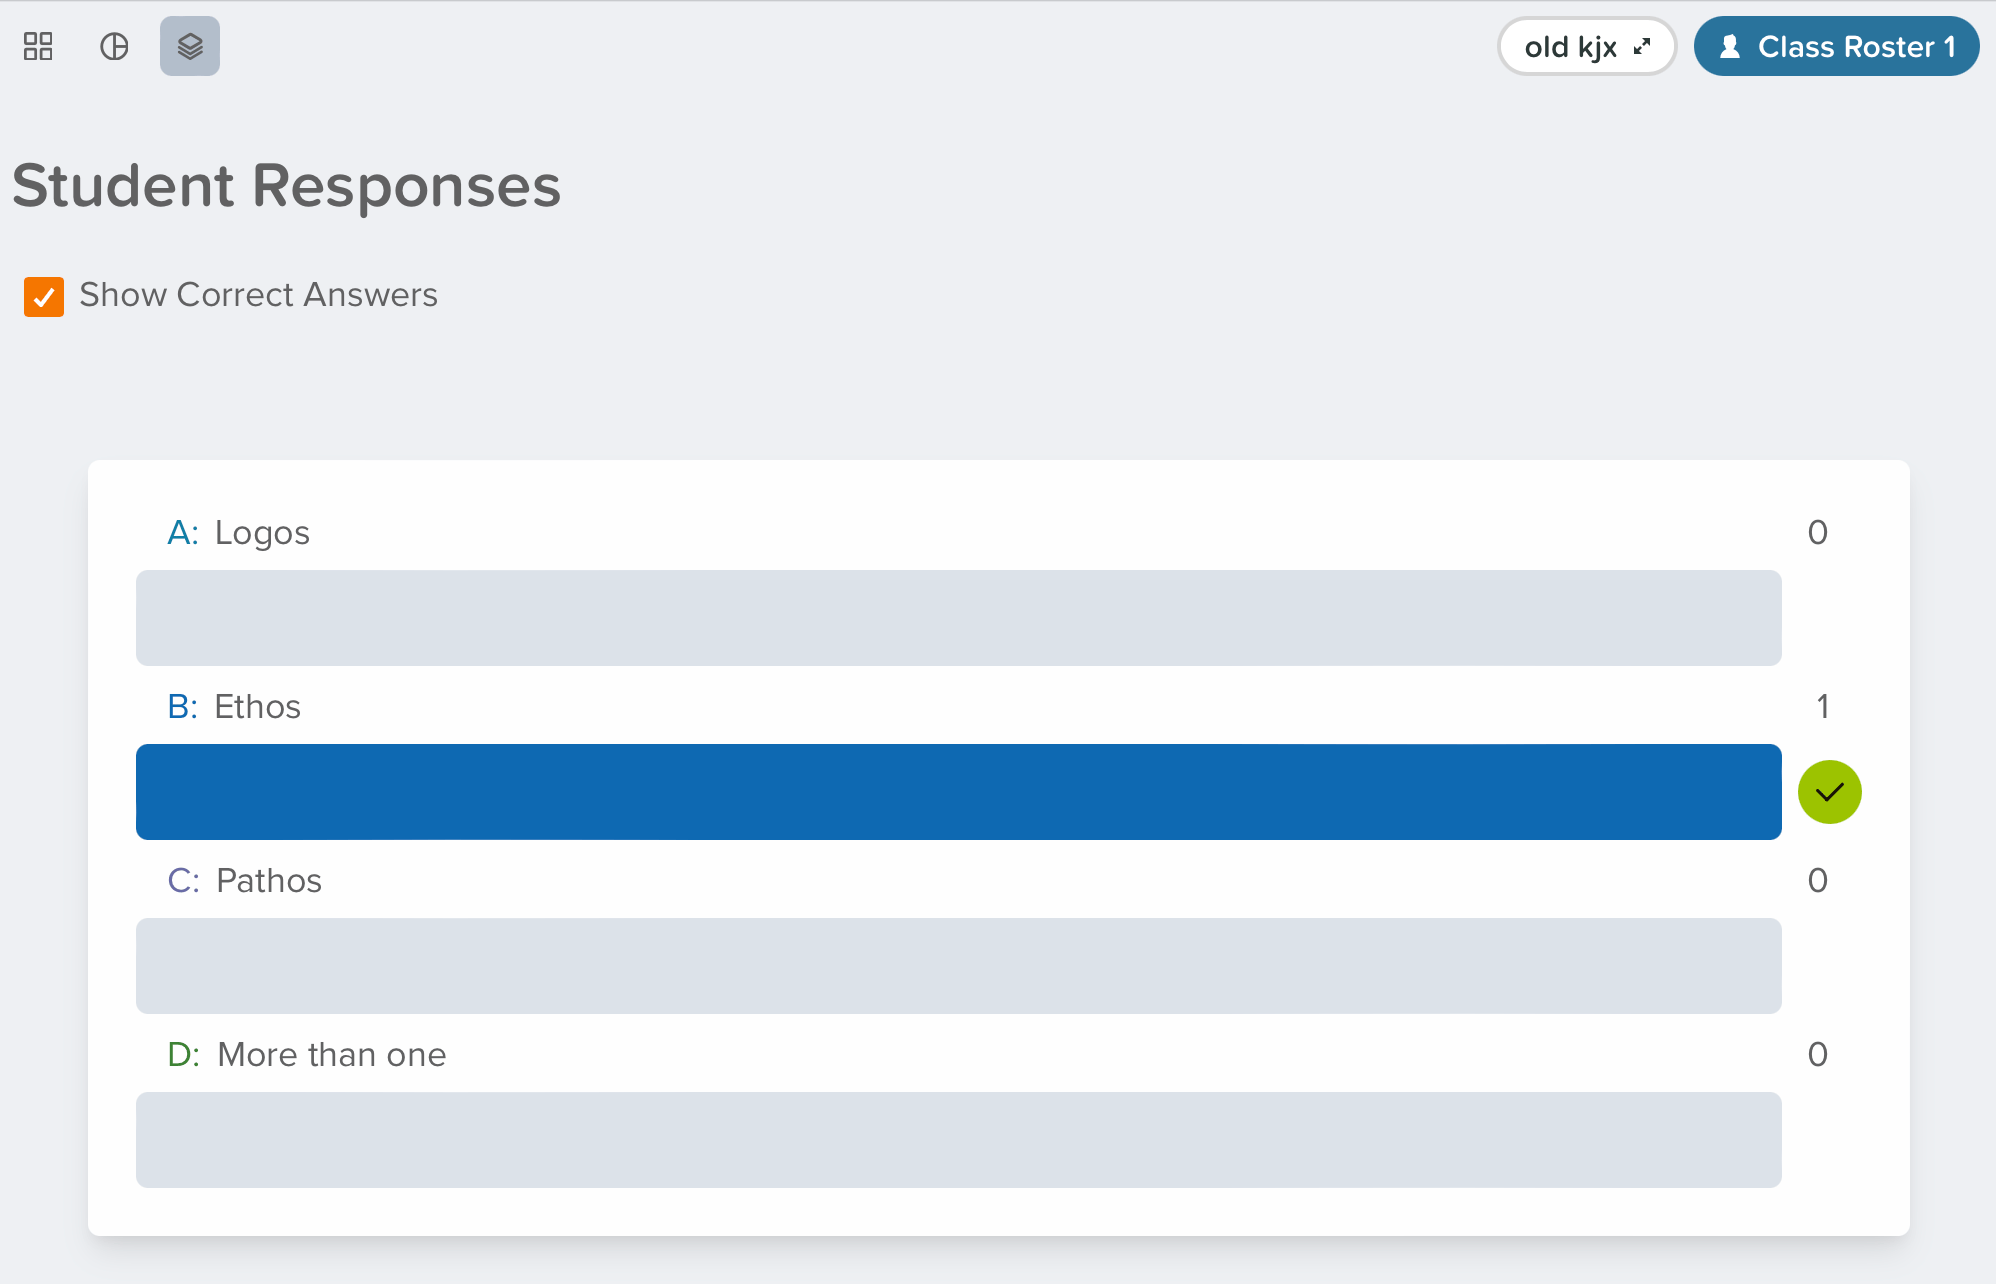
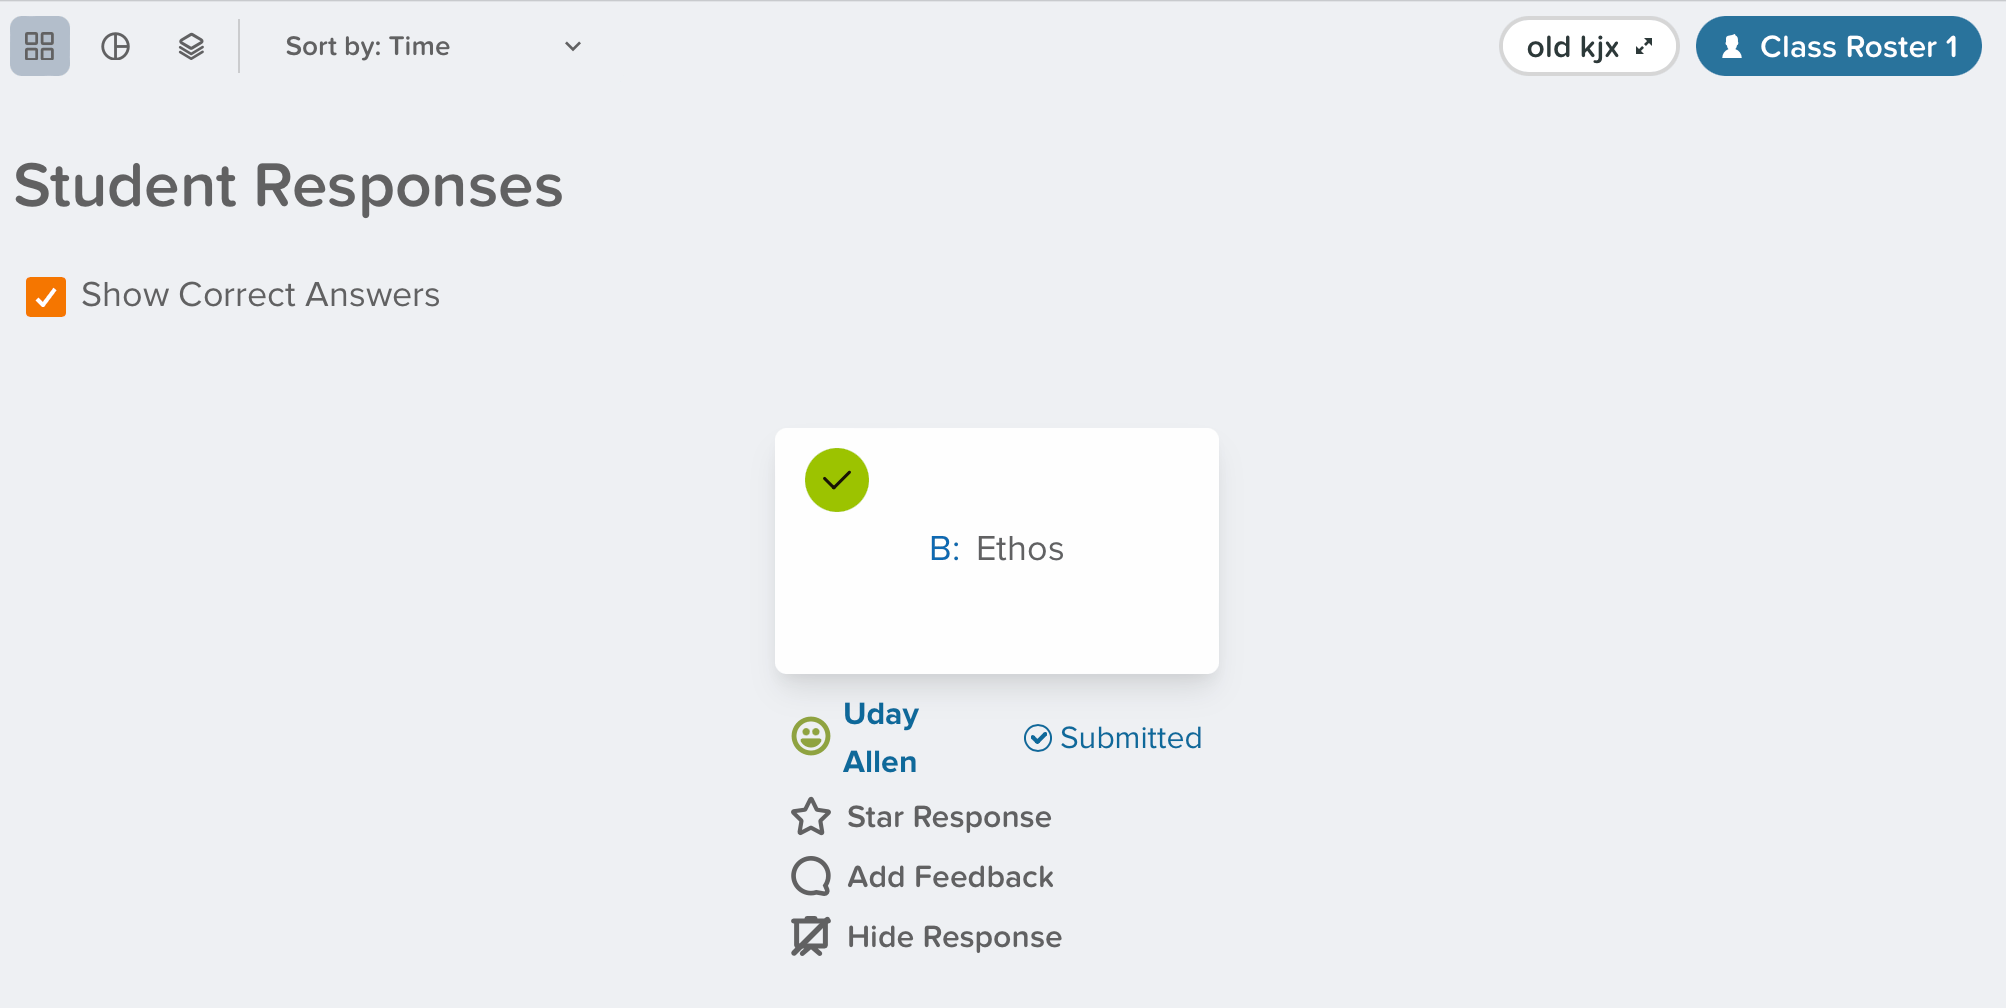
Click Start Lesson to present a session and have students join. When you click Show responses, the anonymous aggregate display on the Projector View shows the tallies. You can also display each choice individually by clicking Grid View.- Overlaid Layout (tally)
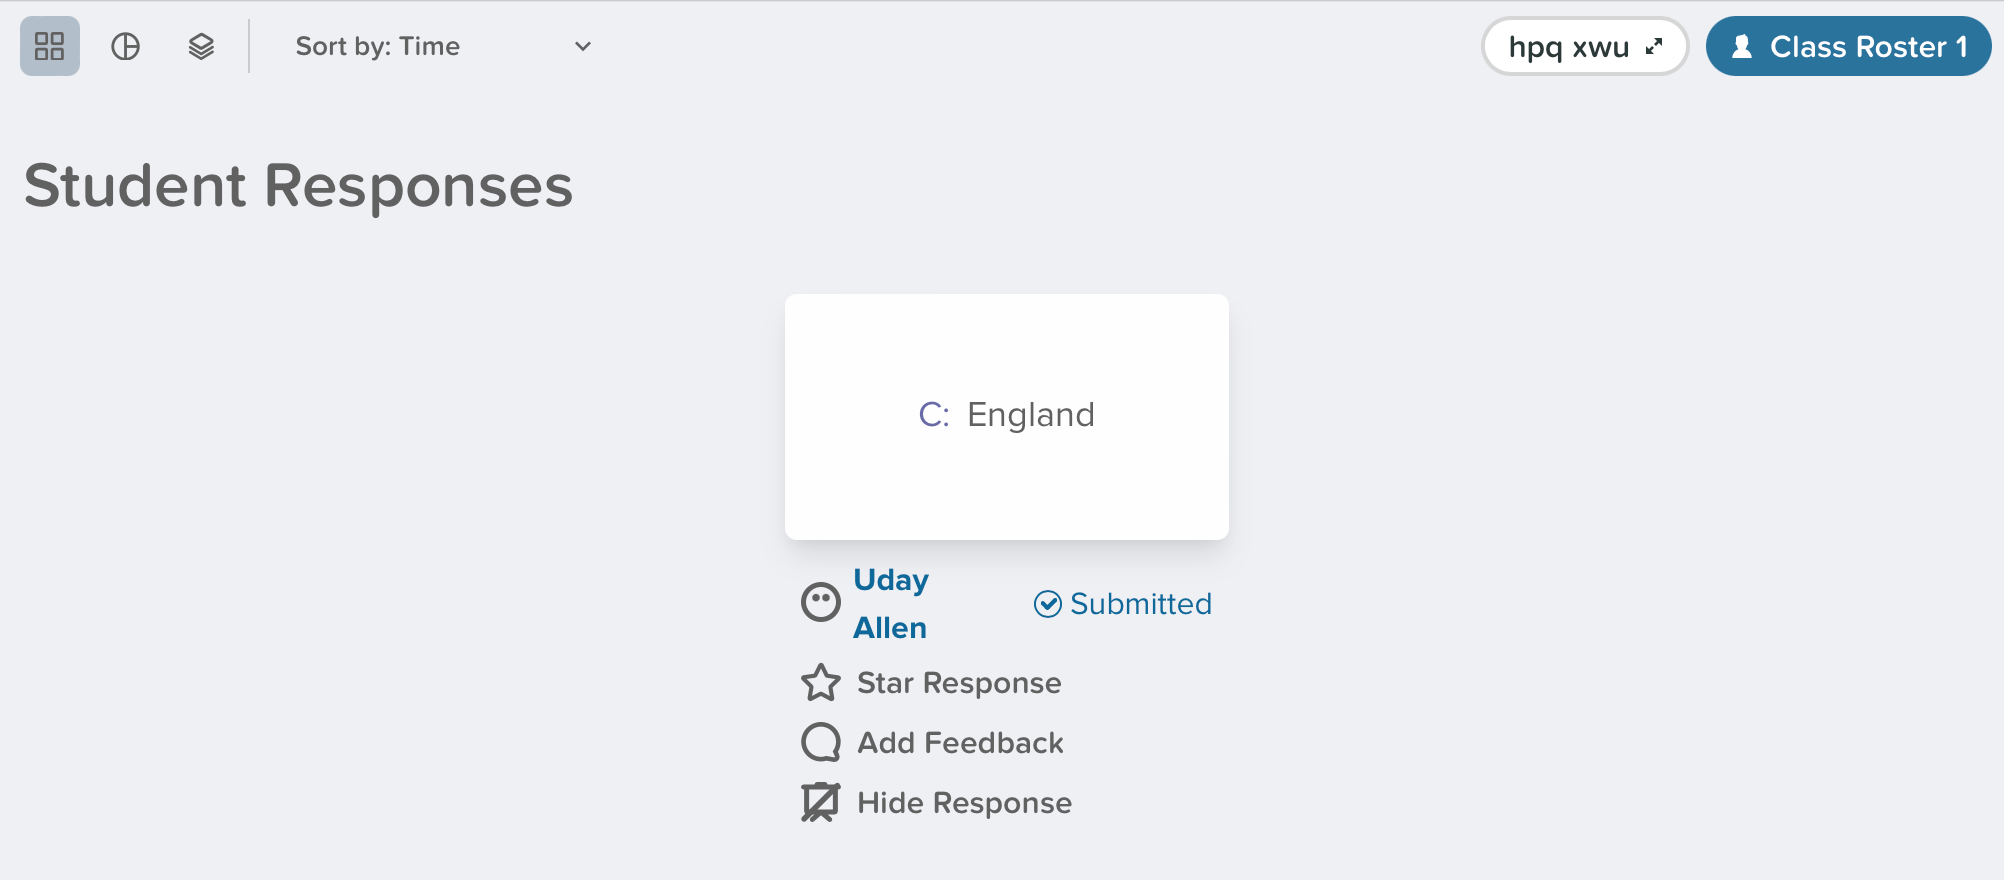
- Grid View
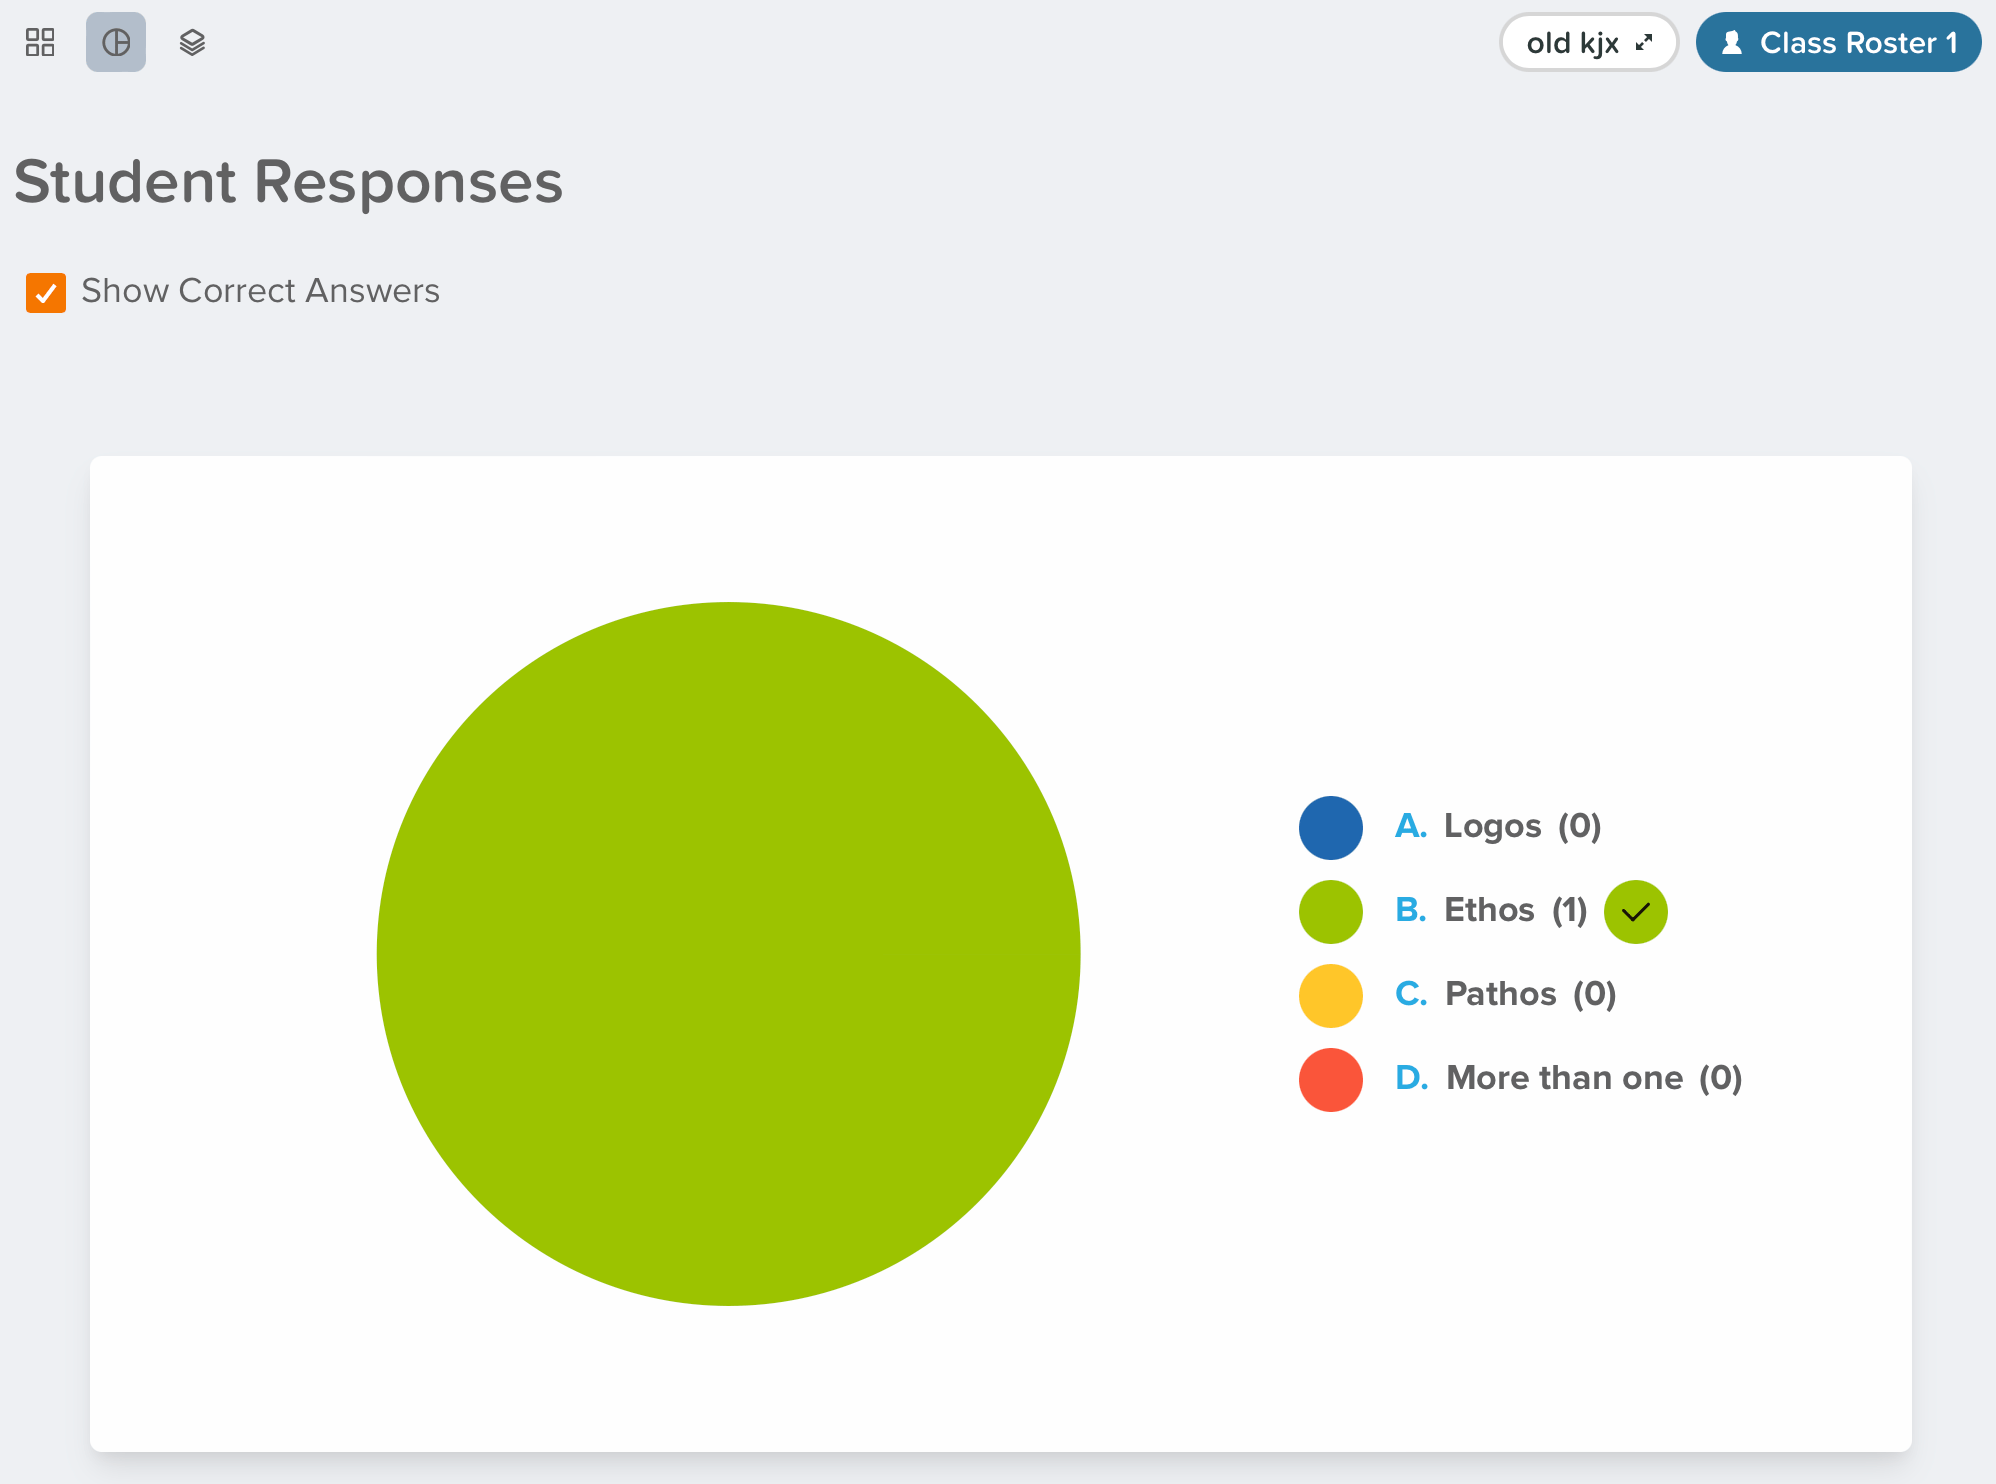
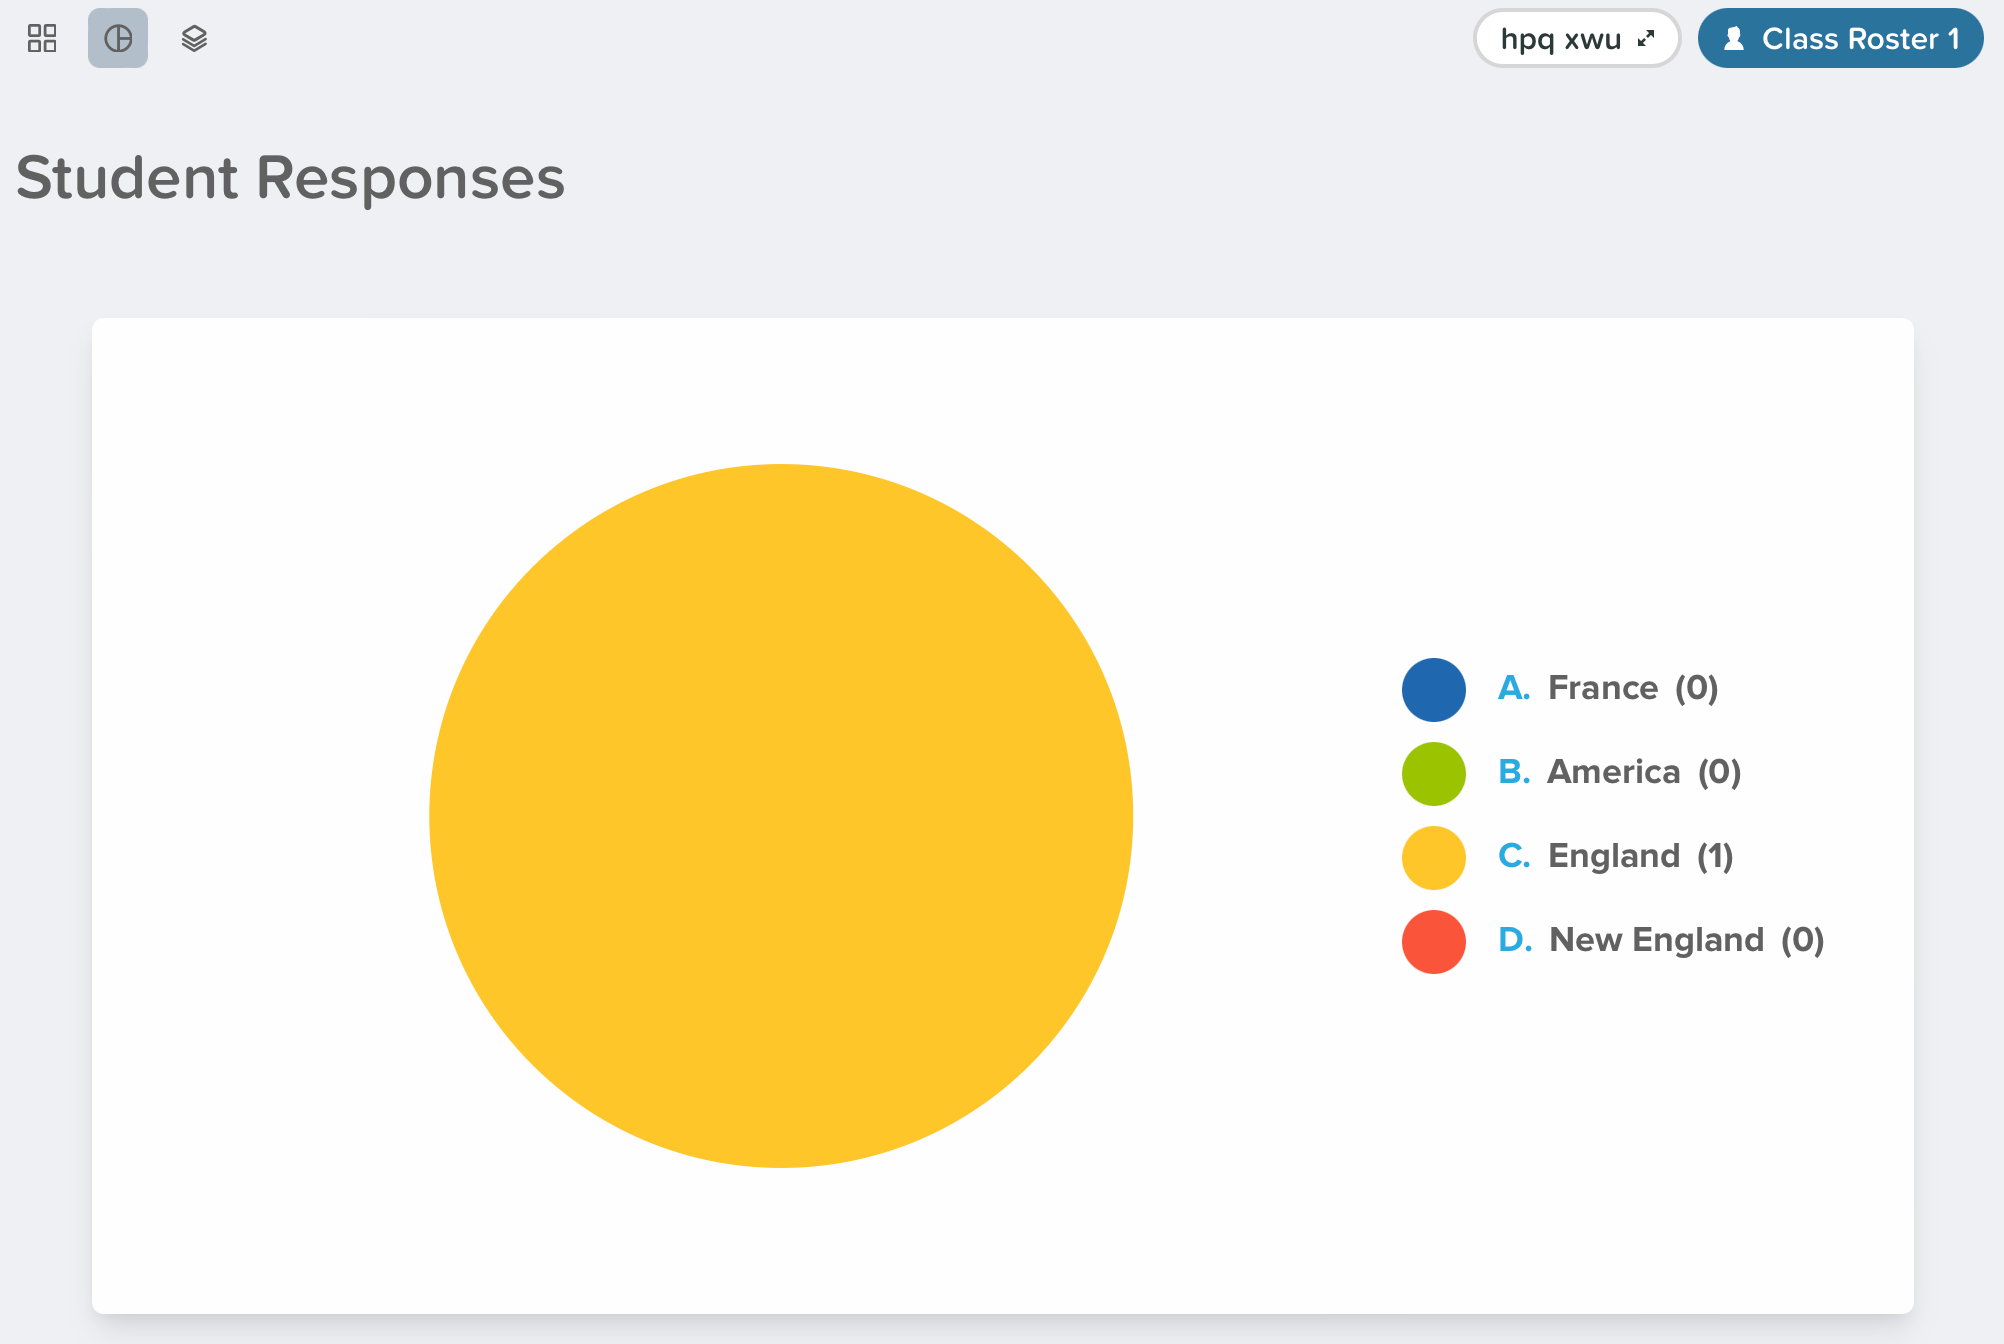
- Pie View (premium required)
Poll (Formerly Multiple Choice)
The Choice response type was renamed Poll. All existing lessons with the old Choice response type are automatically converted into Poll responses. Old Choice response types appear as “Poll (Formerly Multiple Choice) Slide” on Reflect and Review.
- Put your question, instructions, or images directly onto your slide.
- Open the Pear Deck for Google Slides Add-on or the PowerPoint Online Add-in. In the sidebar, scroll down to the Make Your Lesson Interactive section and click the Poll button.
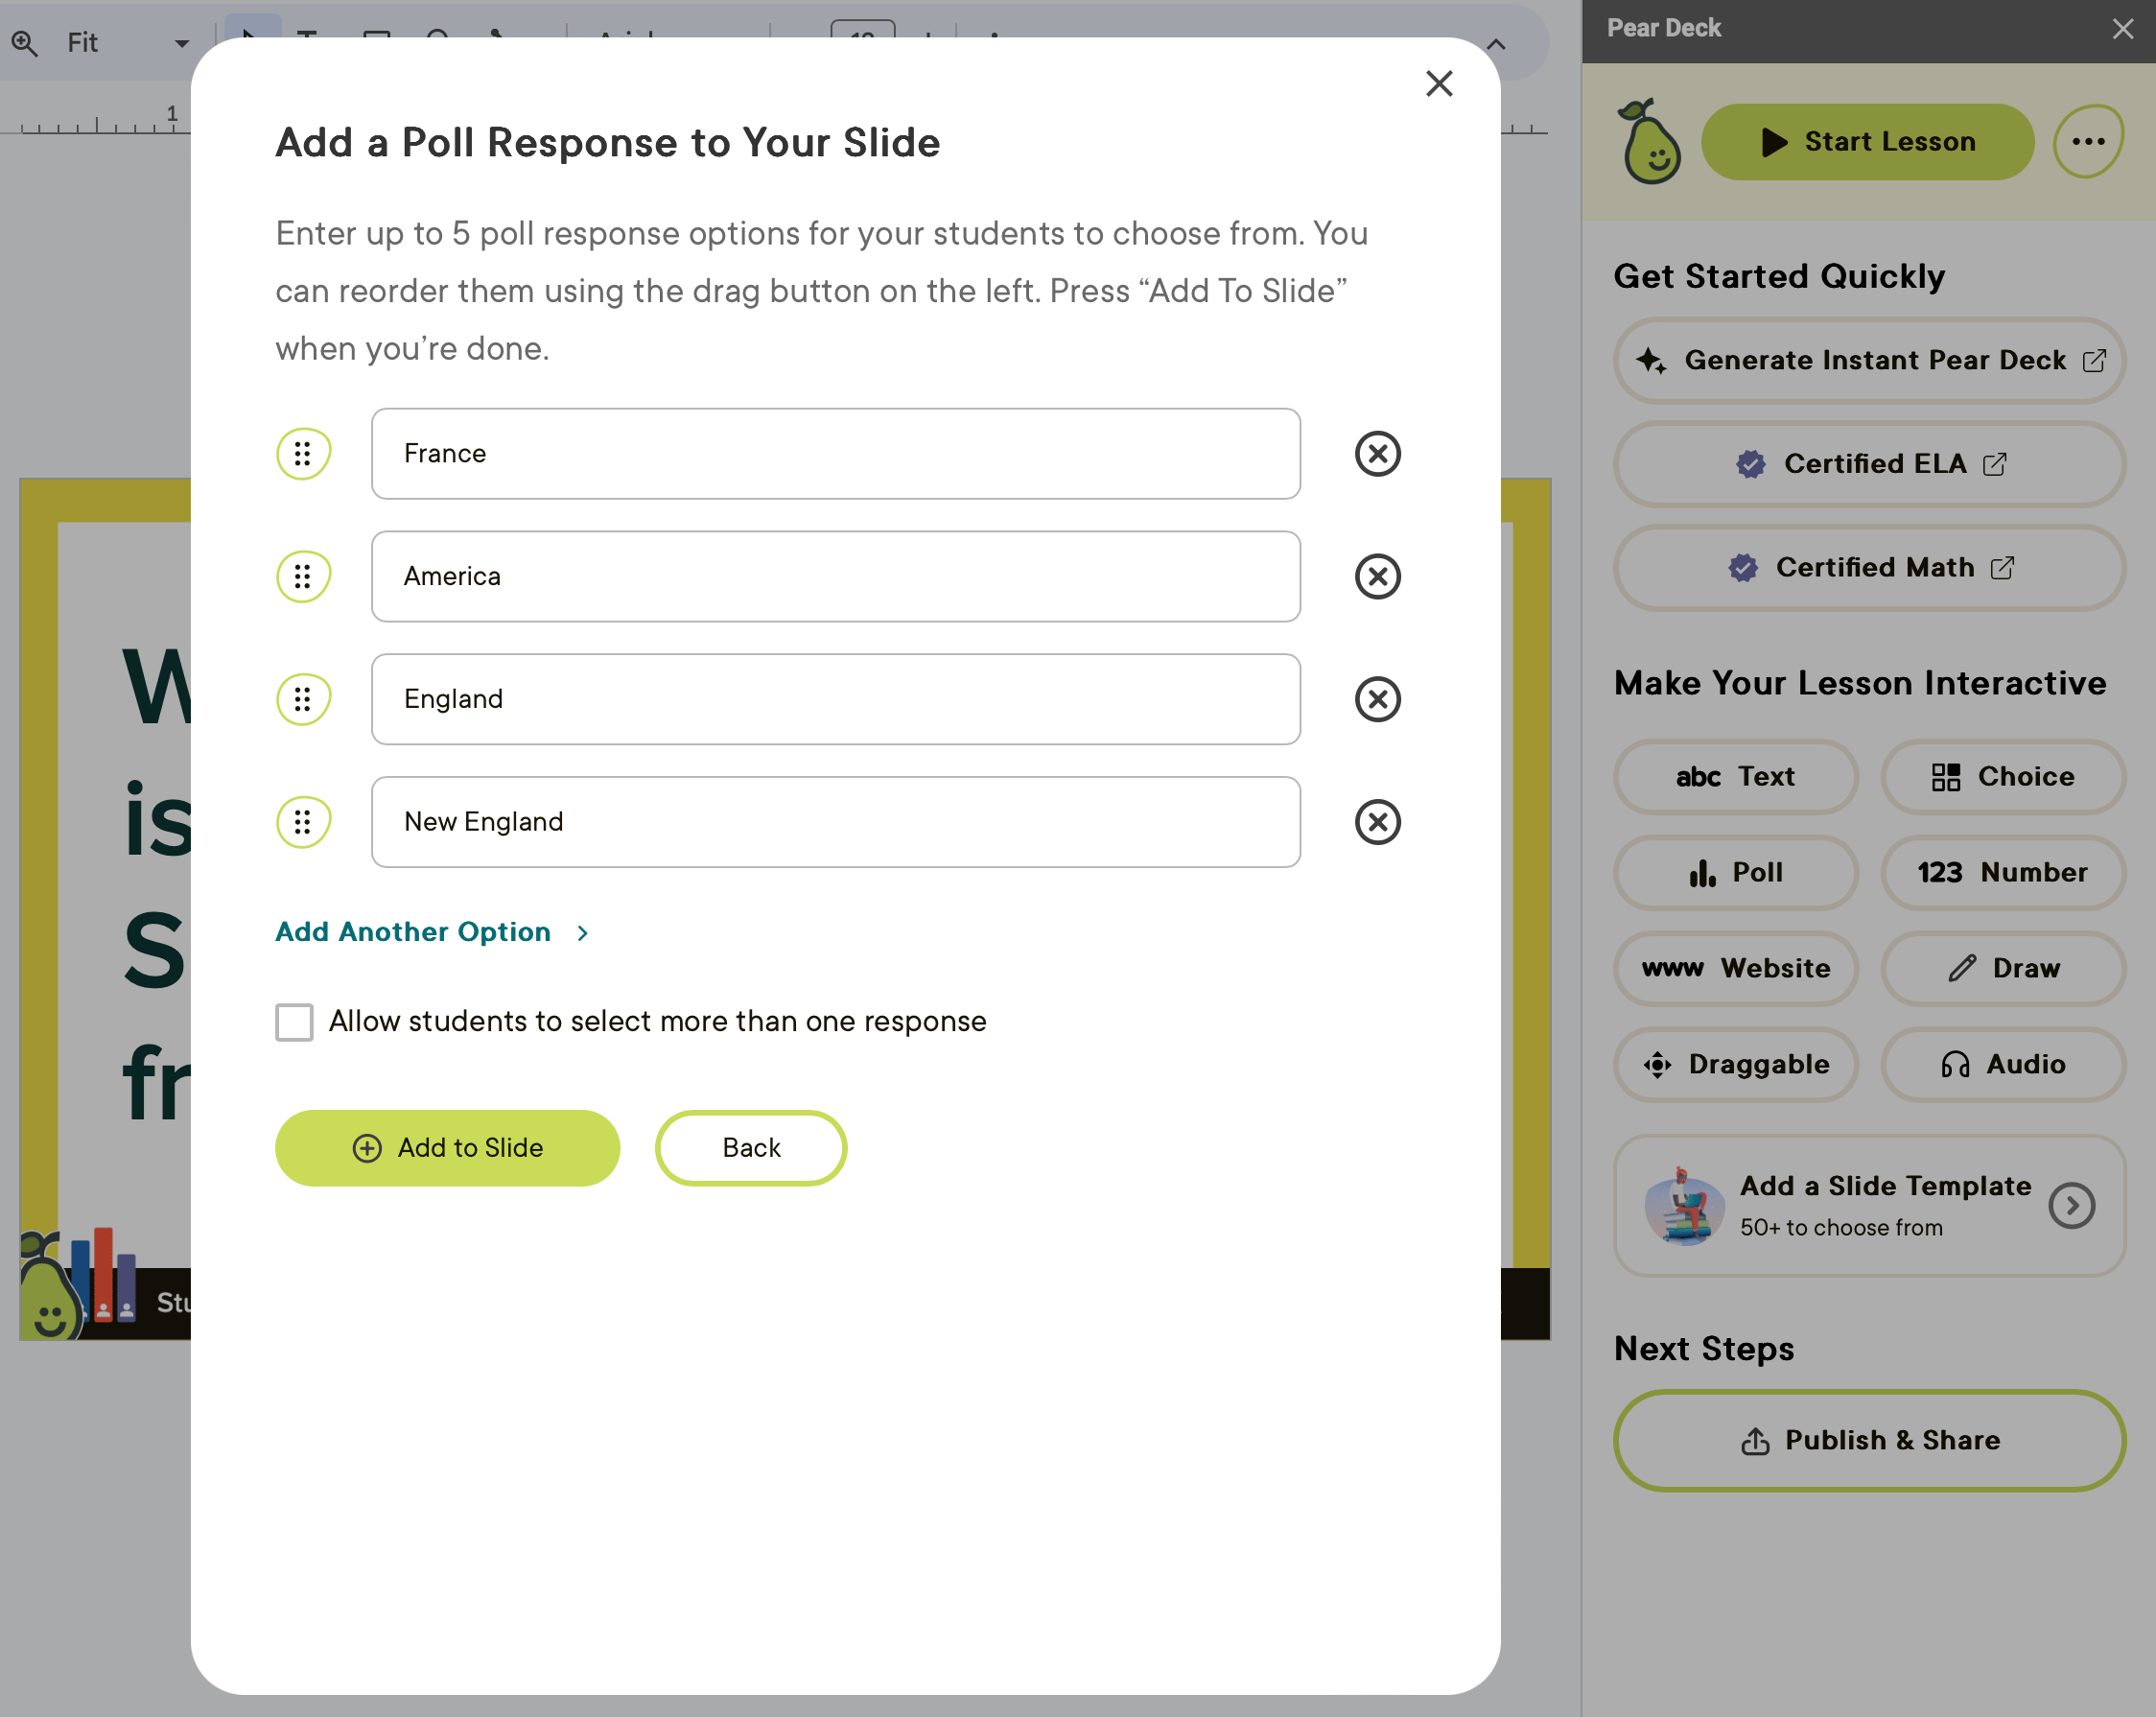
- Enter the response options students can choose from.
- Click Add to Slide.
During a Presentation Session
Click Start Lesson to present a session and have students join. When you click Show responses, the anonymous aggregate display on the Projector View shows the tallies. You can also display each choice individually by clicking Grid View.- Grid View
- Pie View
Audio
Audio can be added to new or existing slides as a supplementary teaching device or student resource. You can record or upload audio to a slide, and it appears in the lower-right corner of the student’s screen for that slide.Audio is not a standalone slide type. It adds audio to a new or existing slide.
- Put your question, instructions, or images directly onto your slide.
- Open the Pear Deck for Google Slides Add-on or the PowerPoint Online Add-in.
- In the sidebar, scroll down to the Make Your Lesson Interactive section and click the Audio button.
- Click Record or Upload.
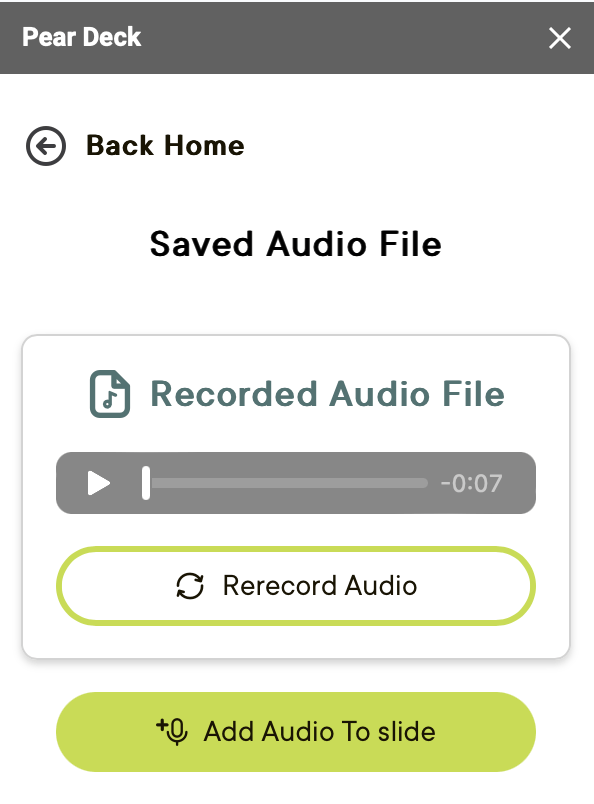
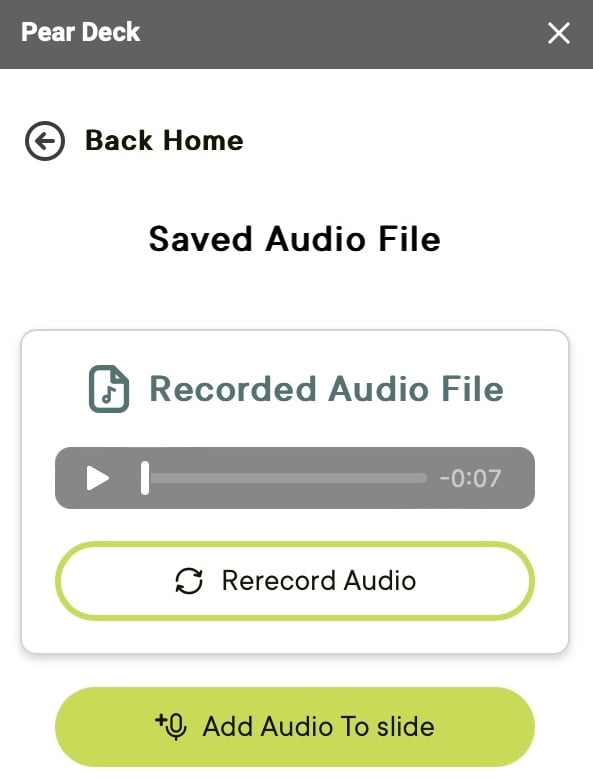
- If you click Record, allow Pear Deck to access your microphone to start recording. Click Pause to stop recording, then click Resume, Delete, or Done. You can re-record or add the audio to the slide when you click Done.
- If you click Upload, select the audio file from your computer and add it to the slide.
Resources
Create a Pear Deck Account
Set up your Pear Deck account to start building interactive lessons.
The Teacher Dashboard
Review student responses and manage sessions from the Teacher Dashboard.