Follow a Check-In from Start to Finish
Every kiosk check-in follows the same path. Steps that a form doesn’t include are skipped. Visitors checking out with their badge take a shorter path. See Check Out at a Kiosk.- Welcome: The visitor or student taps who they are, then the form they need.
- Identity: Visitors and guardians scan their government ID or enter their details. Students scan their badge, enter their student ID, or search for their name.
- Photo: If the form asks for one, they take a photo.
- Form steps: They answer the form’s other steps, such as choosing a destination or host, answering questions, or agreeing to a document.
- Review: If something needs a staff decision, the kiosk asks the visitor or student to wait. Most check-ins skip this, but pickups always wait for staff to confirm the students.
- Done: The kiosk confirms they’re done and prints their badge if the form includes one.
Start at the Welcome Screen
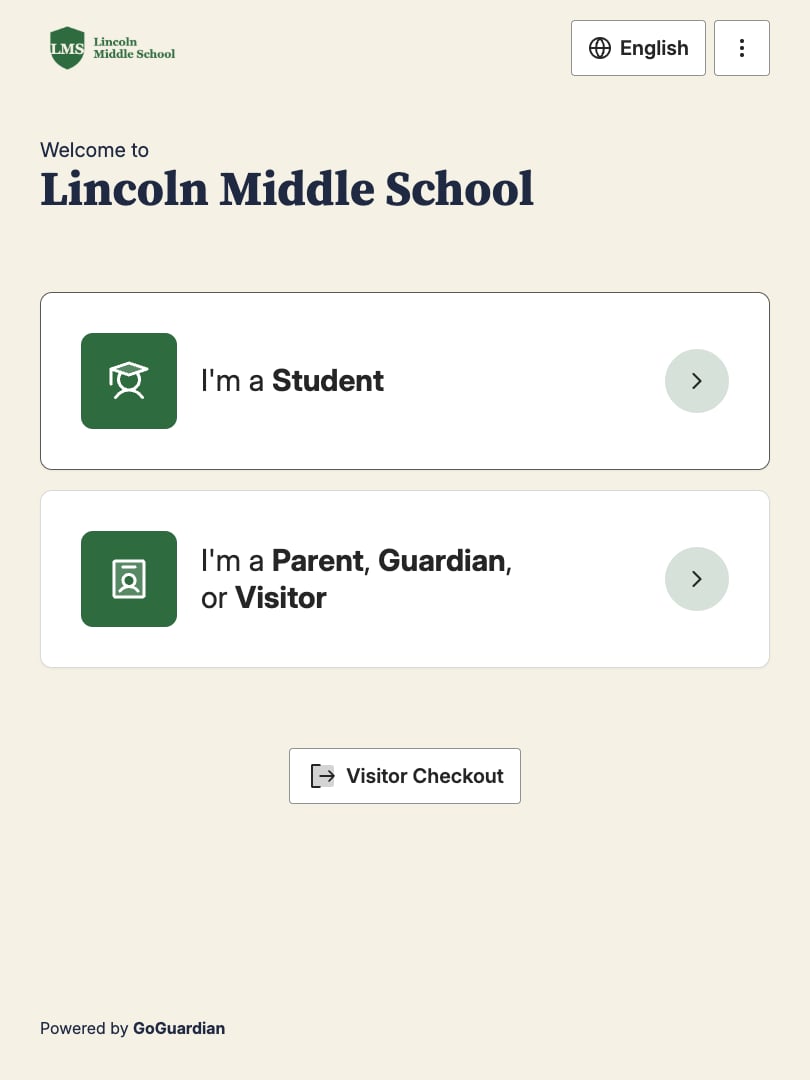
The welcome screen shows “Welcome to” and your site’s name, with your site’s logo and colors. See Brand Your Kiosks. Below the greeting, visitors and students tap who they are:- I’m a Student
- I’m a Parent, Guardian, or Visitor
Use the Buttons at the Top
The bar at the top of the kiosk has these buttons:- Back arrow: Returns to the previous step. From the first step, it goes back to the form list. It doesn’t appear on the welcome screen or after the last step.
- Language: Shows the current language. Tap it to switch. See Choose a Language.
- More (⋮): Start Over cancels the check-in and returns to the welcome screen. It isn’t available while the kiosk asks the visitor or student to wait for staff. Edit Kiosk Settings asks for a Site Admin’s PIN, and Sign Out asks for a staff member’s PIN. See Change Kiosk Settings.
Choose a Language
Visitors and students can use the kiosk in English, Español, 中文, Tiếng Việt, or العربية, depending on the languages your forms include.- On the welcome screen and form list, the language menu offers every language from the kiosk’s forms.
- After they choose a form, the menu offers only that form’s languages. If the form doesn’t include the language they chose, the kiosk switches to English.
Confirm Who’s Checking In
The first step of every form confirms who’s checking in or out. Visitors and guardians confirm their identity one way, and students another.Check In as a Visitor or Guardian
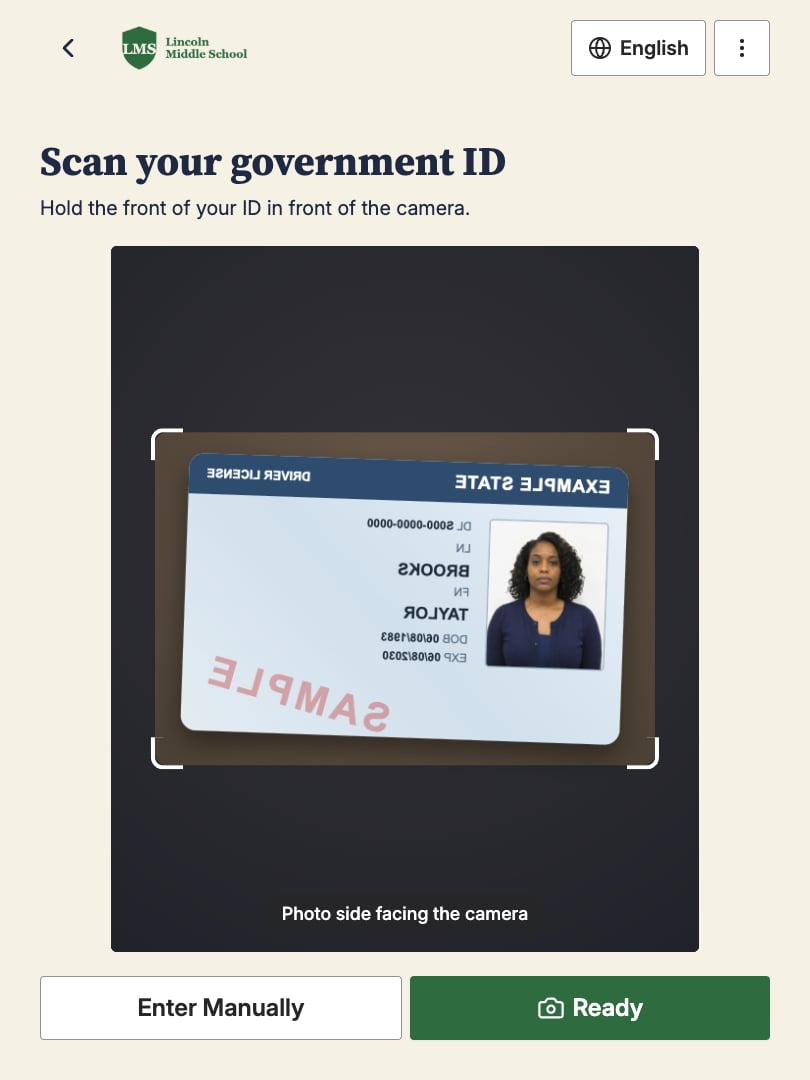
Visitors and guardians confirm their identity with the Confirm Visitor Identity step. Depending on the form, they scan a government ID, enter their details, or choose either one. To scan an ID:- The kiosk asks the visitor to hold the front of their ID, photo side facing the camera.
- They tap Ready, and the kiosk counts down while they hold the ID steady, then takes a picture.
- They check the picture. Try Again retakes it, and Looks Good reads the ID.
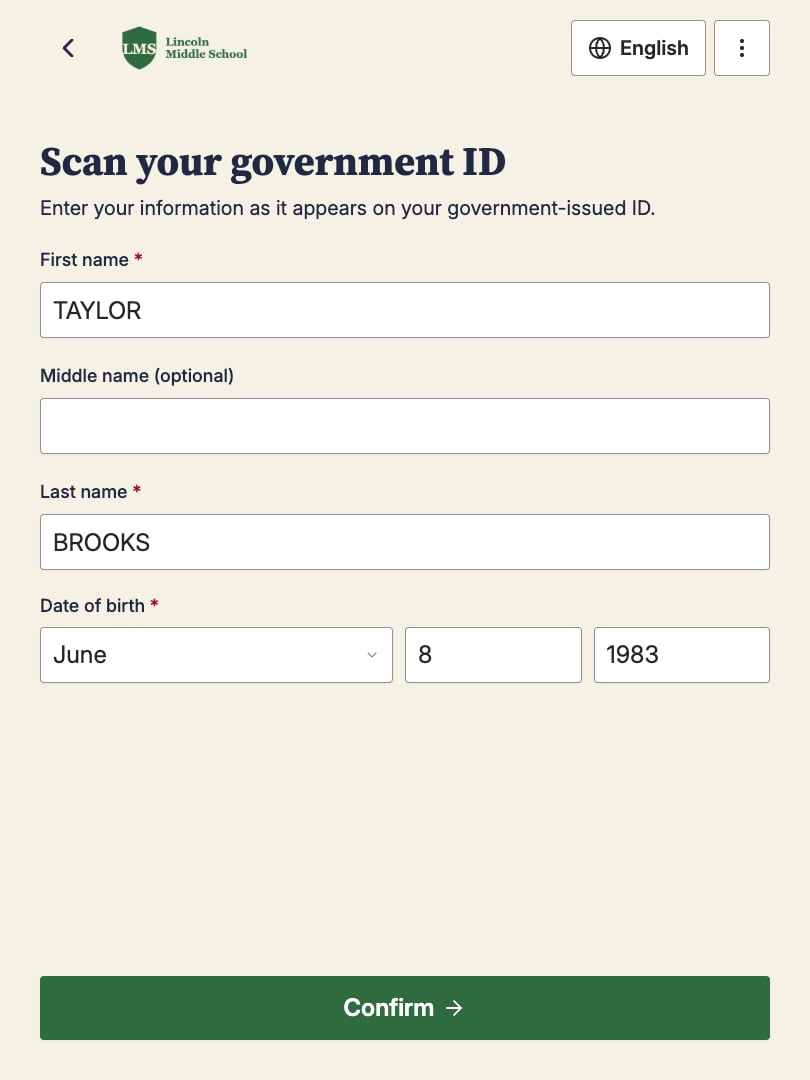
- The kiosk fills in their name and date of birth from the ID.
Check In as a Student
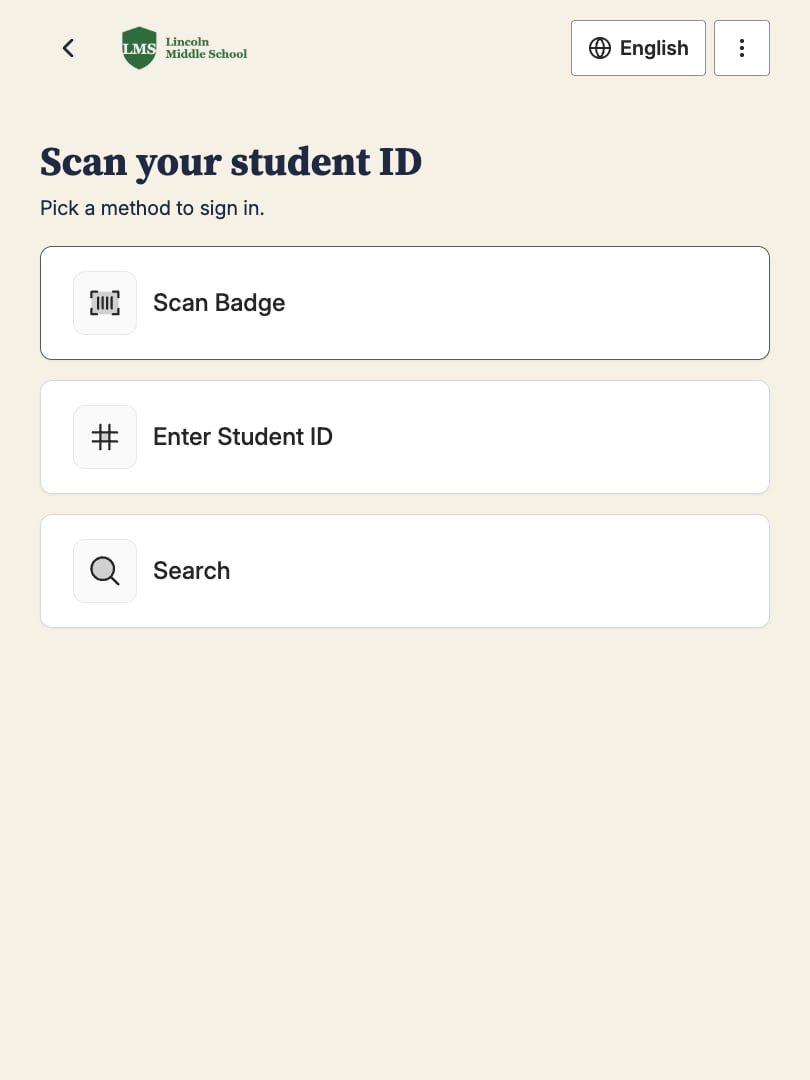
Students confirm their identity with the Confirm Student Identity step. When the form allows more than 1 way, the kiosk asks them to choose one:- Scan Badge: They hold their student badge up to the camera. The kiosk reads the QR code or barcode, then shows “Signed in as” and their name.
- Enter Student ID: They enter their student ID and tap Continue.
- Search: They search for their name, tap it, and tap Continue.
Take a Photo
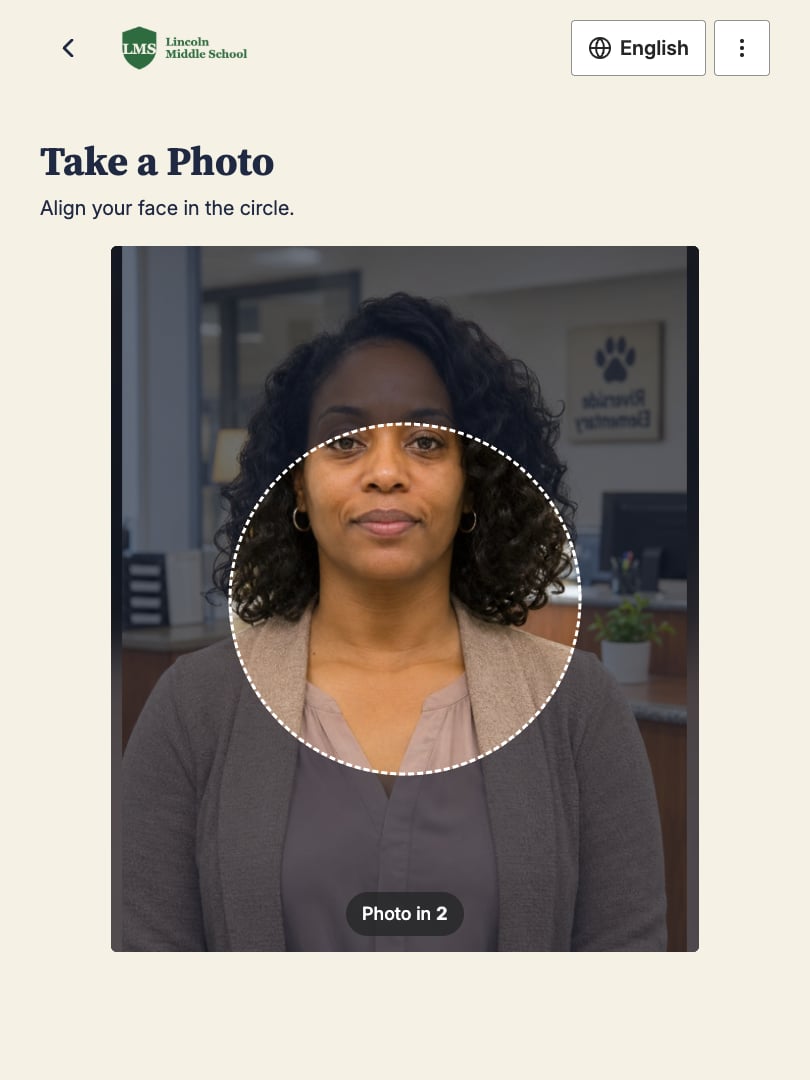
If the form’s identity step has Capture Photo on, the kiosk takes a photo next.- The kiosk shows a circle on the camera view and asks the visitor or student to align their face in it.
- When it finds their face, it counts down and takes the photo. If it can’t, a Take Photo button appears after 5 seconds.
- They check the photo. Try Again retakes it, and Looks Good continues.
Complete the Form’s Steps
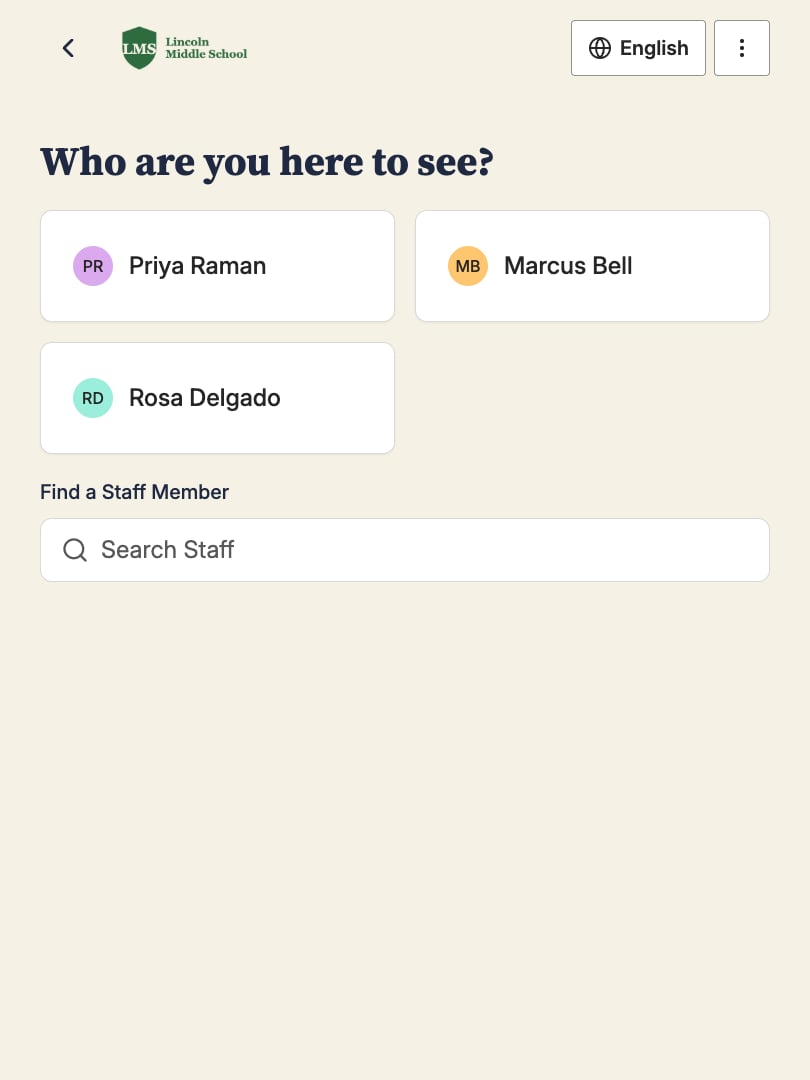
After identity, visitors and students answer the form’s other steps in order. Each step shows the headline or instructions your school wrote for it.
Searches open full screen with the device’s keyboard.
A step with Save answer and skip for future visits on is skipped for returning visitors and students who already answered it on that form. See Save Answers for Returning Visitors.
If a guardian has no associated students and the form doesn’t allow searching, the kiosk shows “No Students Found” and asks them to see the front desk. It returns to the welcome screen after 20 seconds.
Print Badge isn’t a step visitors see. The badge prints when they finish. For every option on each step, see Form Steps Reference.
Wait for Staff Review
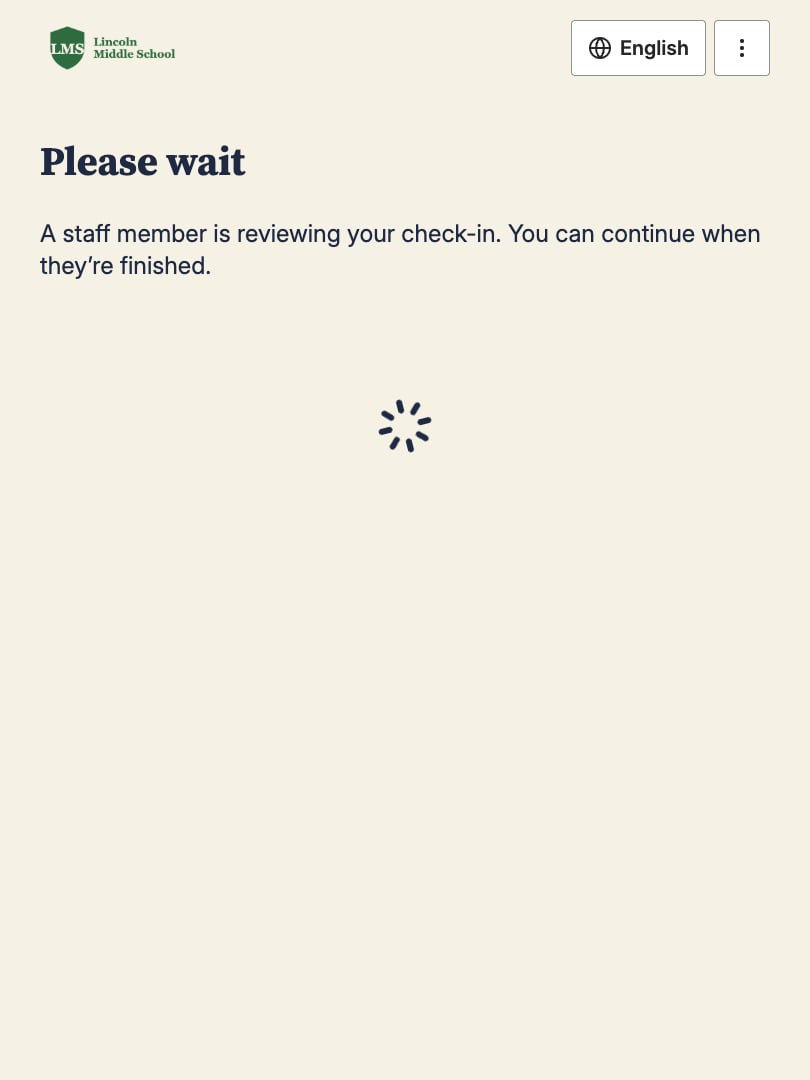
Most check-ins finish as soon as the last step is done, sometimes after a moment of “Please wait.” The kiosk asks the visitor or student to keep waiting only when something needs a staff decision or screening hasn’t finished:- A possible sex offender registry or watchlist match
- A flagged answer
- Students selected for a pickup, which staff confirm every time
- A screening check that didn’t run, which staff retry or skip
- If staff approve, the kiosk shows the done screen.
- If staff deny the check-in, the kiosk shows “You could not check in” and “Please see the front desk.” It returns to the welcome screen after 20 seconds. The kiosk never shows the reason, so the conversation happens at the counter.
Finish and Print a Badge
When the check-in or check-out is complete, the kiosk shows “You’re all done!” and returns to the welcome screen after 20 seconds. Return to Start returns right away. If the form prints a badge, the done screen also shows a preview of the badge, “Printing your badge…,” and the instructions from the form’s Print Badge step, such as where to wear it. If the print fails, the kiosk shows “Print failed. Please see the front desk.” Staff can reprint it from the Front Desk. See Print Badges. With Staff Print Only on in the form’s Print Badge step, the kiosk doesn’t print, and staff print the badge from the Front Desk. A check-in from the kiosk appears on the Front Desk under Currently Checked In right away, and the host is notified if the form has a Choose Host step. See Notifications.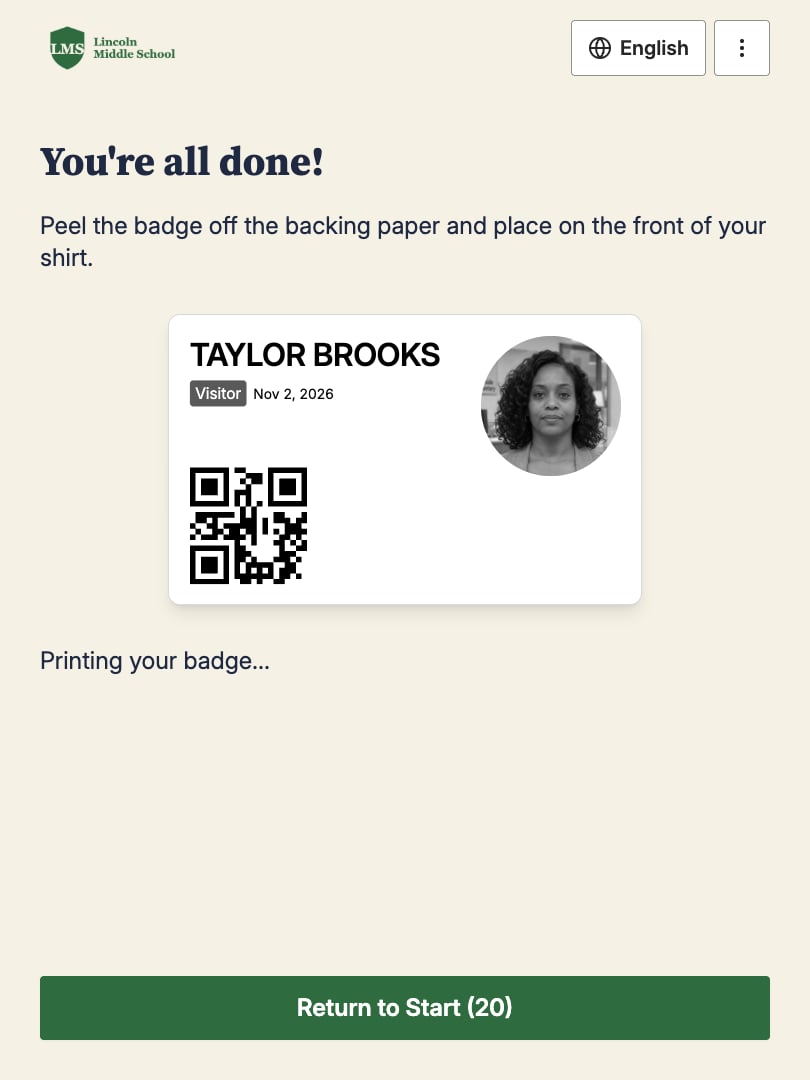
Check Out at a Kiosk
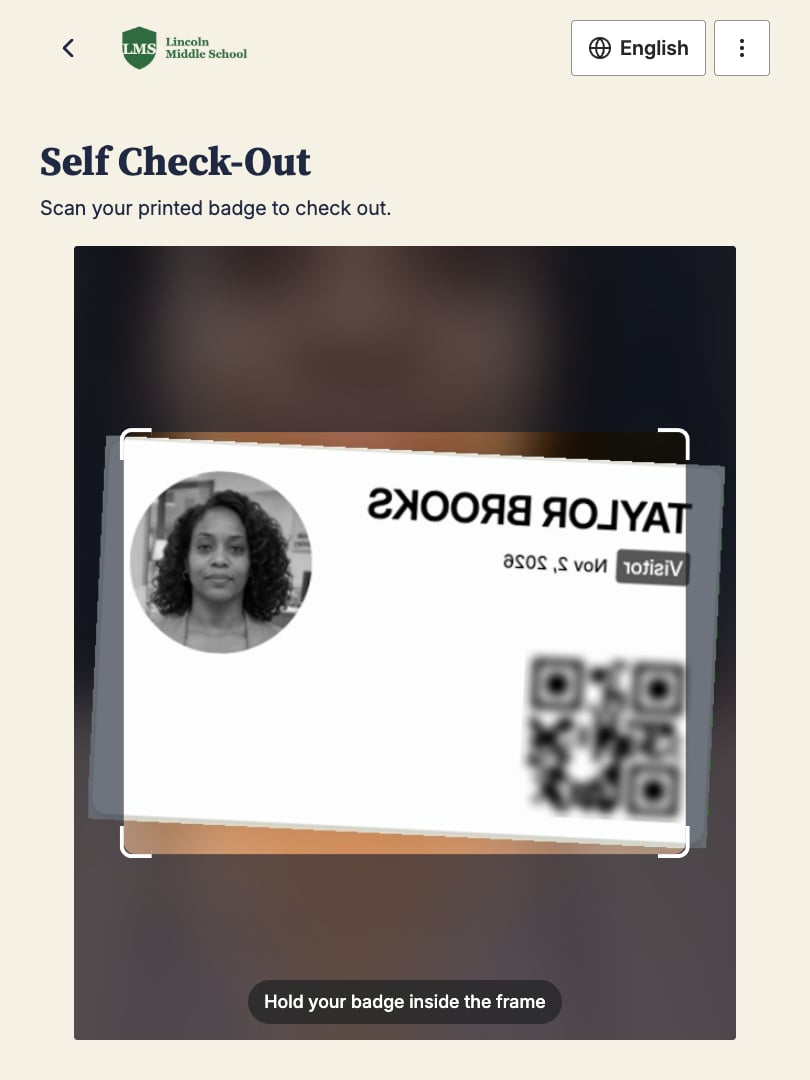
Visitors and students check out at a kiosk in different ways. Visitors: If their form has Allow Self Check-Out on, their badge has a QR code.- On the welcome screen, the visitor taps Visitor Checkout.
- They hold the QR code on their badge up to the camera.
- The kiosk shows “You’re checked out” and returns to the welcome screen after 20 seconds.