- Archive and activate user accounts
- Add or update a user’s access to GoGuardian products (Teacher, Admin, Beacon, Fleet)
- Add or update OU access, which controls which students and student activity users can see
- Send password reset links to users
- Use the Log-in-As feature to sign into a user’s GoGuardian Teacher account
This article covers creating individual user accounts. For bulk CSV upload or integration provisioning, see the Bulk Update Permissions by CSV, Set Up Teacher Accounts, and Google Directory Provisioning articles.
Add a User Account
To create an account, select the Add User button on the manage.goguardian.com homepage.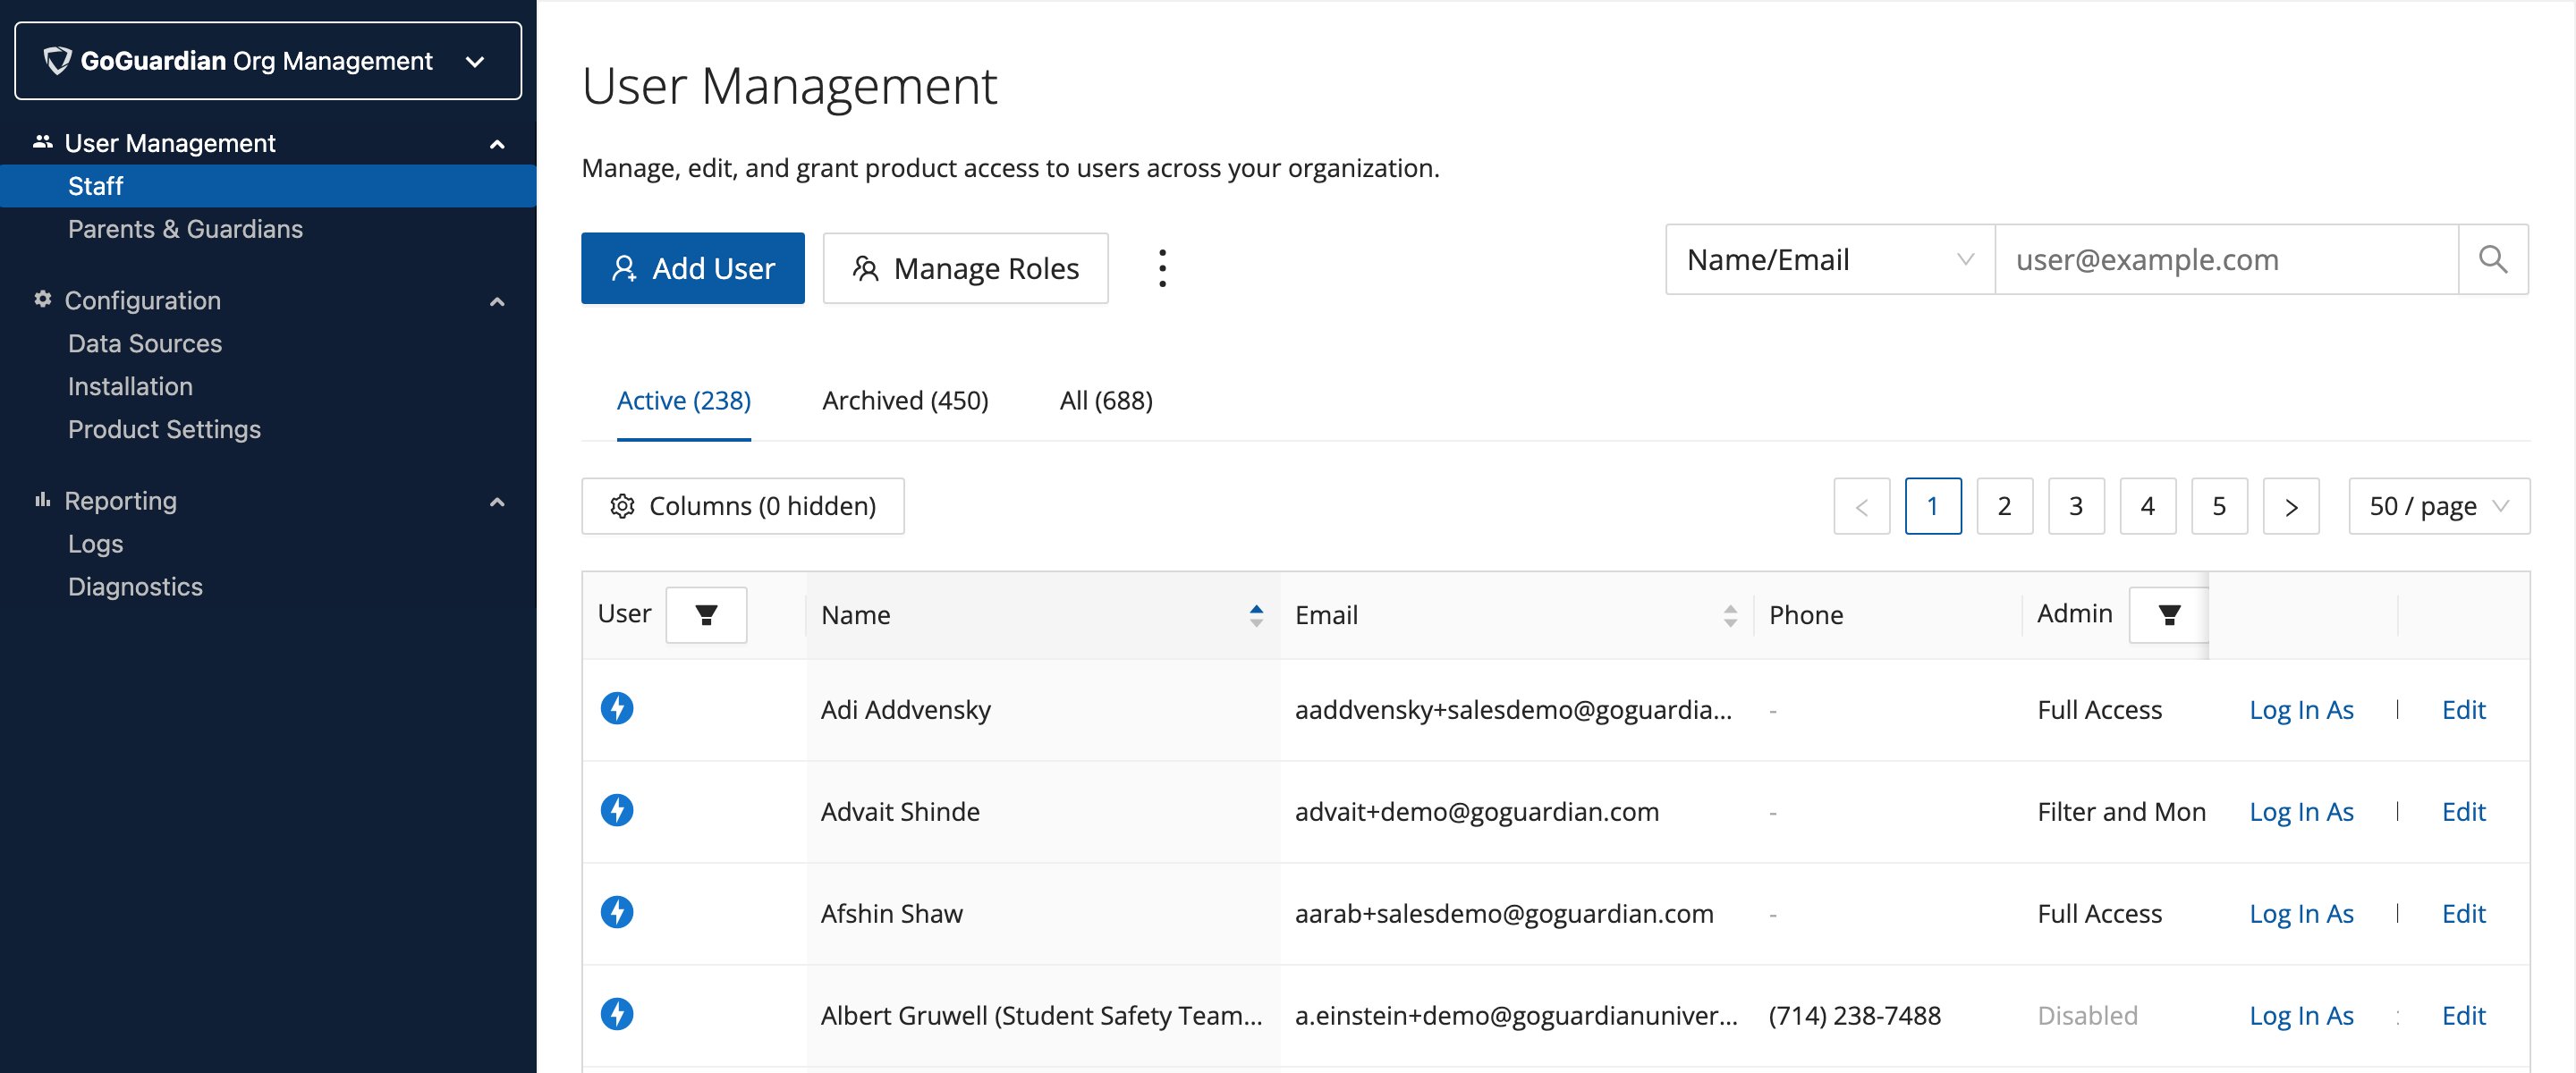
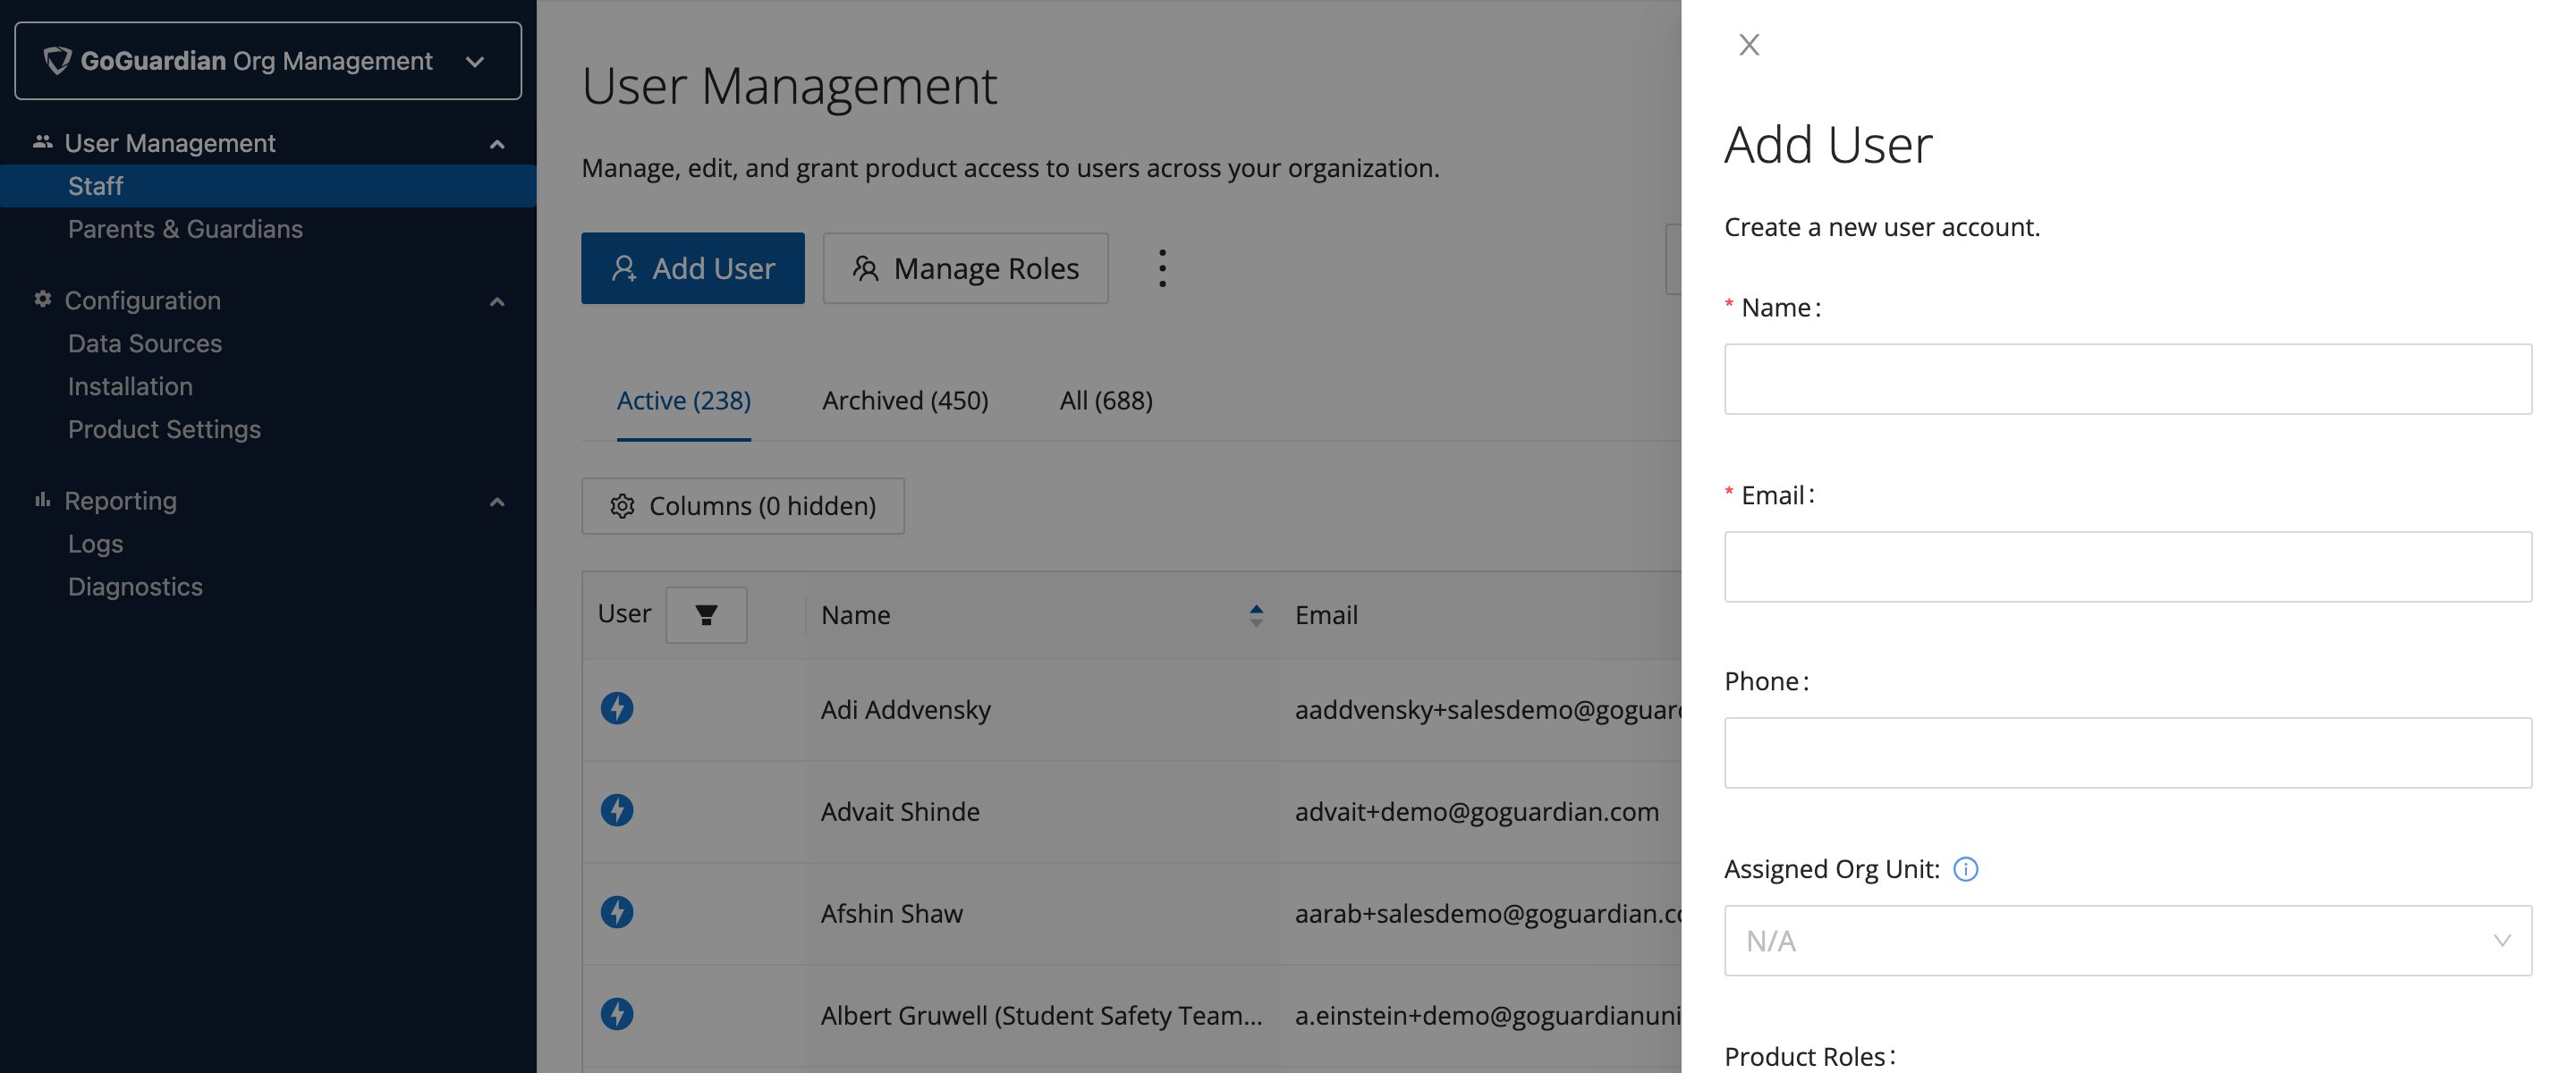
- Enter a name, email address, and phone number (optional).
- In the Product Roles section, turn on access for each GoGuardian product the user needs.
- In the Organization Unit Permissions section, select which student OUs the user should have access to.
- Click Add User.
GoGuardian Admin and GoGuardian Beacon each have different access tiers. To learn about Full Access, Filter & Monitor, and Monitor Only (Admin) or Super Counselor, Counselor, and View Only (Beacon), see the User Roles and Permissions article.
Understand Welcome Emails
Accounts created individually receive a GoGuardian welcome email from service@goguardian.com. The email lists which products the user has access to and includes a password setup link. Sign-in via Google SSO is automatically available to any active account. A GoGuardian-specific password is an additional, optional sign-in method.The welcome email is not sent for accounts created in bulk via CSV or Clever, ClassLink, OneRoster, or Google integration.
Edit Account Permissions
- Go to manage.goguardian.com using a Super User account.
- Use the search field to find the user account.
-
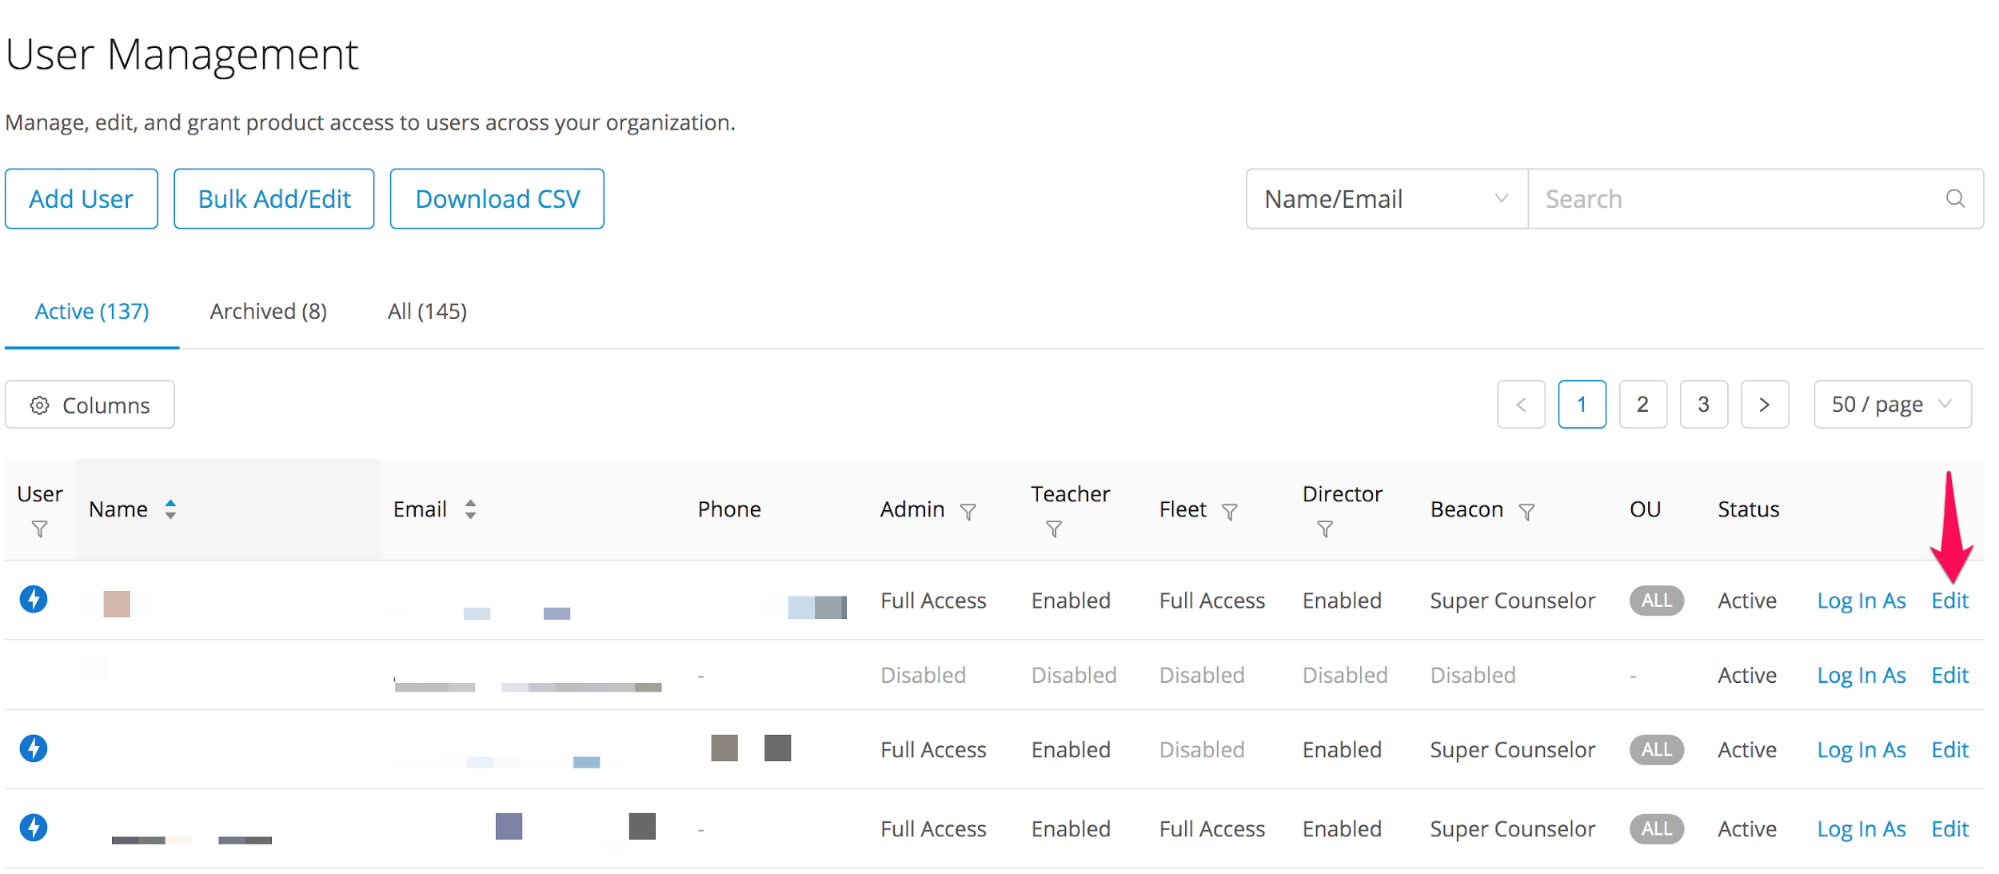
Click Edit on the far right of the user’s row and make any needed adjustments.
- Click Save User.
Grant OU Access
Assigning OU access to teachers and administrators gives you granular control over the student information each user can see. GoGuardian Teacher: If a student is assigned to the /First Grade OU, a teacher needs Teacher OU access to the /First Grade OU to see that student in their classroom. GoGuardian Admin: OU permissions control which student information an admin can see, including activity reports, Dashboard data, and Smart Alerts. Admins cannot edit policies outside their assigned OU access. To edit OU access, click Edit and check the appropriate boxes under Organizational Unit Permissions.Manage Account Status
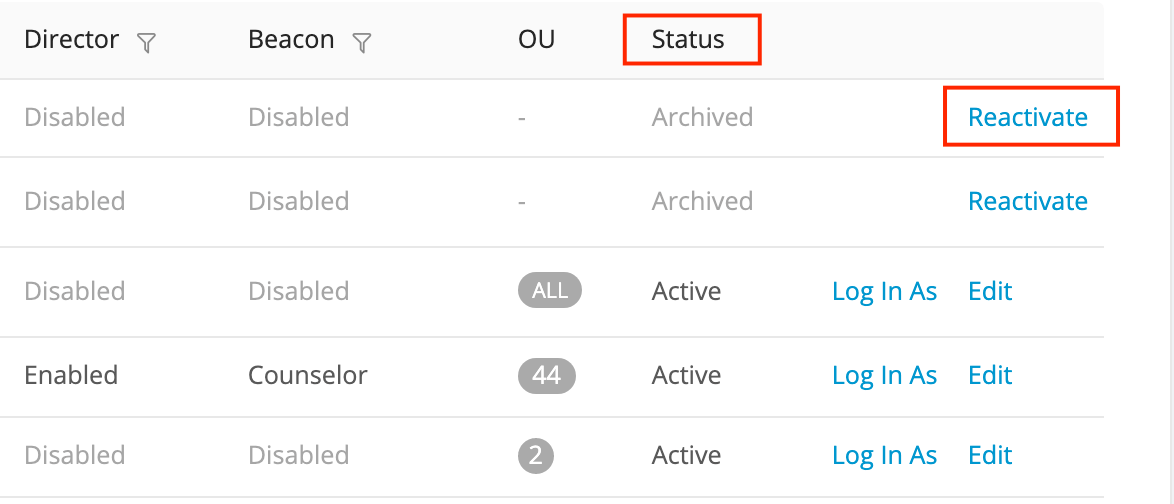
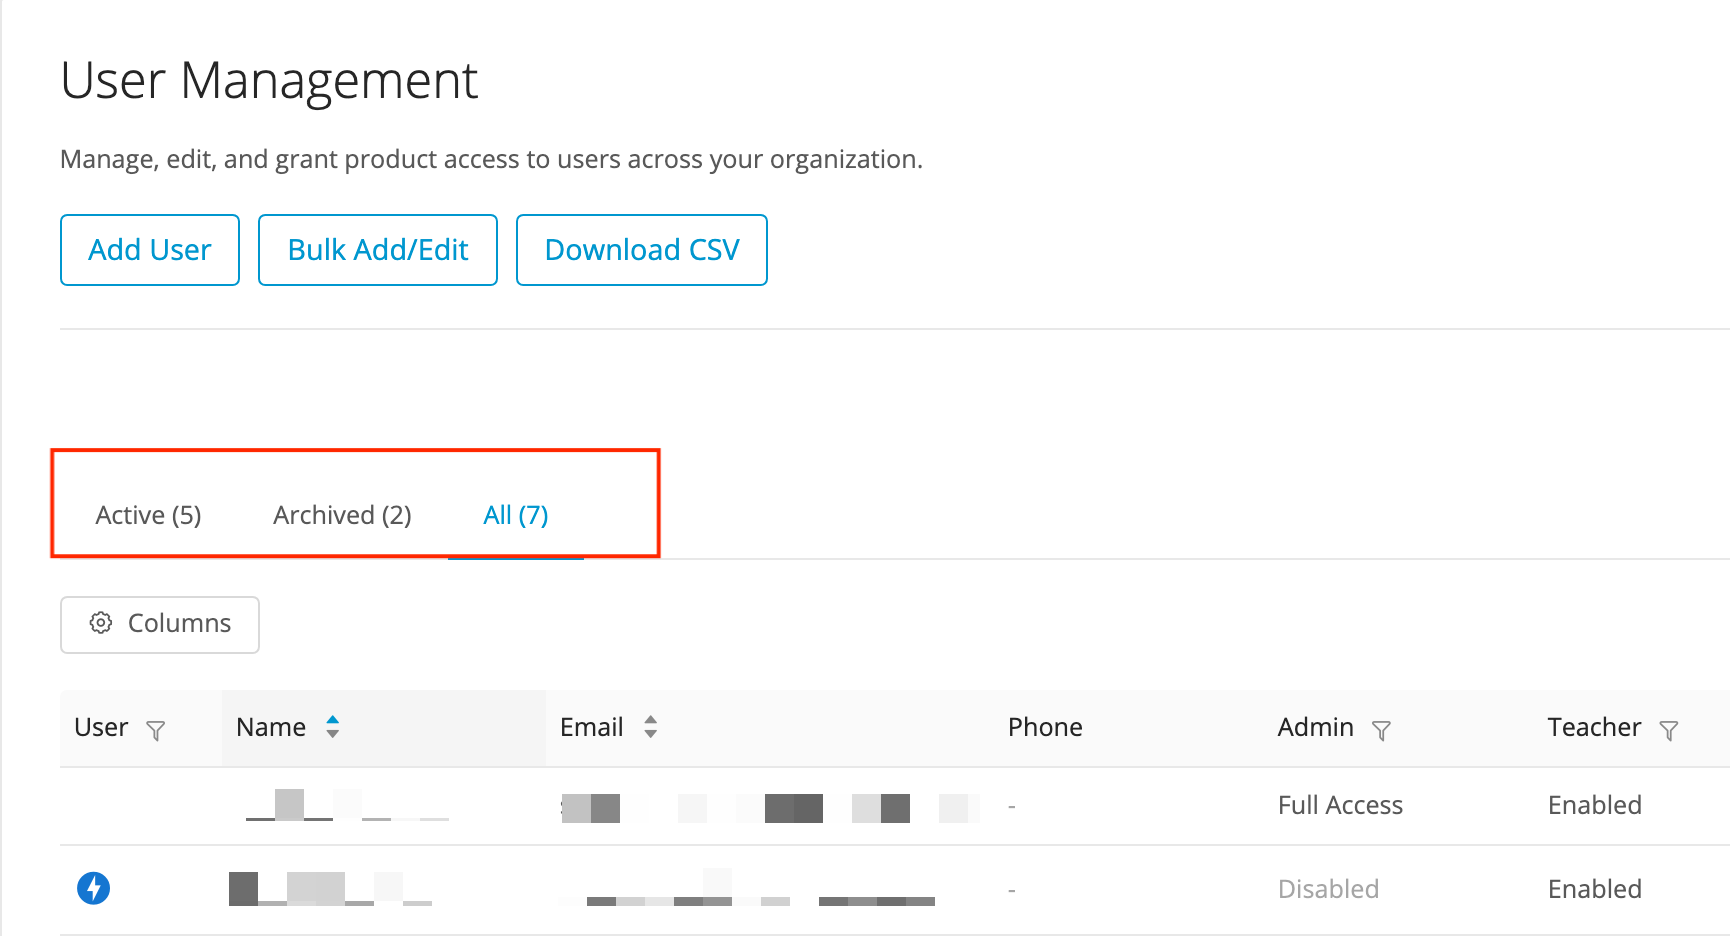
Two statuses exist: Active and Archived.- Active: The user’s account can use their assigned GoGuardian products.
- Archived: Use this for users who no longer work with the school or district, or no longer need access.
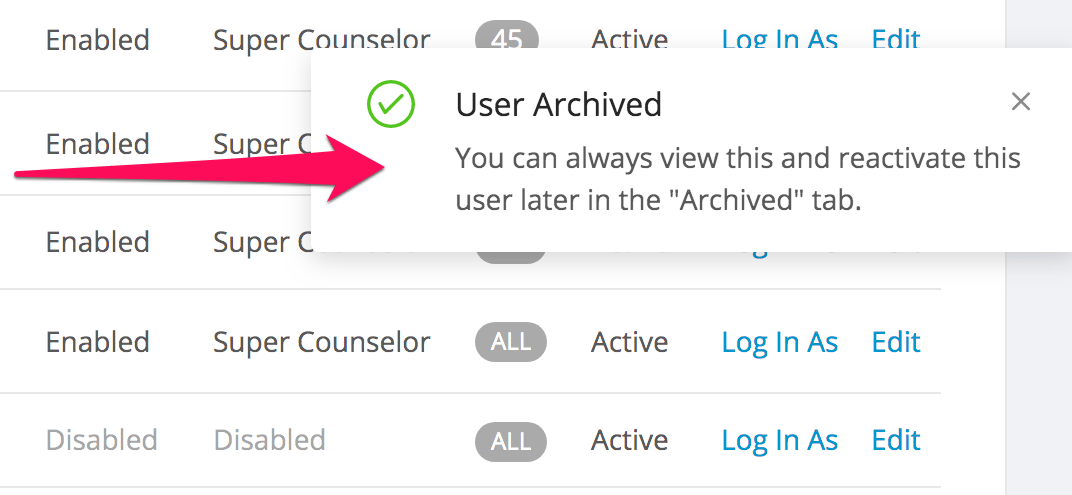
- Click Edit on the far right of the user’s row.
-
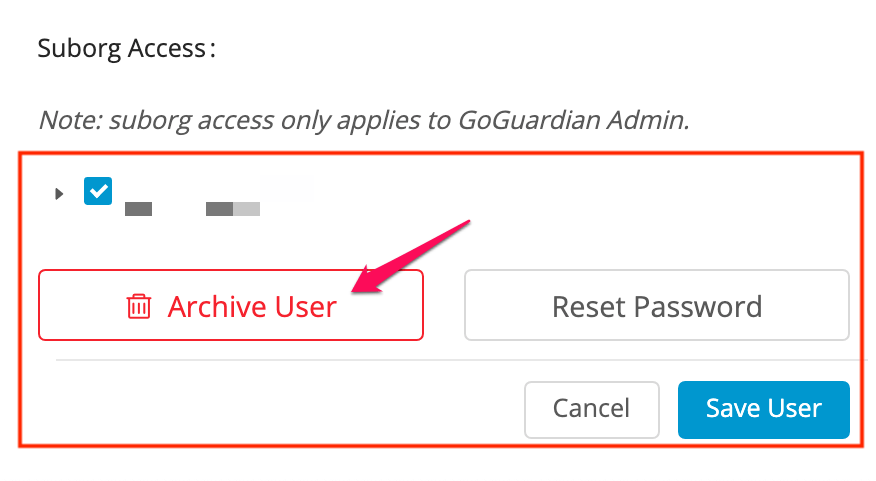
Scroll down and click the red Archive User button.
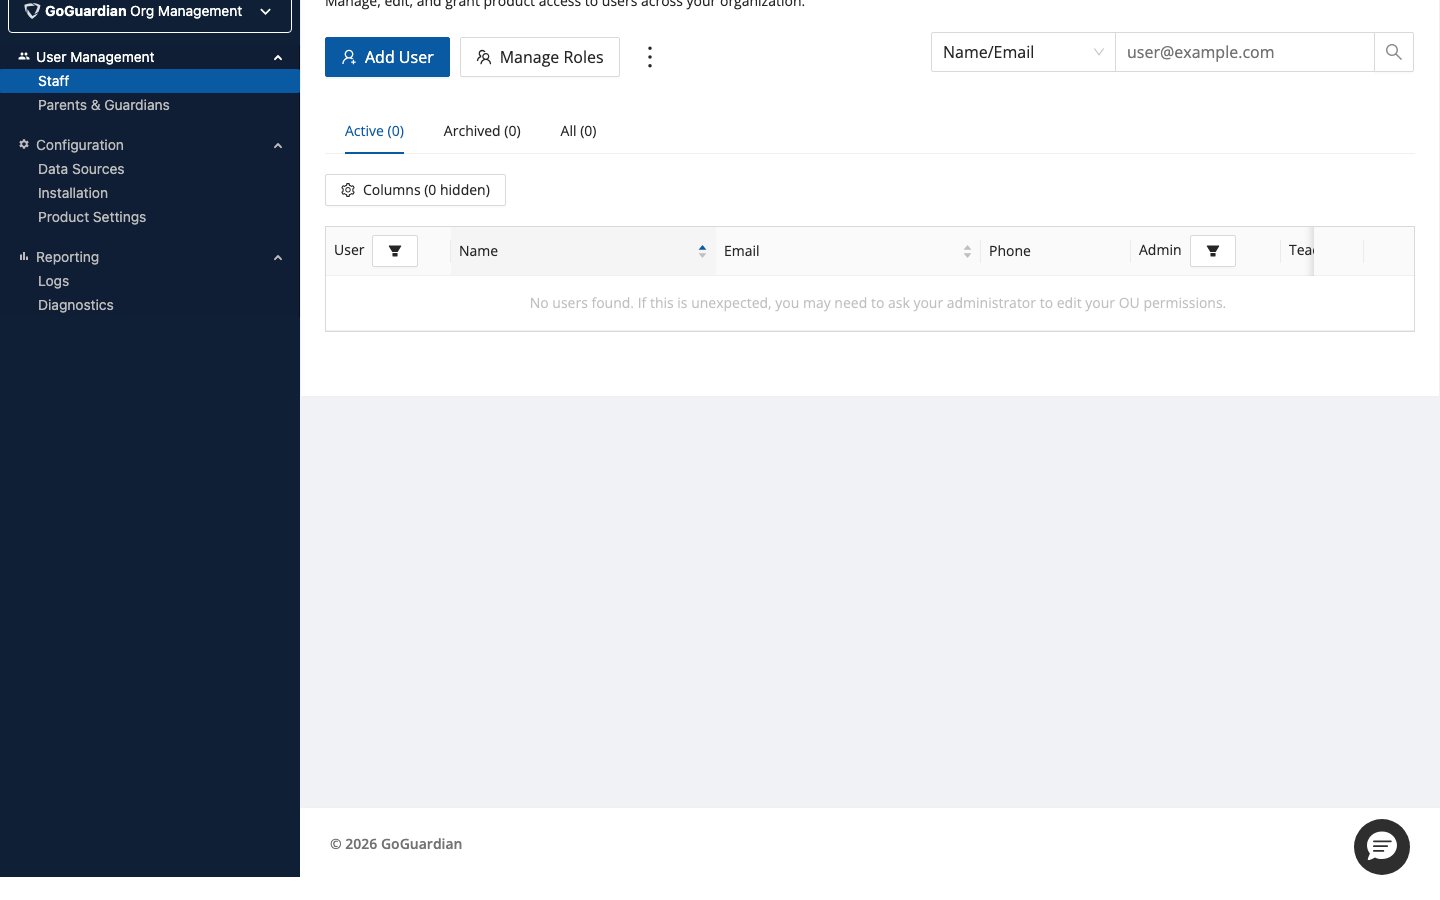
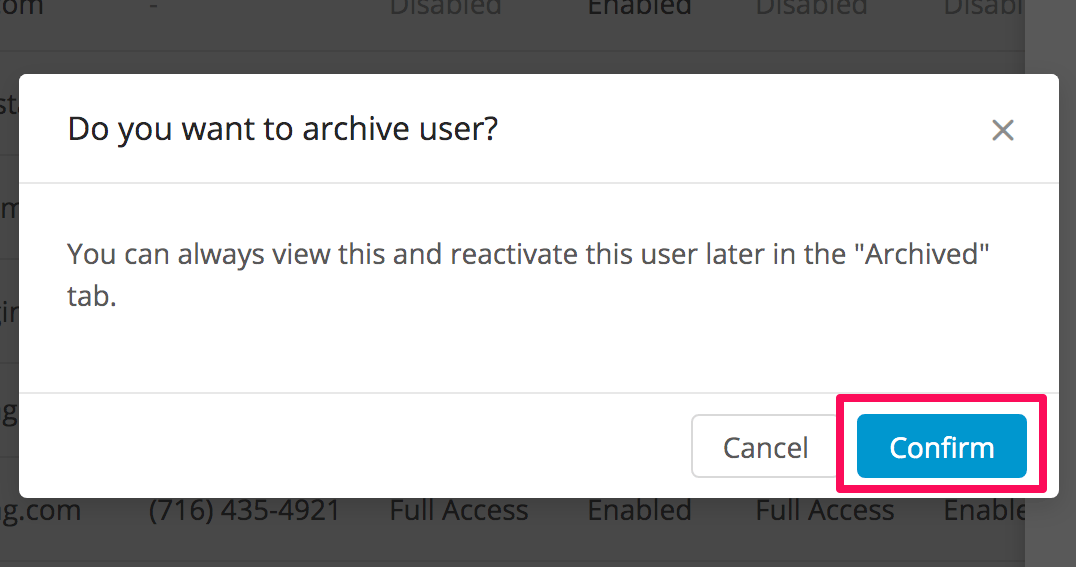
- Select Confirm.
- Go to the user’s row in User Management.
- Click Reactivate.